

Post by jinn on Mar 26, 2012 1:25:08 GMT 8
Hope sifu's here don't mind me posting my take on the salt technique here.
-bow- -bow-
Things to note in this tutorial. During the build i intentionally went overboard when weathering (but at the end it was not overboard enough). I would suggest those trying it on a mecha/tank/etc that is supposed to be still functioning to control abit more than i did.
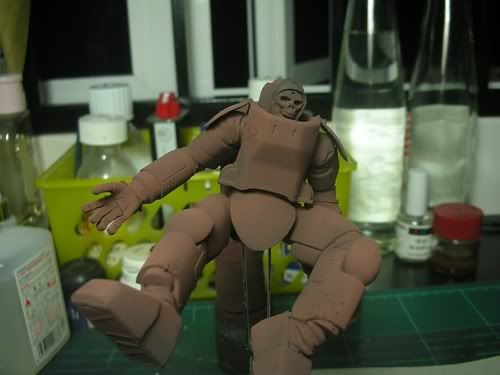
Starting with the suit. The problem with this technique is that we have absolutely no control over where the salt falls. But i think it is perfect for a beat down abandoned and left to rot suit.
So here goes. Firstly i sprayed the suit with hull red to give the basic rust color. Don't need to spray the hull red so evenly let the patches of black base coat show through adds to the depth of colors later.
Then i add abit of toning to increase the depth of colors on the model.
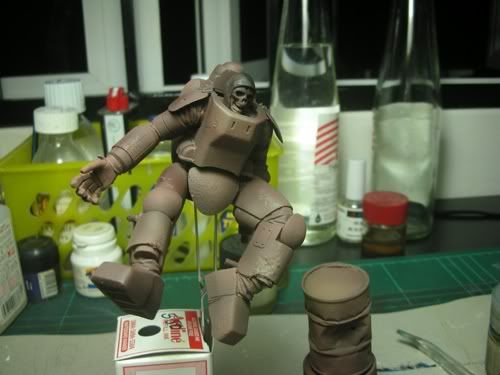
Normally thats the end to the initial process. My advice to people when it comes to weathering is knowing when to stop. But seeing as i will be going overboard with this i decided to continue by sponging the model with Black and then Bestial Brown (which is nice rich rusty looking brown) again i refused to stop when i knew i had to but just went on. And then sealed it with gloss clear coat (this is important!!! Gloss protects the bottom coat of paint when scrubbing off the hairspray and salt).
Here comes the best and scariest part Hairspray and dump salt on the model. Normally i try to control the amount of salt but in this case i just went overboard again (with both the salt and hairspray; really hope this works). Another thing im doing differently is the waiting time. I only let the hairspray dry for an hour (normally i leave it for a day). Again im shortening all the times to get more of the rust color to be shown.
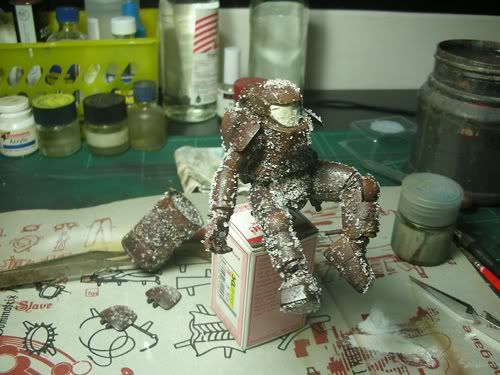
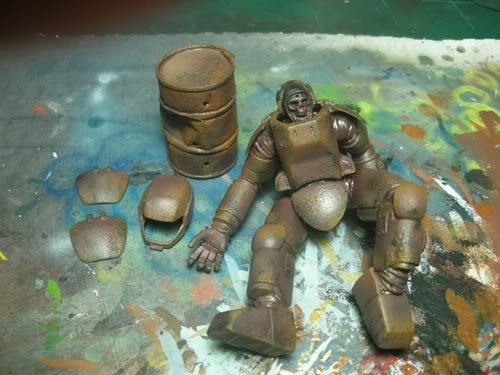
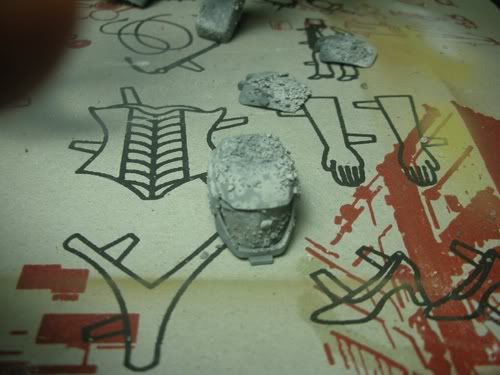
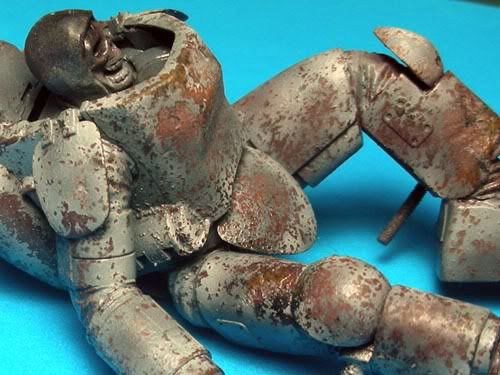
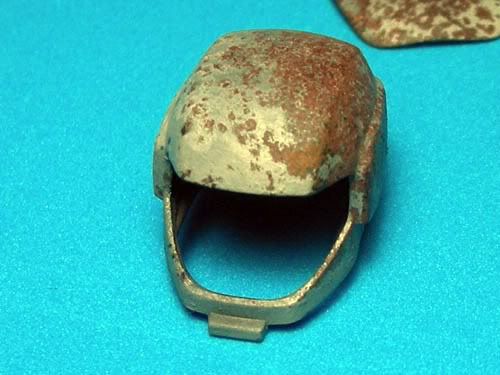
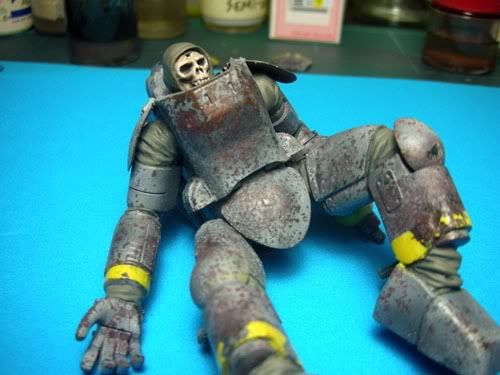
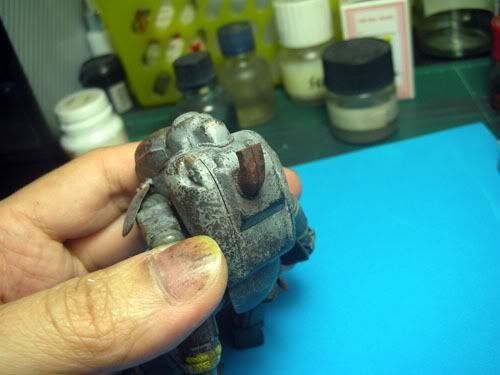
Finally i sprayed the a white grey color which is suppose to be the original color of the suit. I kept the paints slightly diluted to get the halo effect as you can see on the helmet (again hope this turns out well -sweat- -sweat- ).
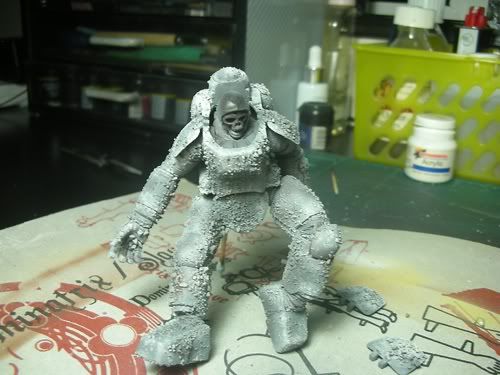
Now wait till the paint dries. Normally a day but im gonna rush it so that more of the paint peels off when washing.
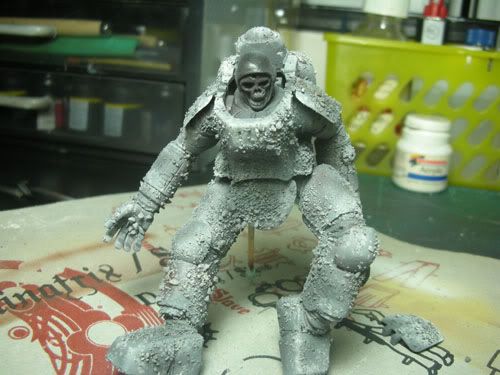
Time to wash off the salt (with water preferably warm water).
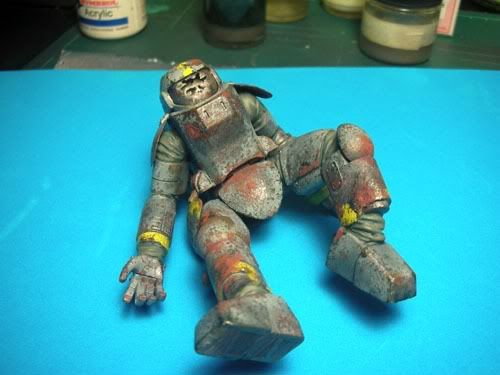
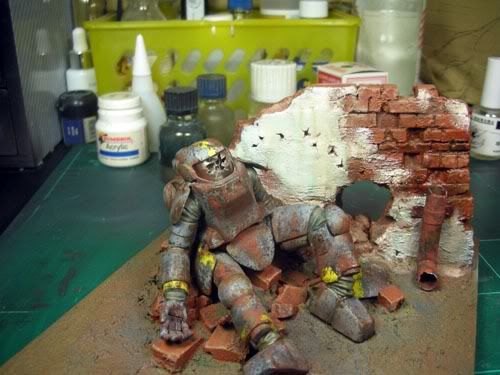
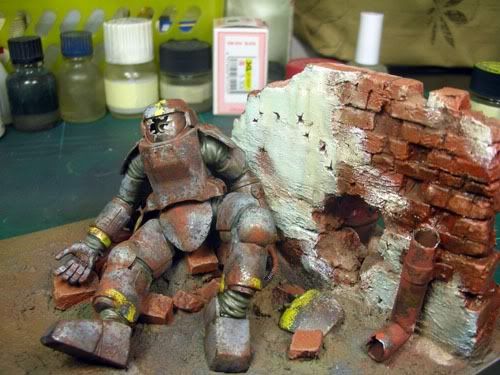
The Result
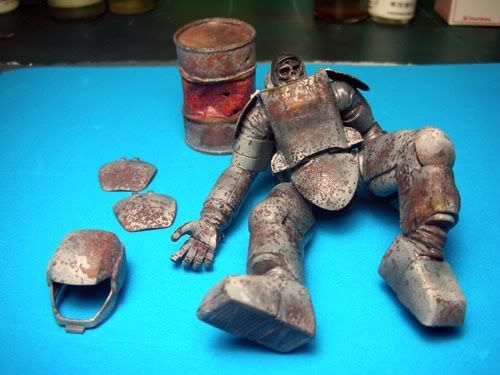
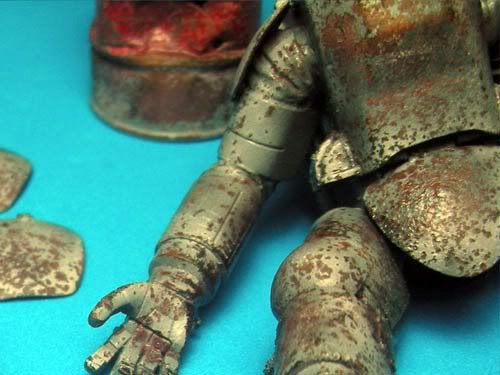
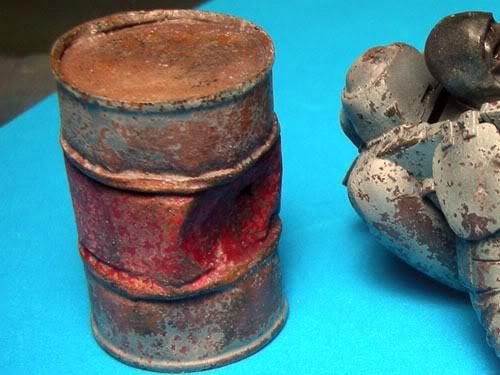
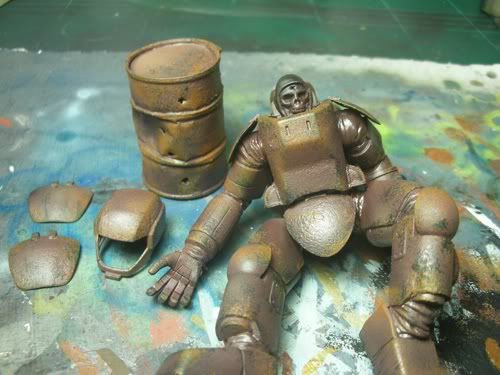
Added yellow stripe to some parts to break the monotony of the greys and browns. Sponged more black, beastial browns and charadon granite to richen the colors.
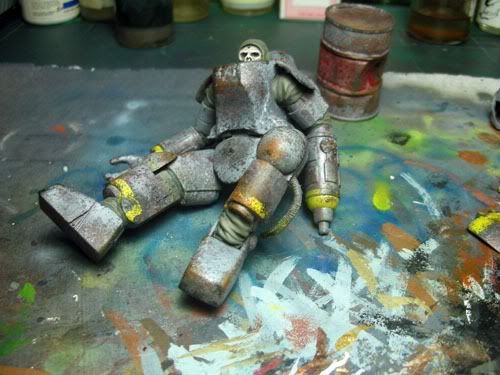
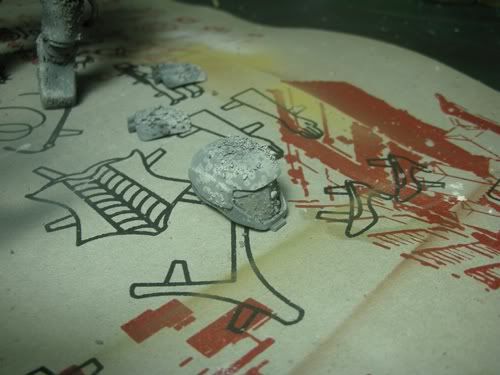
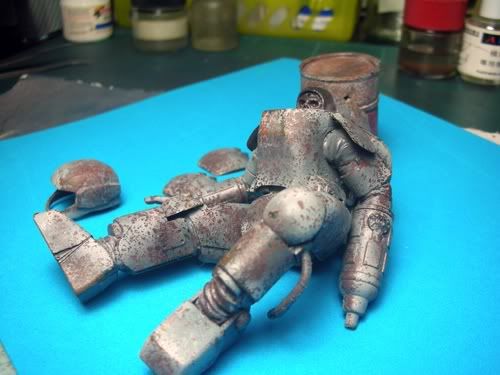
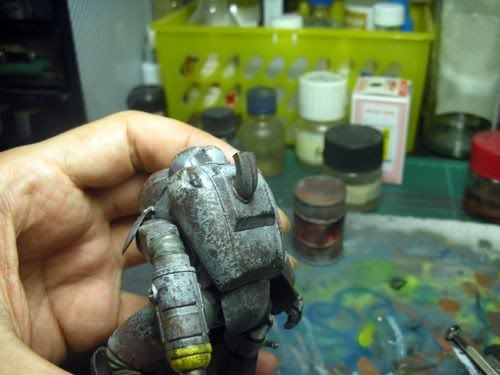
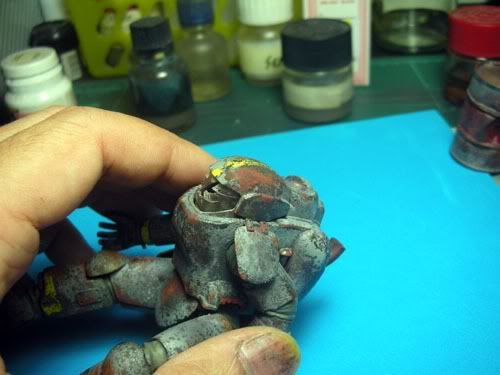
The first pigments were applied using industrial thinner. Why industrial thinner because it disolves paint and plastic. I stippled it on with a brush andkept stippling till the pigments mixed with the dried paints. This creates an interesting texture which is good for corroding exhaust.
Normally i do not use the thinner n pigments with other parts but since this suit has been abandoned for a very very very long time. i decided to do it on other part of the suit as well.
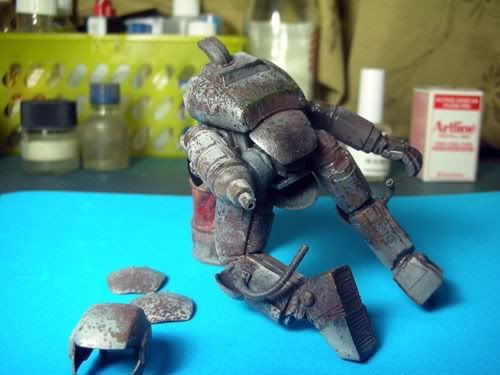
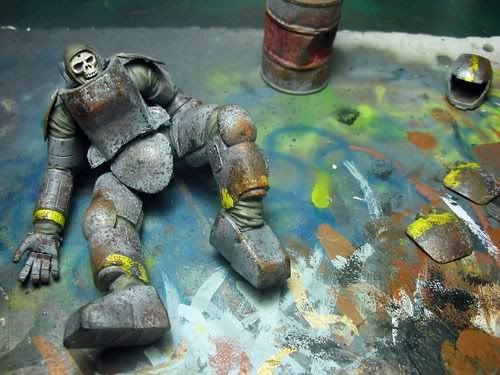
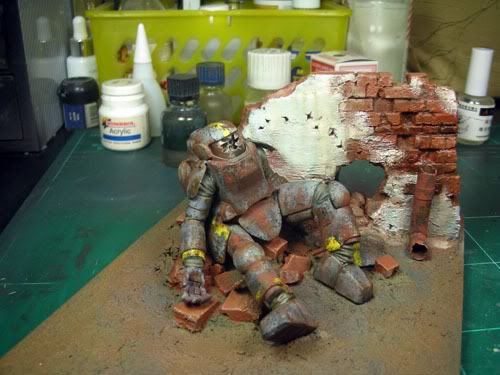
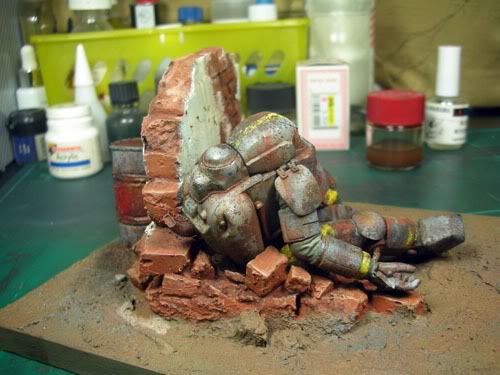
Finally the rest of the pigments were applied and streaked. And the suit placed on the base to see how it looks. IMO I really over did it. But what the heck i had fun doing it. -yeah- -yeah-
That's all folks hope you enjoyed this small tutorial.
-bow- -bow-
Things to note in this tutorial. During the build i intentionally went overboard when weathering (but at the end it was not overboard enough). I would suggest those trying it on a mecha/tank/etc that is supposed to be still functioning to control abit more than i did.
Starting with the suit. The problem with this technique is that we have absolutely no control over where the salt falls. But i think it is perfect for a beat down abandoned and left to rot suit.
So here goes. Firstly i sprayed the suit with hull red to give the basic rust color. Don't need to spray the hull red so evenly let the patches of black base coat show through adds to the depth of colors later.
Then i add abit of toning to increase the depth of colors on the model.
Normally thats the end to the initial process. My advice to people when it comes to weathering is knowing when to stop. But seeing as i will be going overboard with this i decided to continue by sponging the model with Black and then Bestial Brown (which is nice rich rusty looking brown) again i refused to stop when i knew i had to but just went on. And then sealed it with gloss clear coat (this is important!!! Gloss protects the bottom coat of paint when scrubbing off the hairspray and salt).
Here comes the best and scariest part Hairspray and dump salt on the model. Normally i try to control the amount of salt but in this case i just went overboard again (with both the salt and hairspray; really hope this works). Another thing im doing differently is the waiting time. I only let the hairspray dry for an hour (normally i leave it for a day). Again im shortening all the times to get more of the rust color to be shown.
Finally i sprayed the a white grey color which is suppose to be the original color of the suit. I kept the paints slightly diluted to get the halo effect as you can see on the helmet (again hope this turns out well -sweat- -sweat- ).
Now wait till the paint dries. Normally a day but im gonna rush it so that more of the paint peels off when washing.
Time to wash off the salt (with water preferably warm water).
The Result
Added yellow stripe to some parts to break the monotony of the greys and browns. Sponged more black, beastial browns and charadon granite to richen the colors.
The first pigments were applied using industrial thinner. Why industrial thinner because it disolves paint and plastic. I stippled it on with a brush andkept stippling till the pigments mixed with the dried paints. This creates an interesting texture which is good for corroding exhaust.
Normally i do not use the thinner n pigments with other parts but since this suit has been abandoned for a very very very long time. i decided to do it on other part of the suit as well.
Finally the rest of the pigments were applied and streaked. And the suit placed on the base to see how it looks. IMO I really over did it. But what the heck i had fun doing it. -yeah- -yeah-
That's all folks hope you enjoyed this small tutorial.
