Post by beckylaw on Mar 5, 2012 11:39:44 GMT 8
WARNING: There's no rules in good photo only good photo itself. These tips is just guides to what our Gunpla communities or merely just me on expected good photo of WIP/completed project.
Just share something i know. Before i own a DSLR, i also using a compact camera, its quiet handy once u got the tricks. The pro of compact camera are its light in weight and u can carry it anyway, and it easier when u taking some WIP photo.
I'm using a Canon Power Shot A400. (It been with me for over 5 yrs and it still working very well)
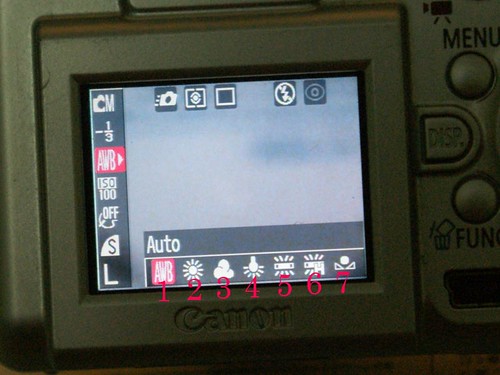
1. Get to know ur camera
Before starting, do spend some time on the manual, it does help you figuring out where to find the particular function.
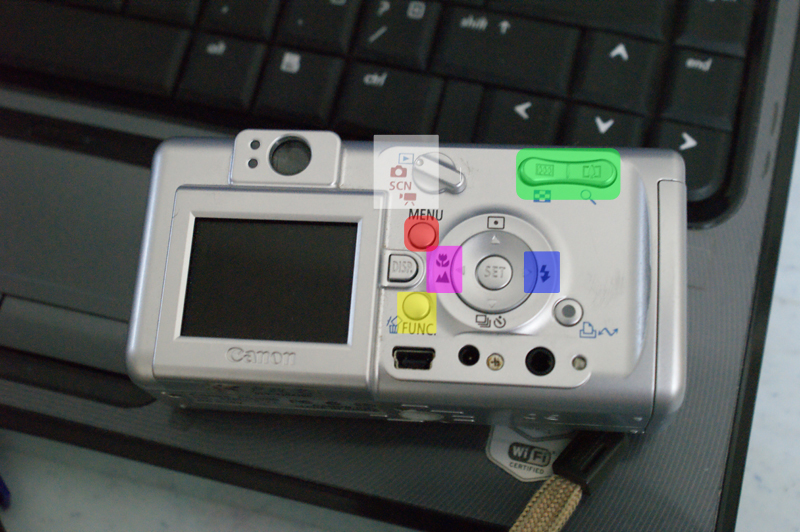
As u can see they're different color box, and here's the function.
White: Capturing mode
1. Photo View
2. Manual/Auto mode
3. Preset mode (portrait, Night Scene, Foliage, Snow, etc)
4. Video Mode
Green: Zoom in / out
Red: Menu for setting such as LCD brightness, Print order, date/time etc.
Pink: Macro/ Landscape
Yellow: Function/ delete. When in live view it will enter function (will show u later), while in photo viewing it be deleting.
Blue: Flash.
Only show those frequently use button, and ignore other rarely use button.
2. Snap your WIP project
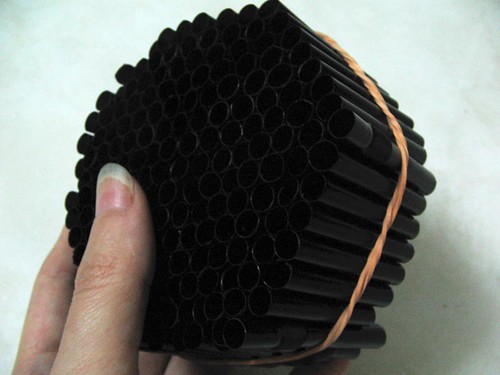
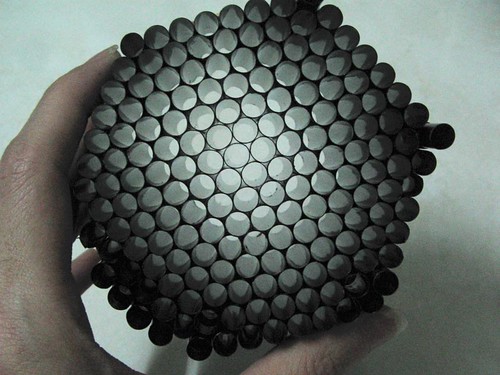
To snap a close-up photo, select the macro mode which most of the camera will be indicate with flower icon. Half press the button, this enable the camera to focus on the object, most of the camera will have indicator in the LCD, such as this,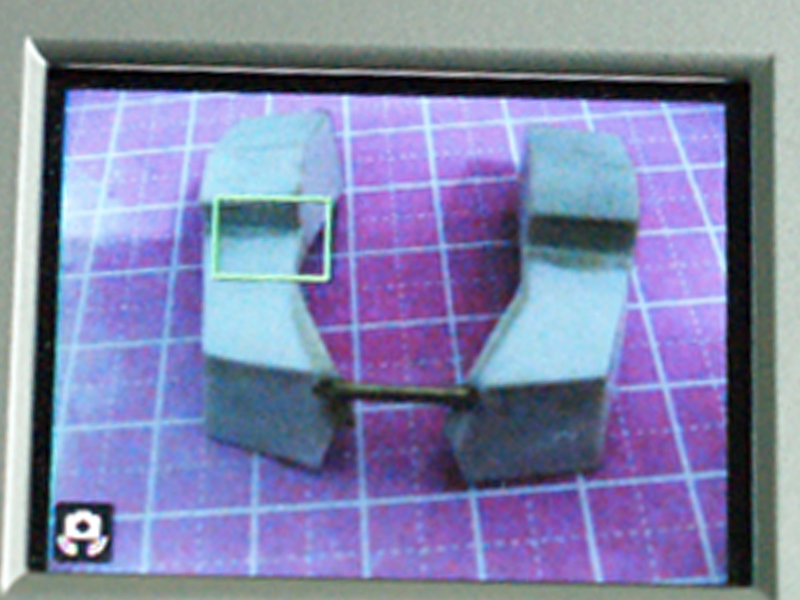
Or it will have sound "beep" when the object is in focus. Then fully press the button and the picture snap.
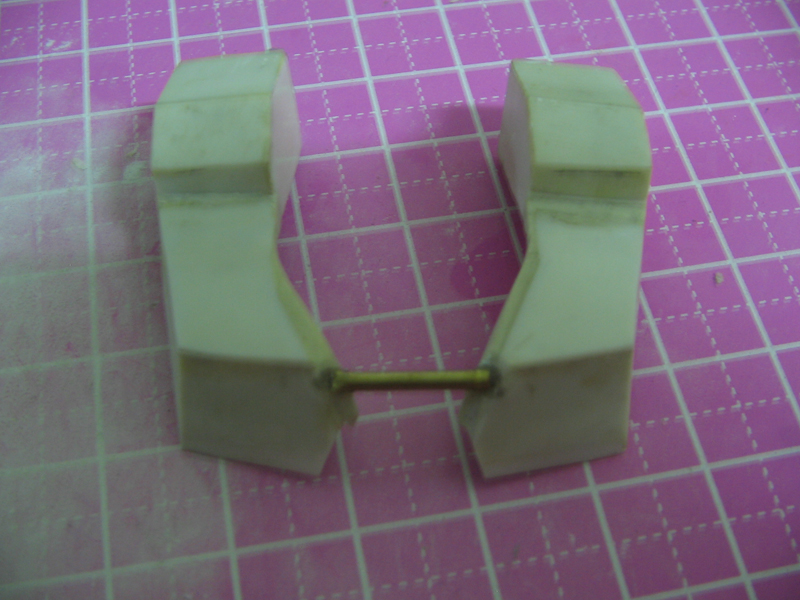
Example:
Out-of-focus
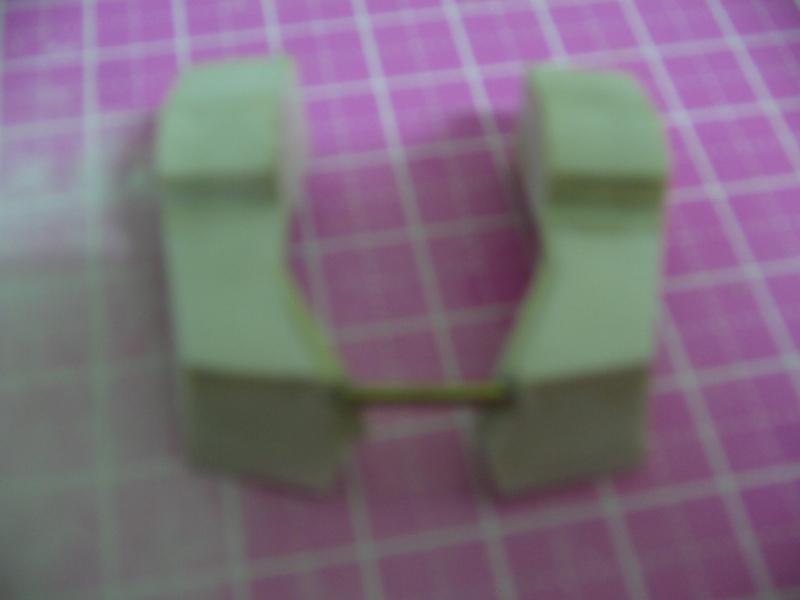
In focus
Snap ur completed project
Its an enjoyable progress here, where u finally finish ur project and want to show it to the world, and you want to make look really pro, even with a compact camera. So here's some tips i got. Some illustration to give u the brief idea.
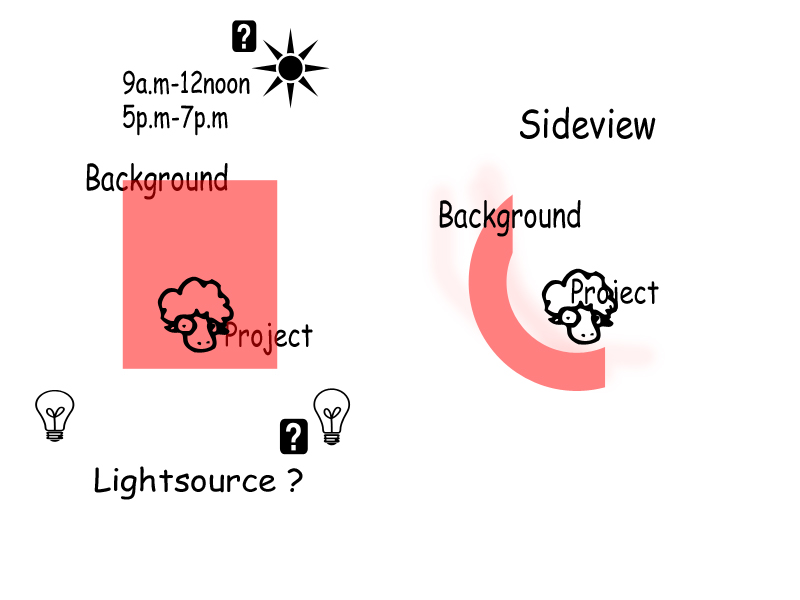
Ok, what most important in snapping a sharp and nice photo are lightsource. U need sufficient of it, even the ceiling florescent light seem dark in photo.
LightSource
Option 1: Sunlight, either place ur project near window or take it outdoor. Time i suggested are those time where the sun is not too bright, bright sun will cast heavy shadow on ur project, and we try to avoid that.
Option 2: Table lamp, you need 2 or more lamp to eliminate unwanted shadow, or u can replace one with reflective material such as aluminum foil, shining pla-plate etc. to bounce back the light and soften the shadows.
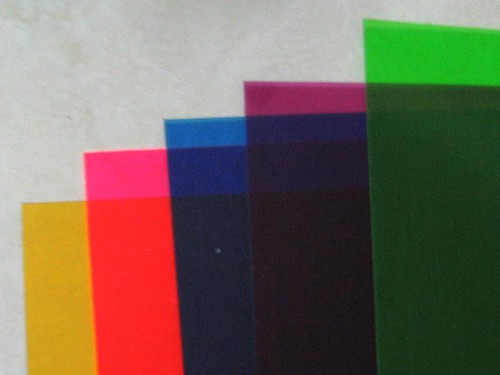
Background
Background is to cover the unpleasant environment and draw the attention to ur project. White background can reflect lights as well, making ur project 'shining'. Can try with different background and have different effect. Make sure the background is big enough to cover all of ur project.
Project
Try different angle of the kits, and ... u'll know which angle is the best.
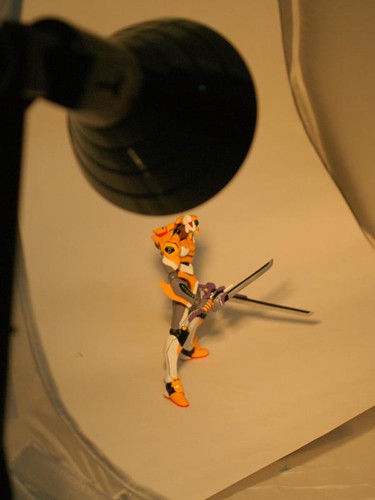
Example:
How the project been place..

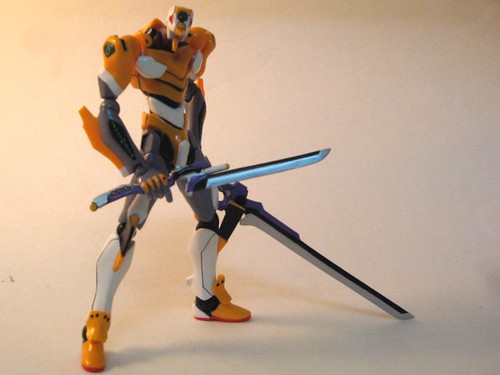
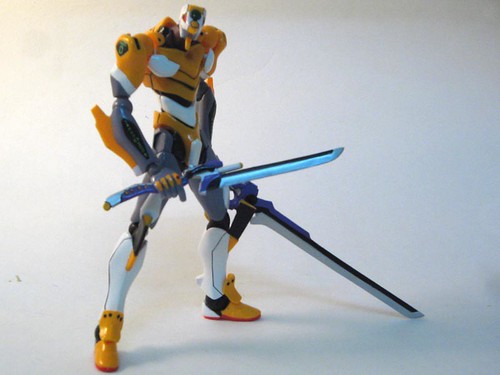
Outcome
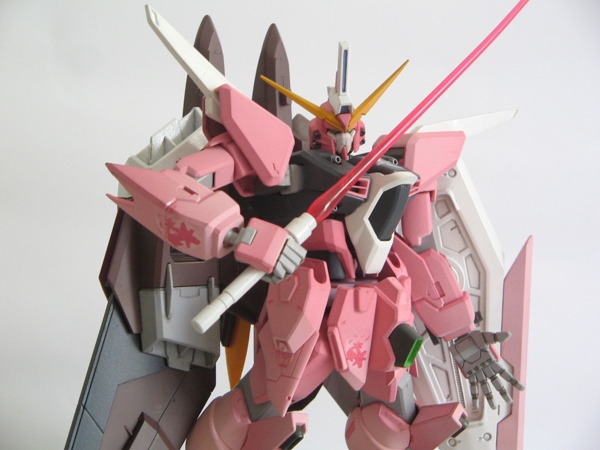
Its taken with compact camera. Lightsource is the sun light.
Diffuse your lights
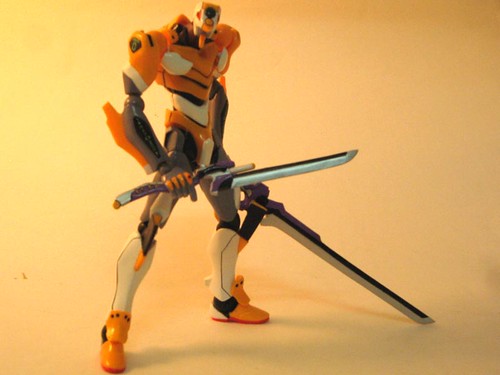
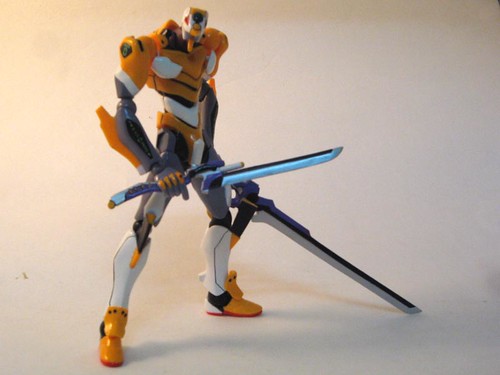
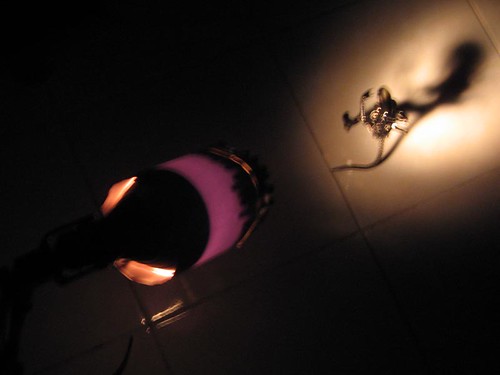
Direct light/flash can lead to harsh shadow/lighting such as this.
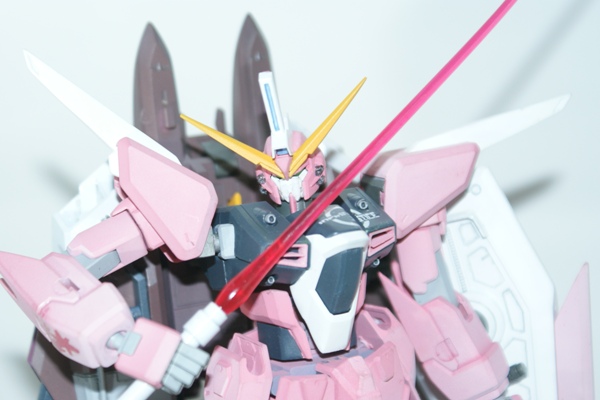
Actually its overexposed :lol: and I dun like direct flash... :cry:
To overcame this problem, you need to diffuse the lights, but if using sunlight no need to diffuse just need to bounce the light.
Here's some illustration again.
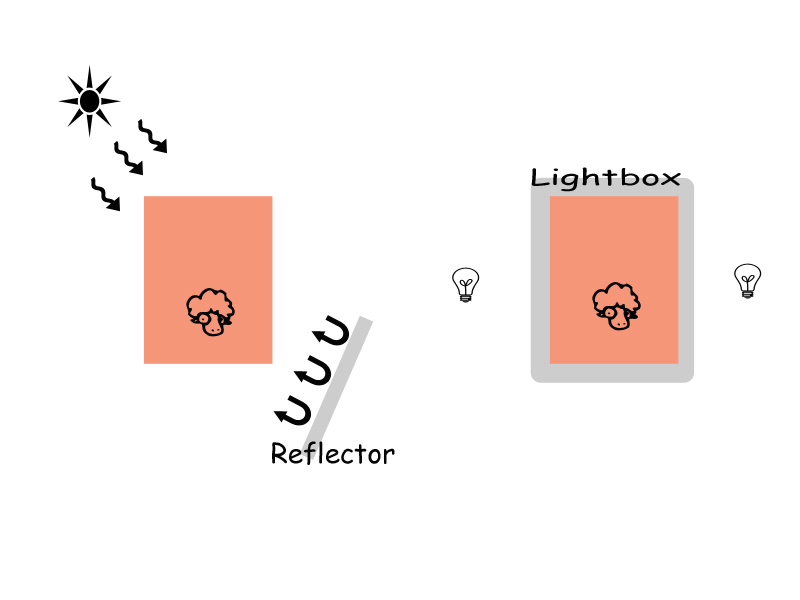
Reflector
If using a white shining background than its not necessary, but if using darker color, better use the reflector.
Can either be a shining pla-plate or aluminum foil glue on a cardboard.
Lightbox
Purpose of the lightbox is to filter and soften the light. Usually u can use tracing paper, mahjong paper, A4 paper if its thin enough.
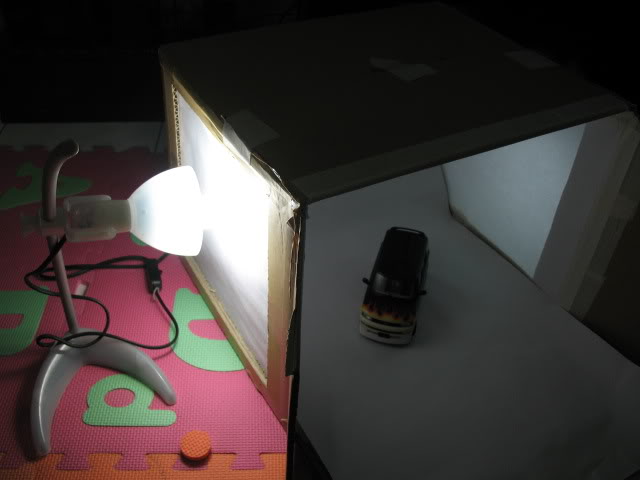
Here's some example of DIY lightbox (Photo borrowed fr Druid_99 member of another forum)
Make from recycle paper box and some mahjong paper and with few tapes.

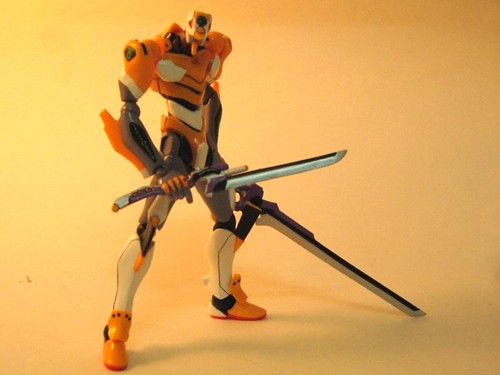
Outcome
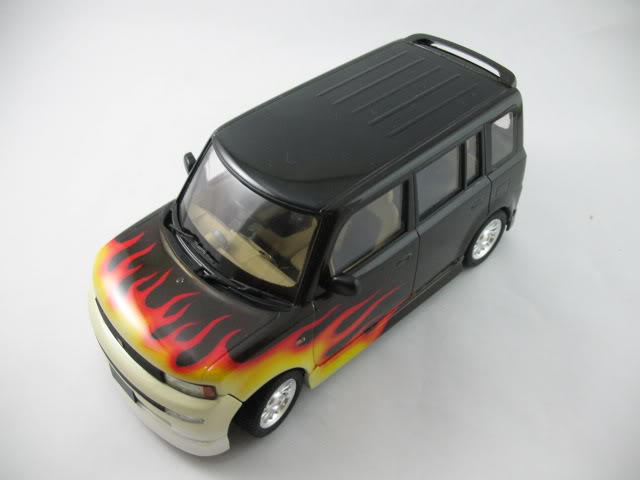
U can adjust the distance of lights, layer of paper and get the satisfying photo u want. Even the background can be change.
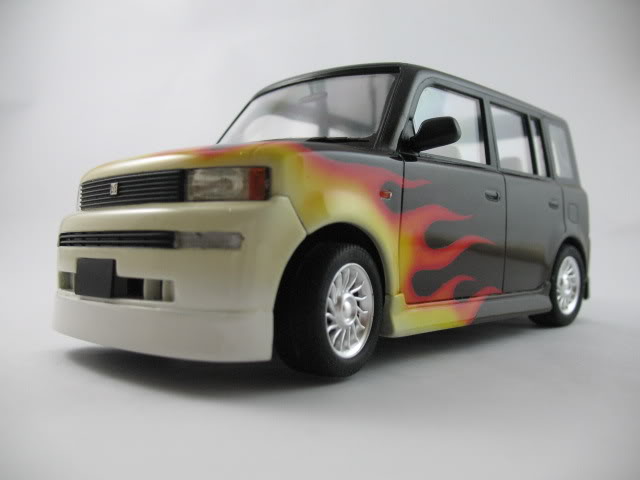
Here's my lightbox.
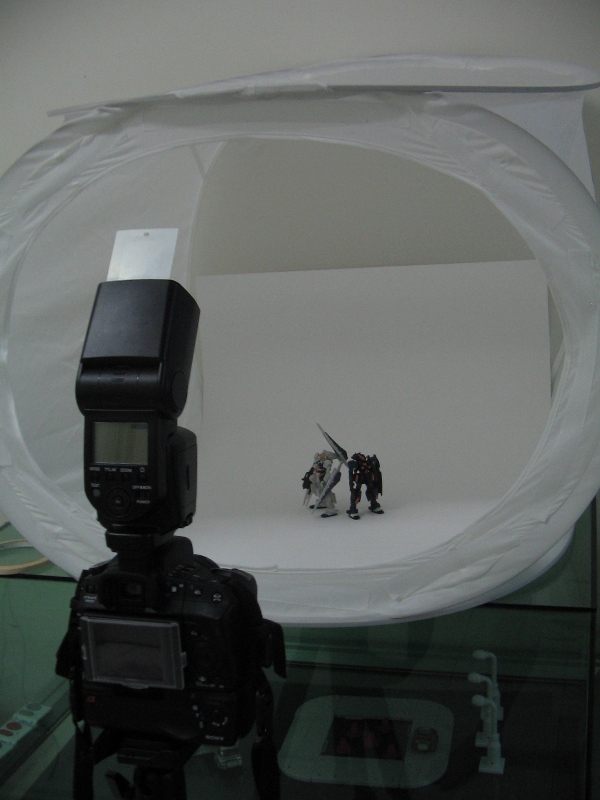
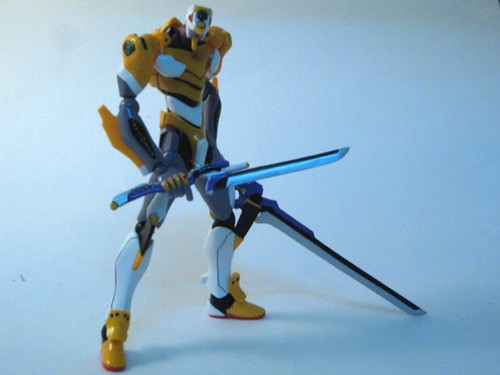
Outcome:
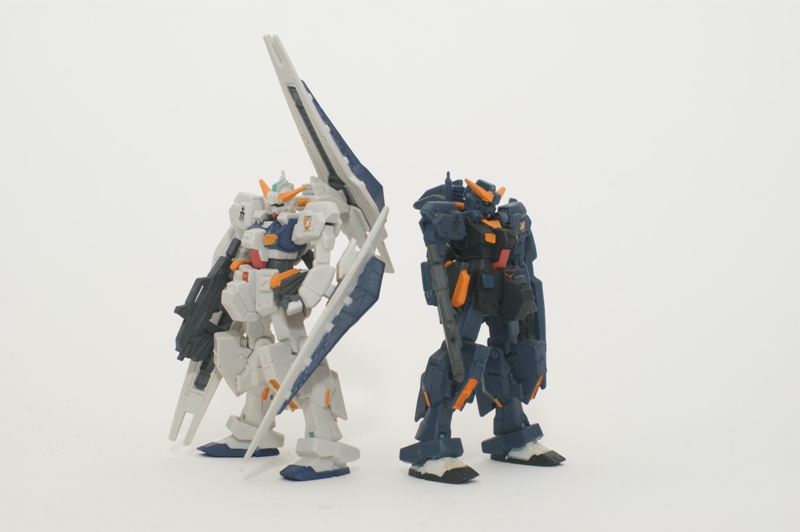
Basically this is the usage of lightbox, so u guys can start building one.
Just share something i know. Before i own a DSLR, i also using a compact camera, its quiet handy once u got the tricks. The pro of compact camera are its light in weight and u can carry it anyway, and it easier when u taking some WIP photo.
I'm using a Canon Power Shot A400. (It been with me for over 5 yrs and it still working very well)
1. Get to know ur camera
Before starting, do spend some time on the manual, it does help you figuring out where to find the particular function.
As u can see they're different color box, and here's the function.
White: Capturing mode
1. Photo View
2. Manual/Auto mode
3. Preset mode (portrait, Night Scene, Foliage, Snow, etc)
4. Video Mode
Green: Zoom in / out
Red: Menu for setting such as LCD brightness, Print order, date/time etc.
Pink: Macro/ Landscape
Yellow: Function/ delete. When in live view it will enter function (will show u later), while in photo viewing it be deleting.
Blue: Flash.
Only show those frequently use button, and ignore other rarely use button.
2. Snap your WIP project
To snap a close-up photo, select the macro mode which most of the camera will be indicate with flower icon. Half press the button, this enable the camera to focus on the object, most of the camera will have indicator in the LCD, such as this,
Or it will have sound "beep" when the object is in focus. Then fully press the button and the picture snap.
Example:
Out-of-focus
In focus
Snap ur completed project
Its an enjoyable progress here, where u finally finish ur project and want to show it to the world, and you want to make look really pro, even with a compact camera. So here's some tips i got. Some illustration to give u the brief idea.
Ok, what most important in snapping a sharp and nice photo are lightsource. U need sufficient of it, even the ceiling florescent light seem dark in photo.
LightSource
Option 1: Sunlight, either place ur project near window or take it outdoor. Time i suggested are those time where the sun is not too bright, bright sun will cast heavy shadow on ur project, and we try to avoid that.
Option 2: Table lamp, you need 2 or more lamp to eliminate unwanted shadow, or u can replace one with reflective material such as aluminum foil, shining pla-plate etc. to bounce back the light and soften the shadows.
Background
Background is to cover the unpleasant environment and draw the attention to ur project. White background can reflect lights as well, making ur project 'shining'. Can try with different background and have different effect. Make sure the background is big enough to cover all of ur project.
Project
Try different angle of the kits, and ... u'll know which angle is the best.
Example:
How the project been place..
Outcome
Its taken with compact camera. Lightsource is the sun light.
Diffuse your lights
Direct light/flash can lead to harsh shadow/lighting such as this.
Actually its overexposed :lol: and I dun like direct flash... :cry:
To overcame this problem, you need to diffuse the lights, but if using sunlight no need to diffuse just need to bounce the light.
Here's some illustration again.
Reflector
If using a white shining background than its not necessary, but if using darker color, better use the reflector.
Can either be a shining pla-plate or aluminum foil glue on a cardboard.
Lightbox
Purpose of the lightbox is to filter and soften the light. Usually u can use tracing paper, mahjong paper, A4 paper if its thin enough.
Here's some example of DIY lightbox (Photo borrowed fr Druid_99 member of another forum)
Make from recycle paper box and some mahjong paper and with few tapes.
Outcome
U can adjust the distance of lights, layer of paper and get the satisfying photo u want. Even the background can be change.
Here's my lightbox.
Outcome:
Basically this is the usage of lightbox, so u guys can start building one.