|
|
Post by bombervince on May 13, 2013 19:44:48 GMT 8
While I re-arrange my model kits, I found this kit, a Fujimi FD3S in the anime "initial-D" that I got it from my friend in SG some times ago. the body is still ok but the chassis is not. The suspension is damaged during the modification done. I love this body so much that i first thought of opening one of my Fujimi FD stash and use the Chassis only. After some consideration, I decided to build both, using the new kit as a guide to rebuild the damaged Chassis. Ok, enough of talking and here's some pic. 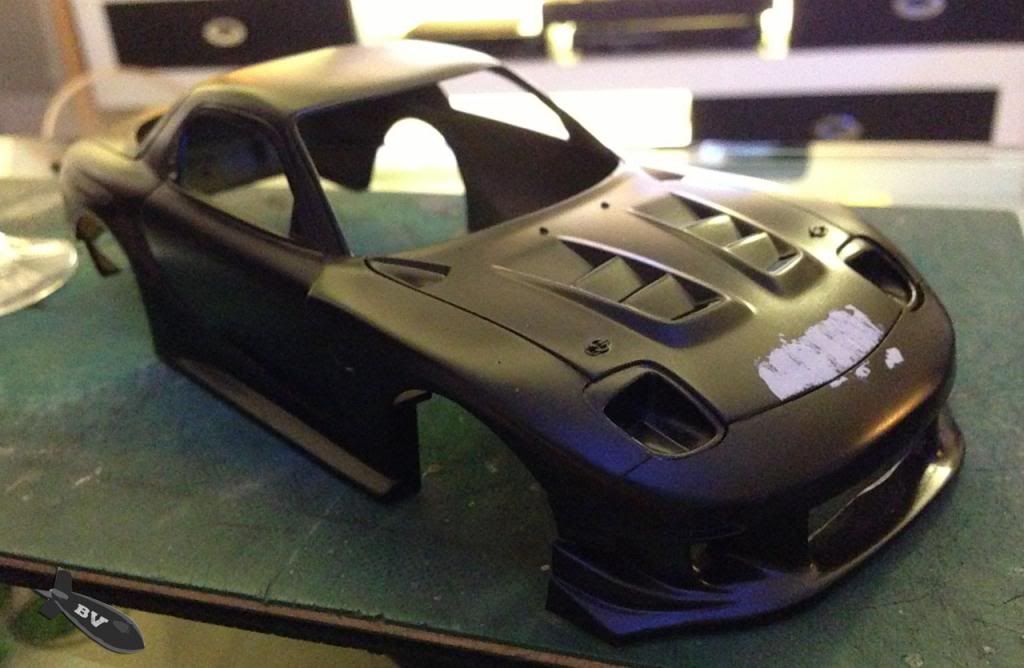 this is how the body looks when I got the kit. 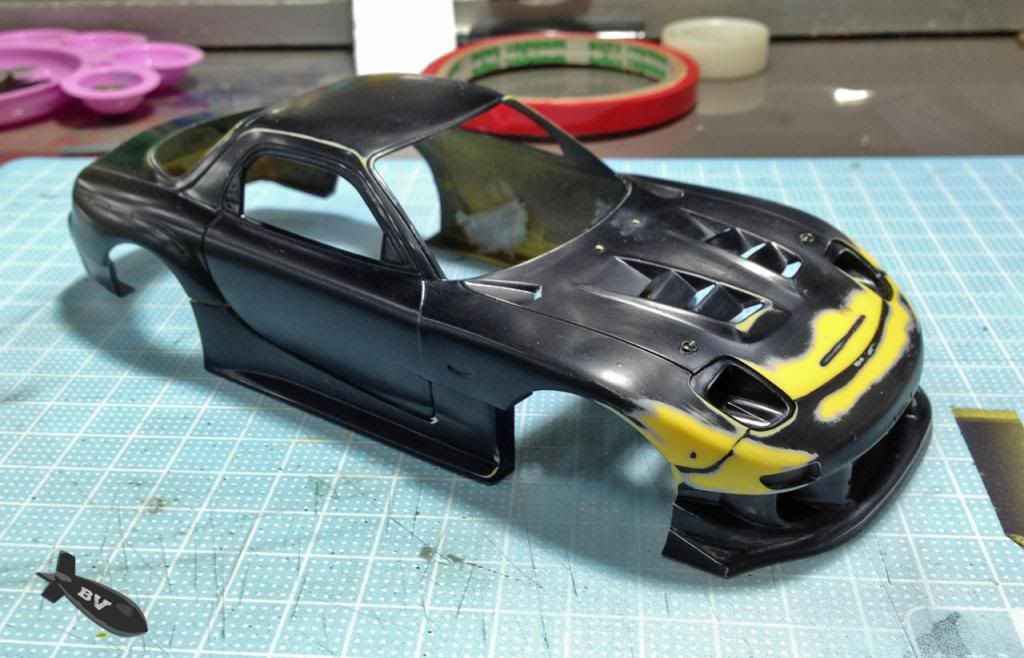 sanded smooth  My own way of strengthen the joining, CA glue + tissue paper, layer by layer 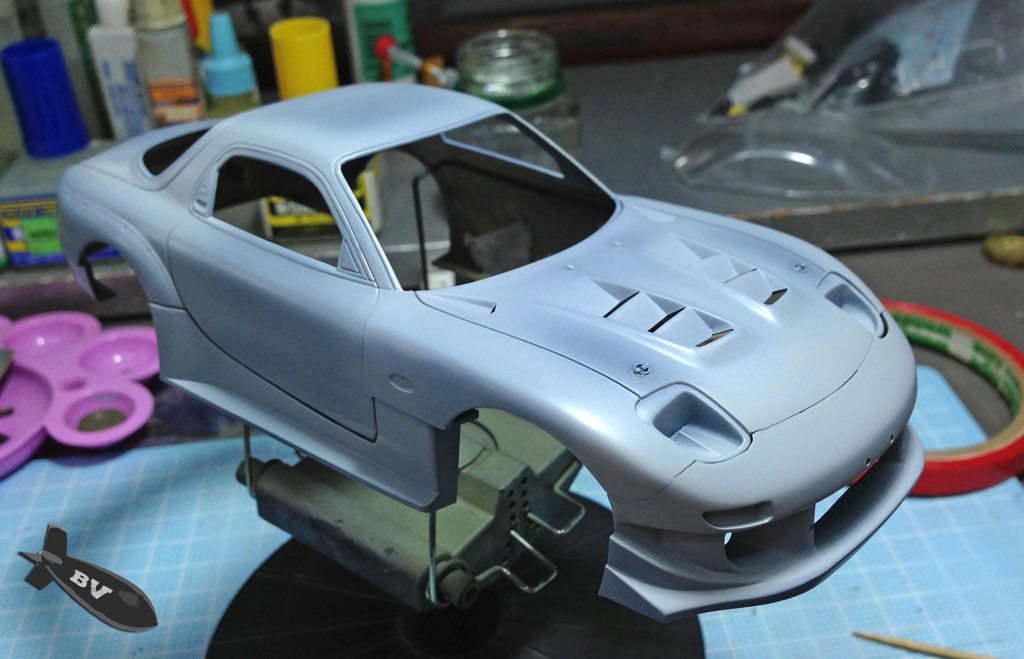 Result after priming and re-scribe of some panel lines 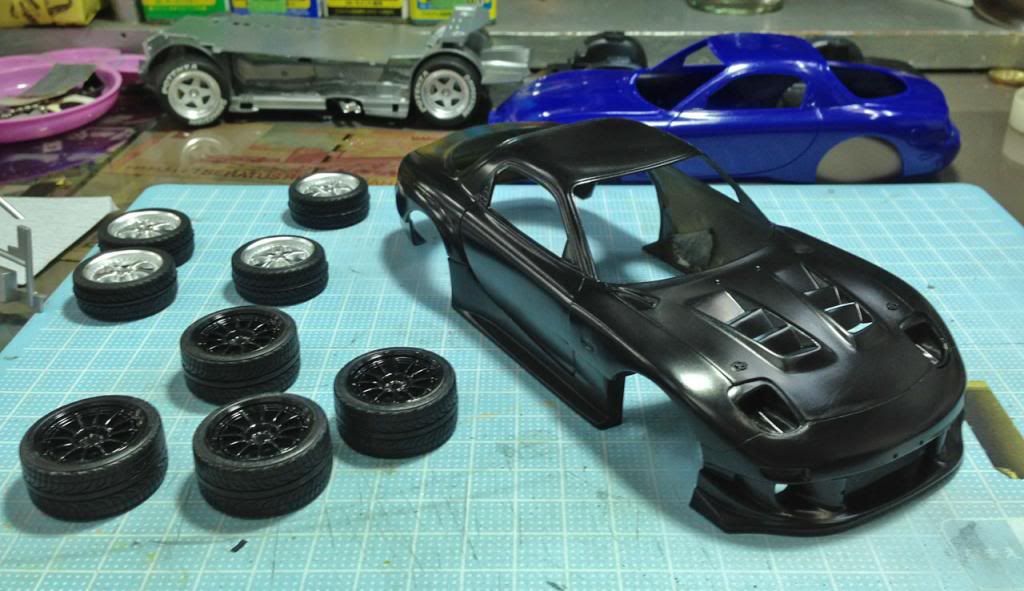 sprayed with Gaiya gloss black Thanks for viewing. If any pf you out there have a Fuimi FD chassis to let go do drop me a pm. Thanks. |
|
|
|
Post by bombervince on May 15, 2013 12:25:18 GMT 8
Some small progress.. 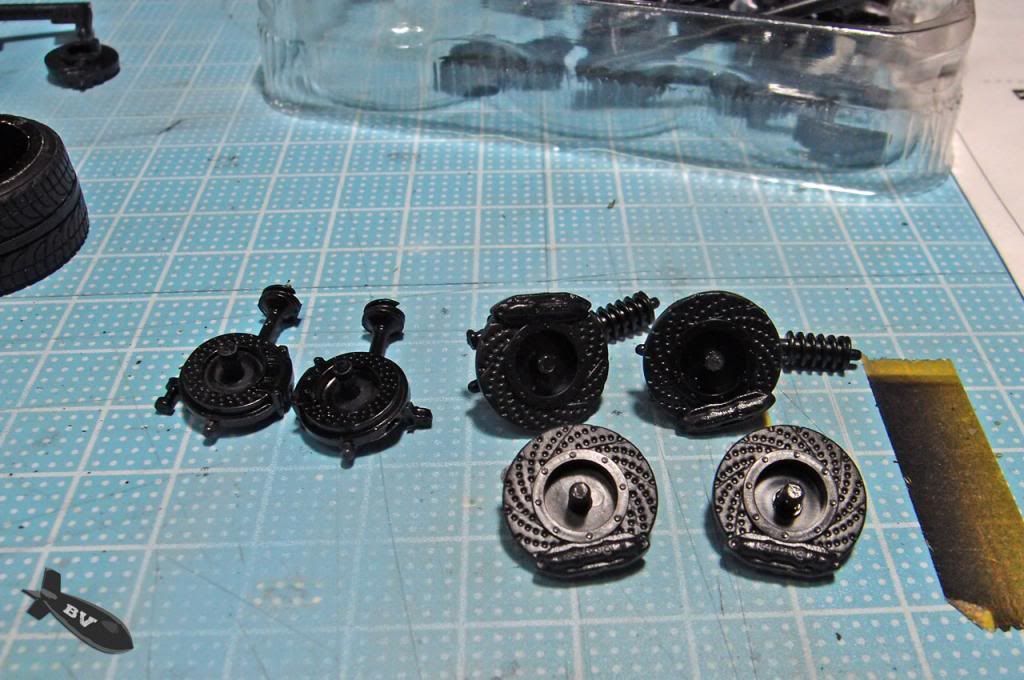 since the rear suspension is damaged beyond repair, I manage to fine a set of 4 Brembo brake system from my spare part storage. It's from Aoshima VIP cars 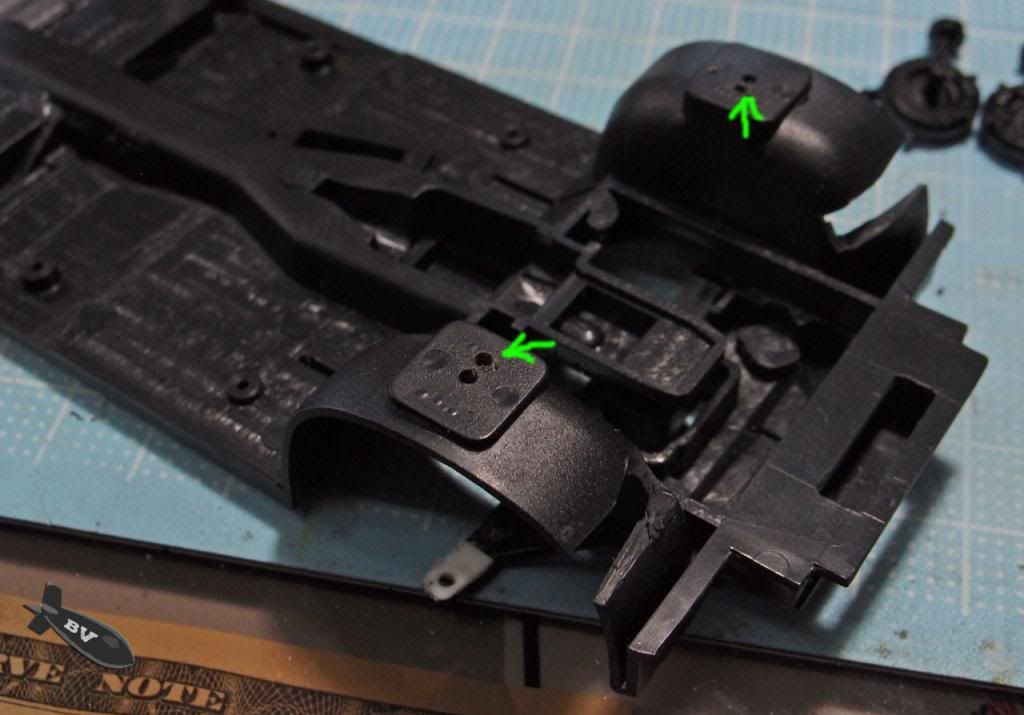 Another hole were drilled to fit in the front absorbers, only bit of trimming will make the parts fit in. 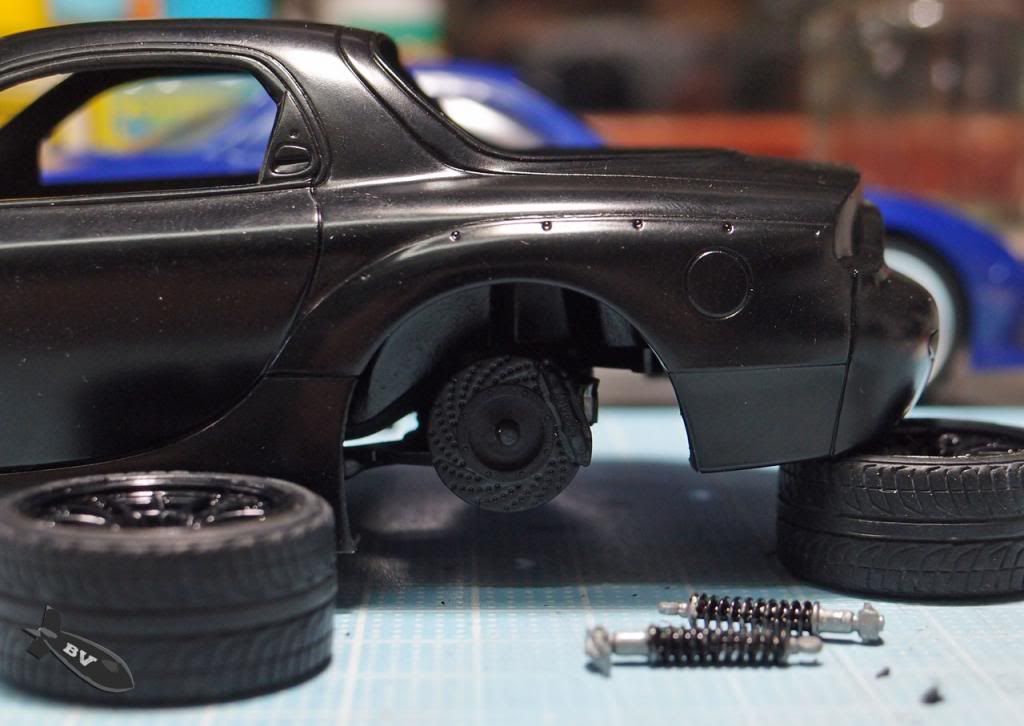 . the rear suspension fitted, absorbers later 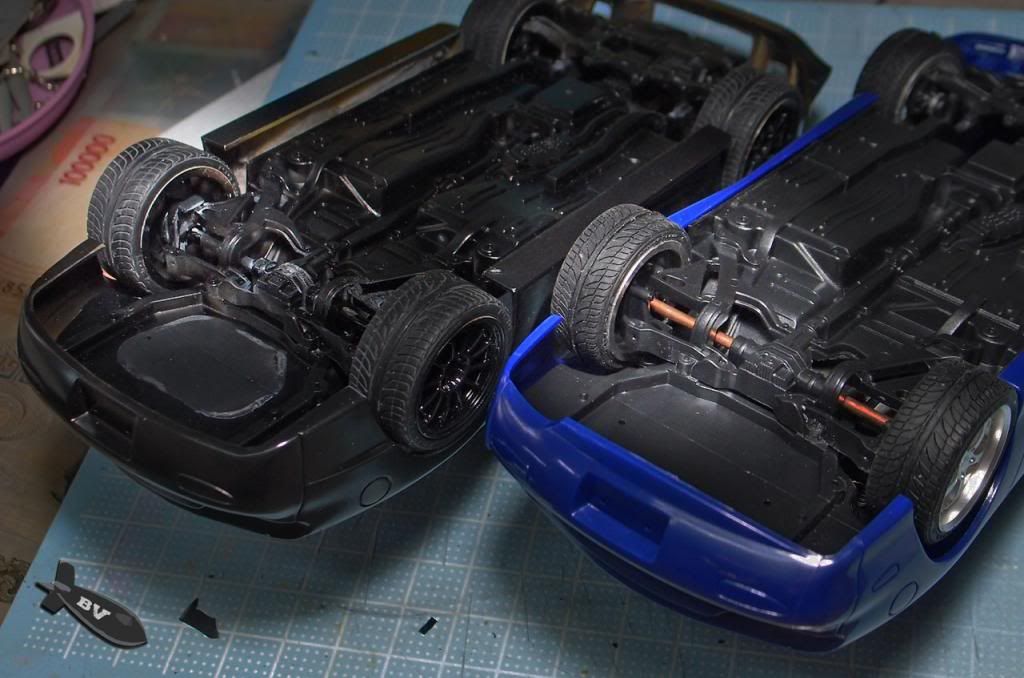 the modified rear suspension and the stock ones. 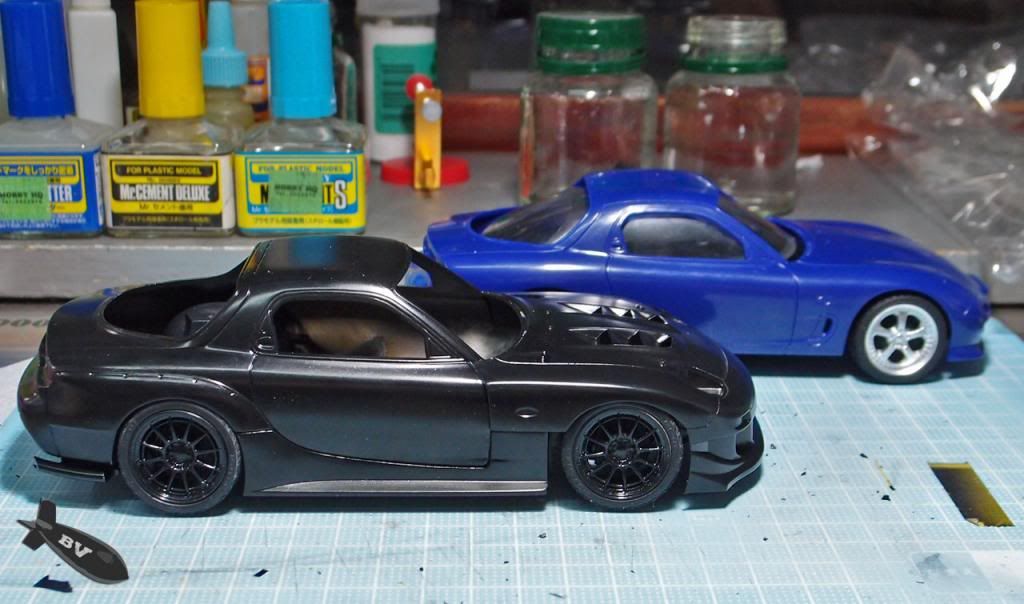 here's the final ride height setting for my Project "D" FD3S that's all for today, thanks for viewing |
|
|
|
Post by bombervince on May 18, 2013 23:27:17 GMT 8
|
|
|
|
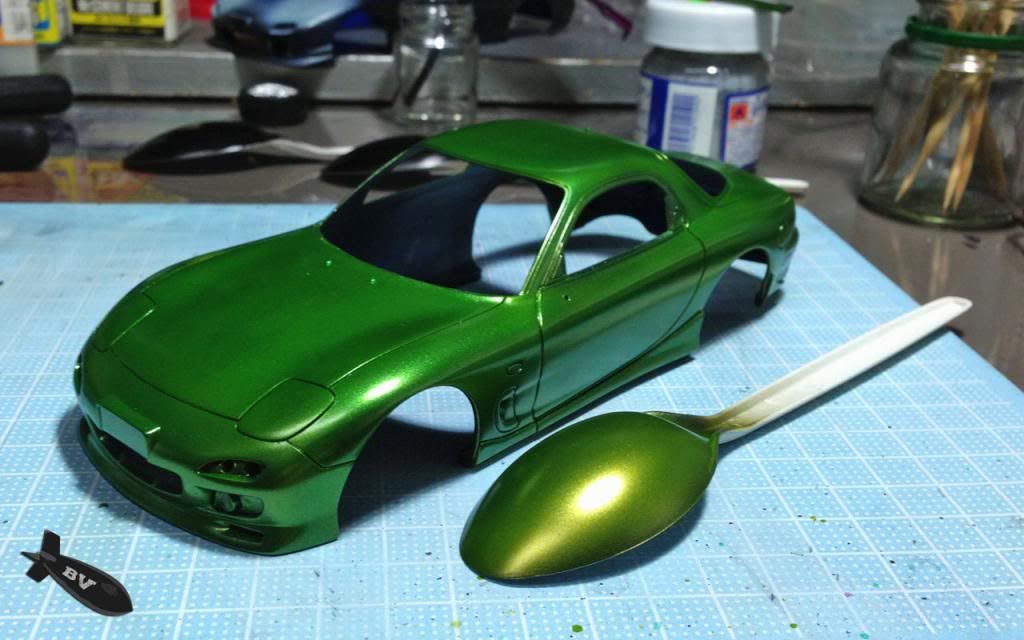
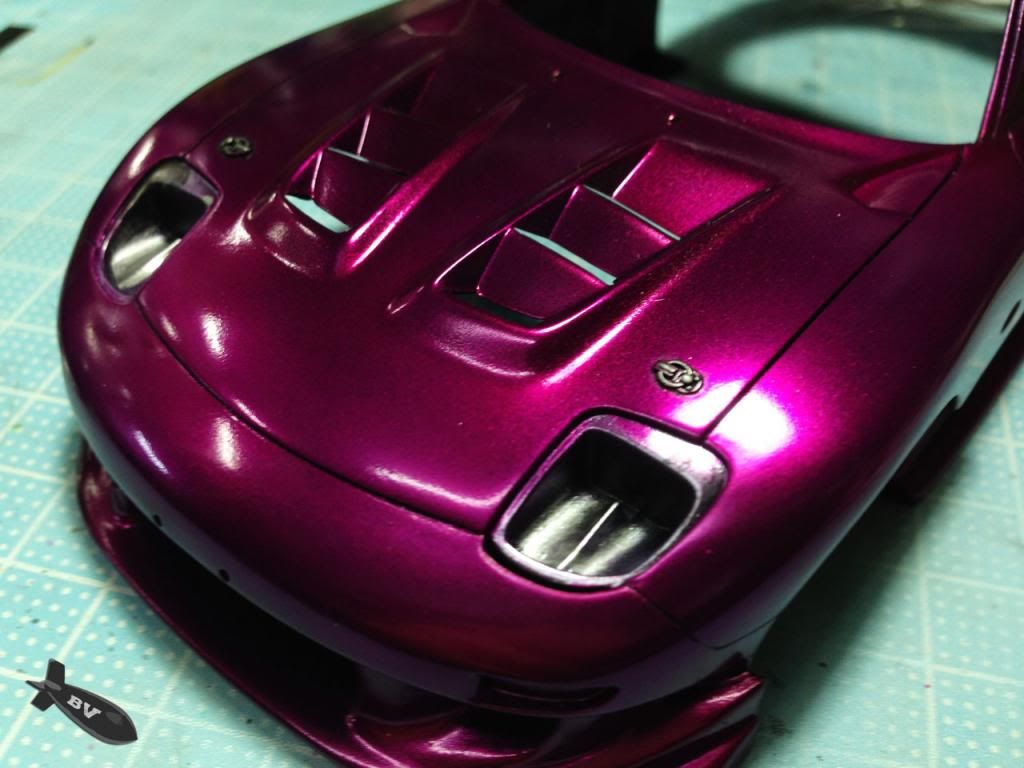
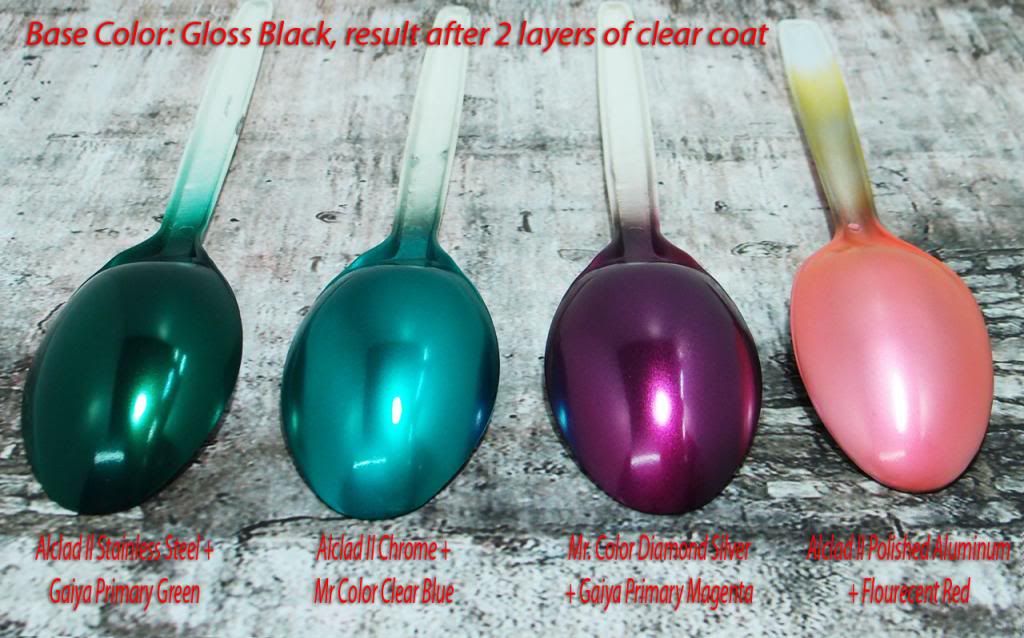
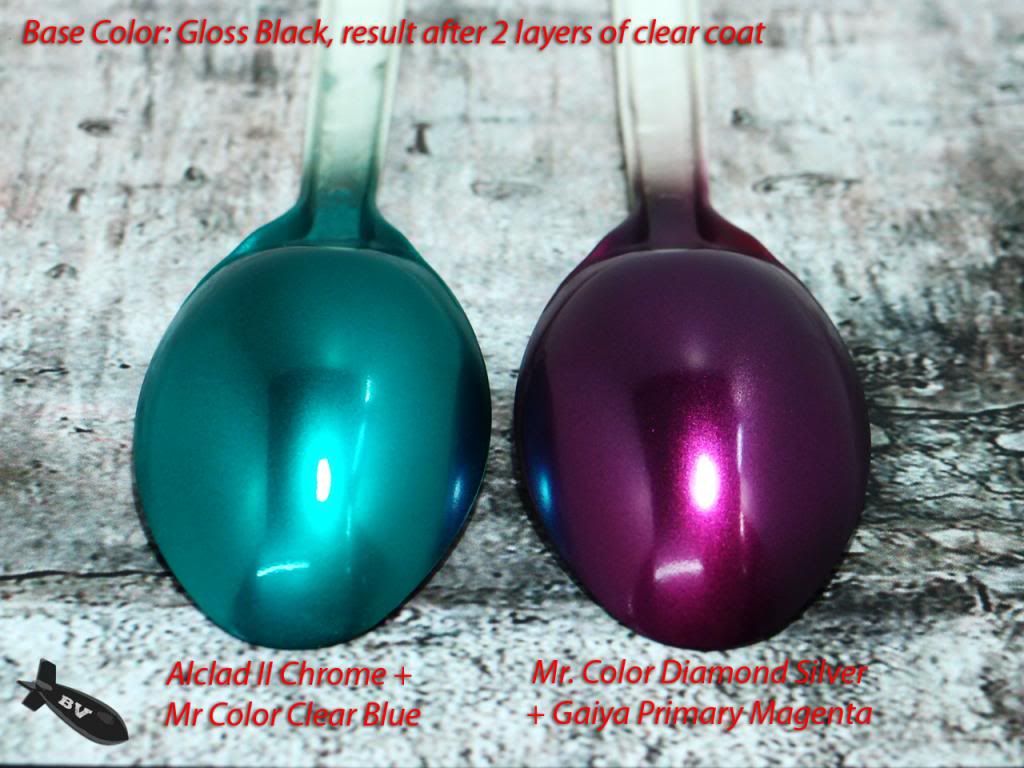
Post by bombervince on May 18, 2013 23:40:14 GMT 8
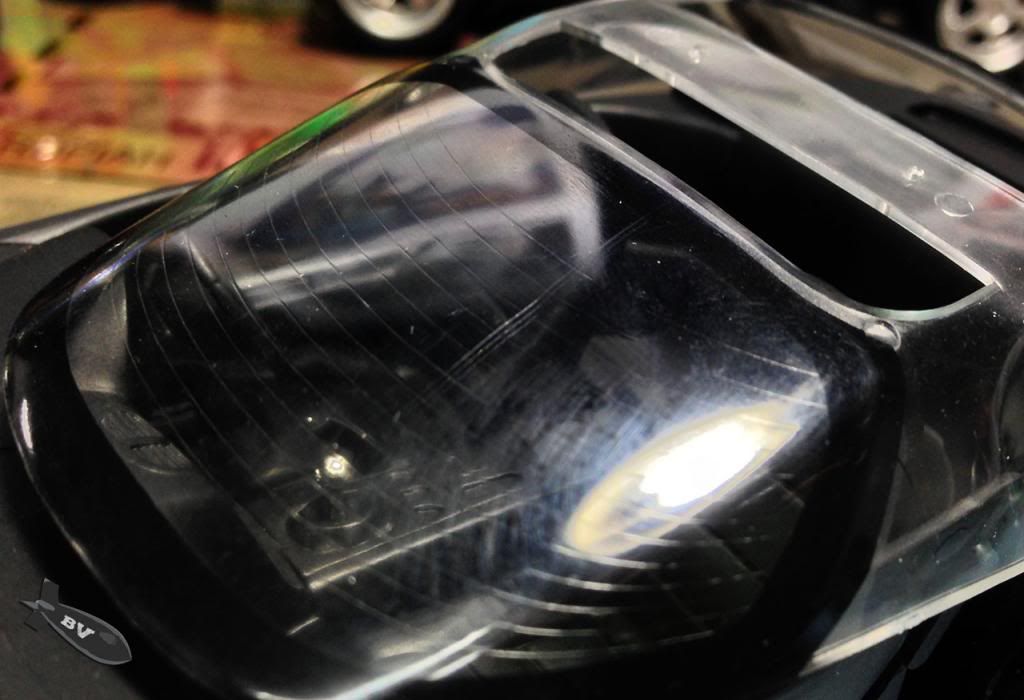
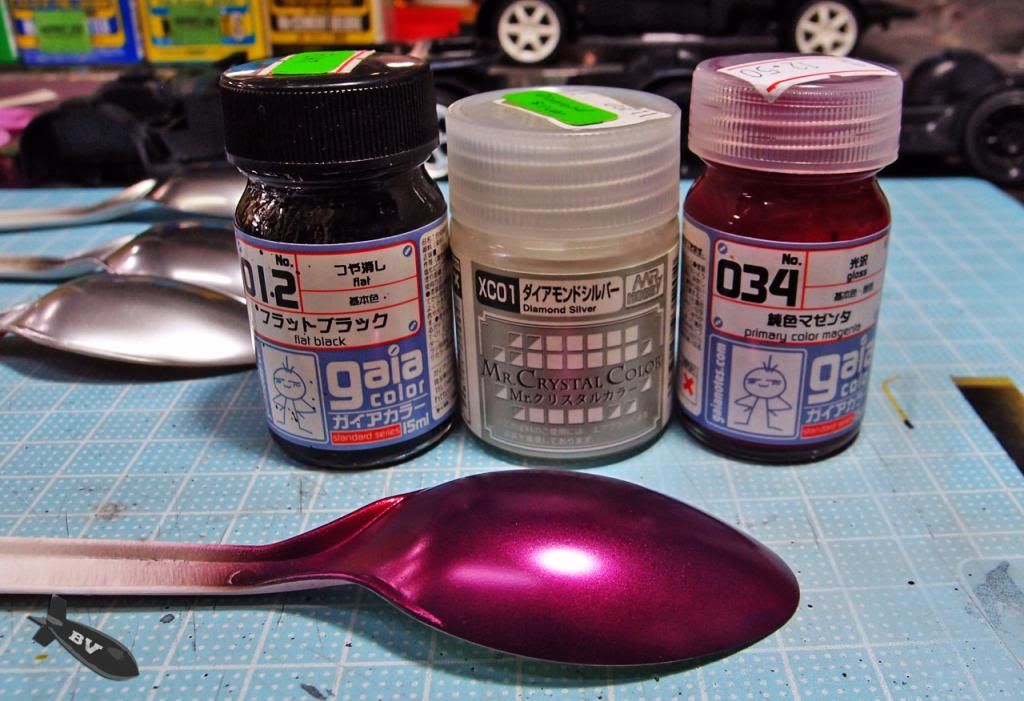 The formula of my Metallic Candy Magenta. 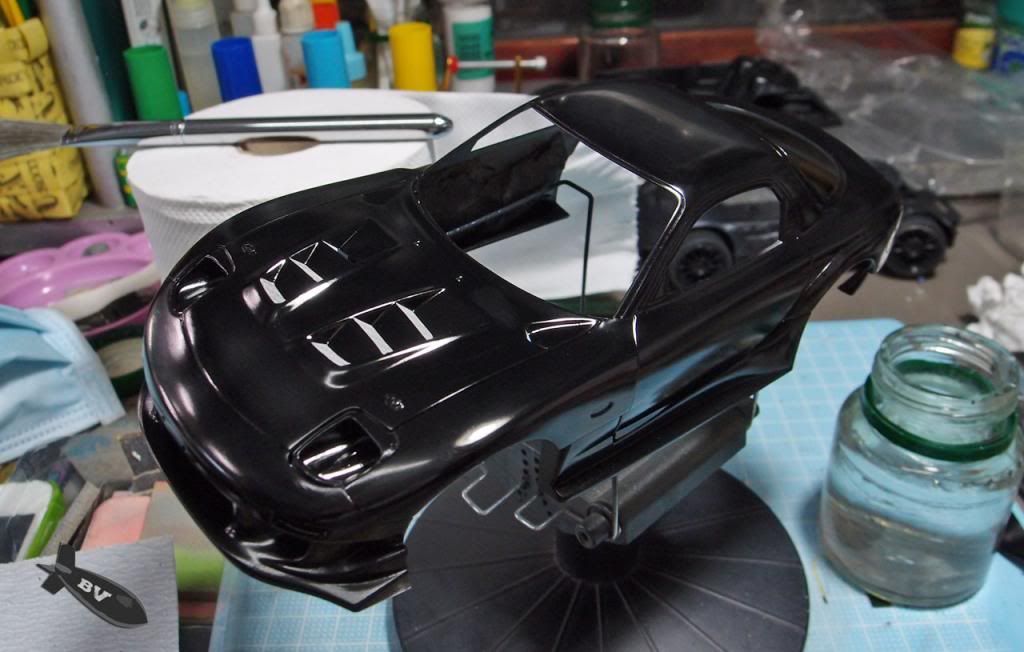 the body after the final layer of gloss black treatment 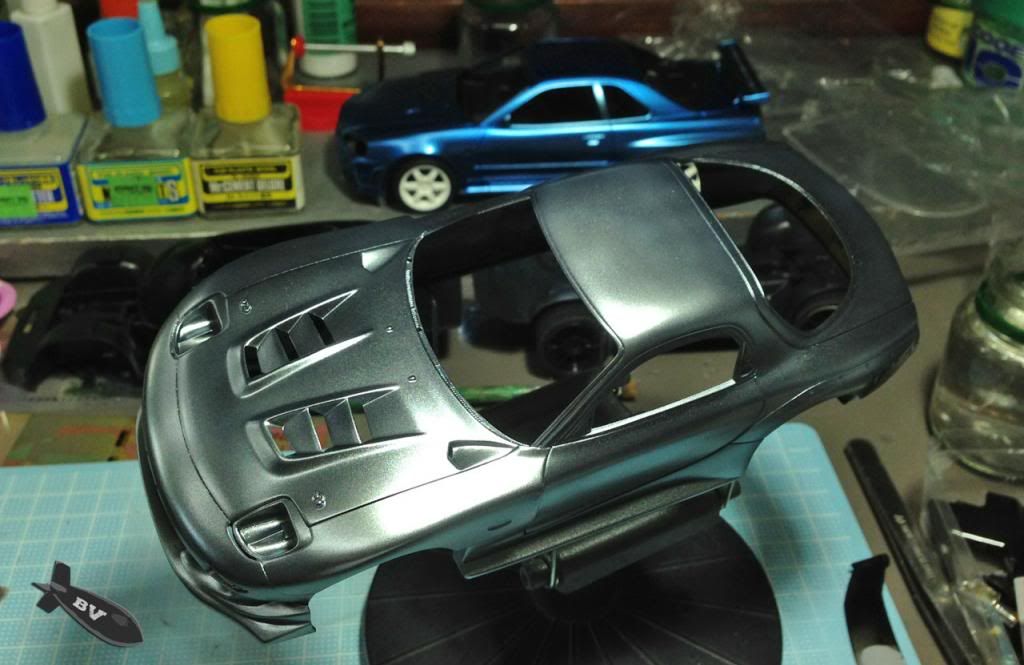 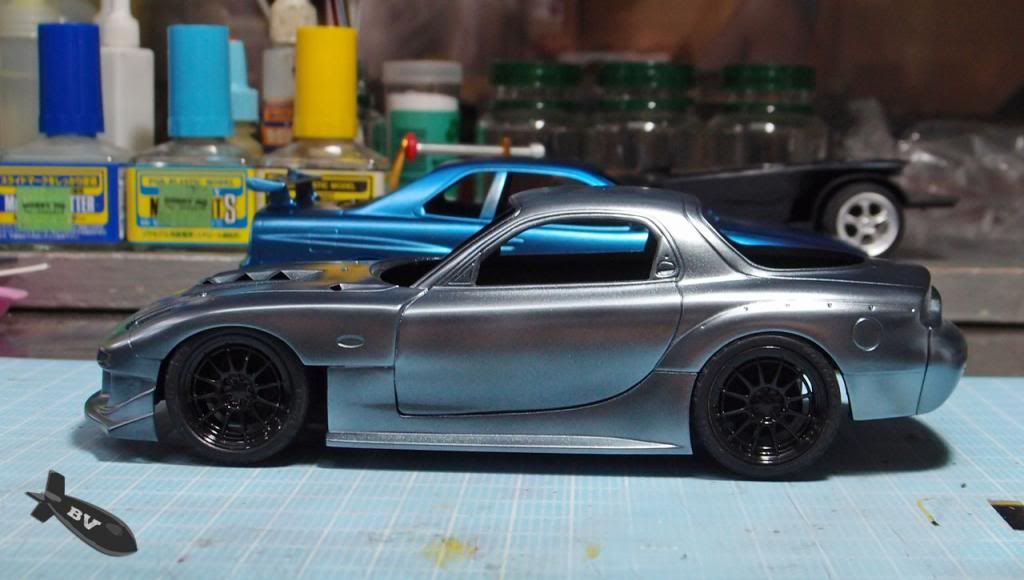 Sprayed with Mr Hobby Diamond Silver 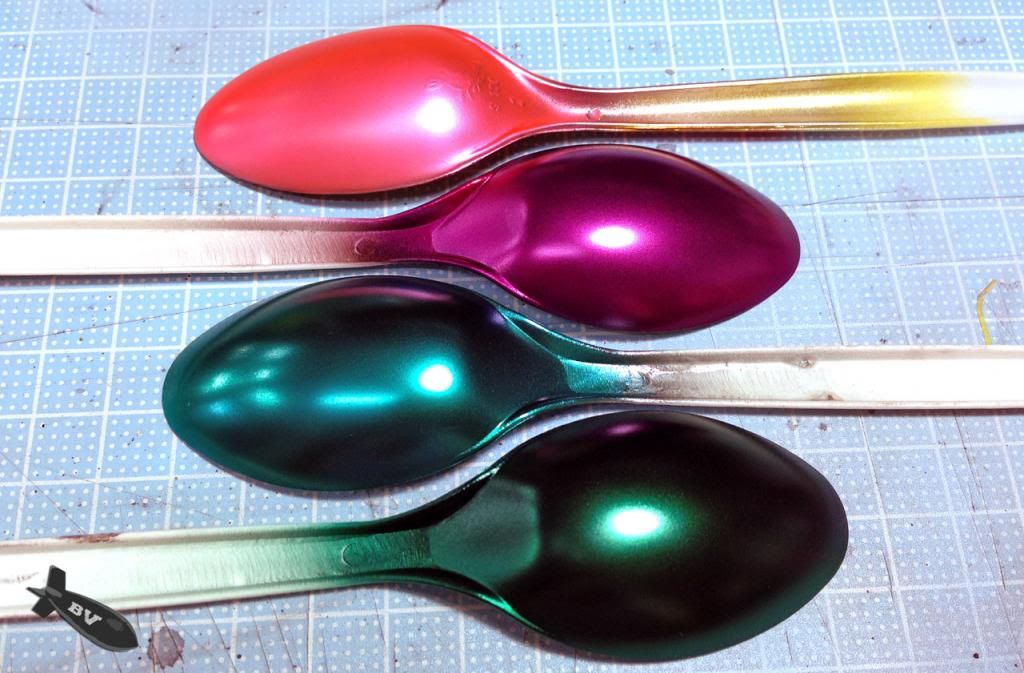 Did some extra paint sample, so which one you guys this is the best for the FD Type-RS? Color from top: 1. Alclad II Polished Aluminum + Arrows Flourecent Red 2. Mr Hobby Diamond Silver + Gaia Primary Magenta 3. Alclad II Chrome + Mr. Hobby Clear Blue 4. Alclad II Stainless Steel + Gaia Primary Green |
|
|
|
Post by bombervince on May 20, 2013 0:20:38 GMT 8
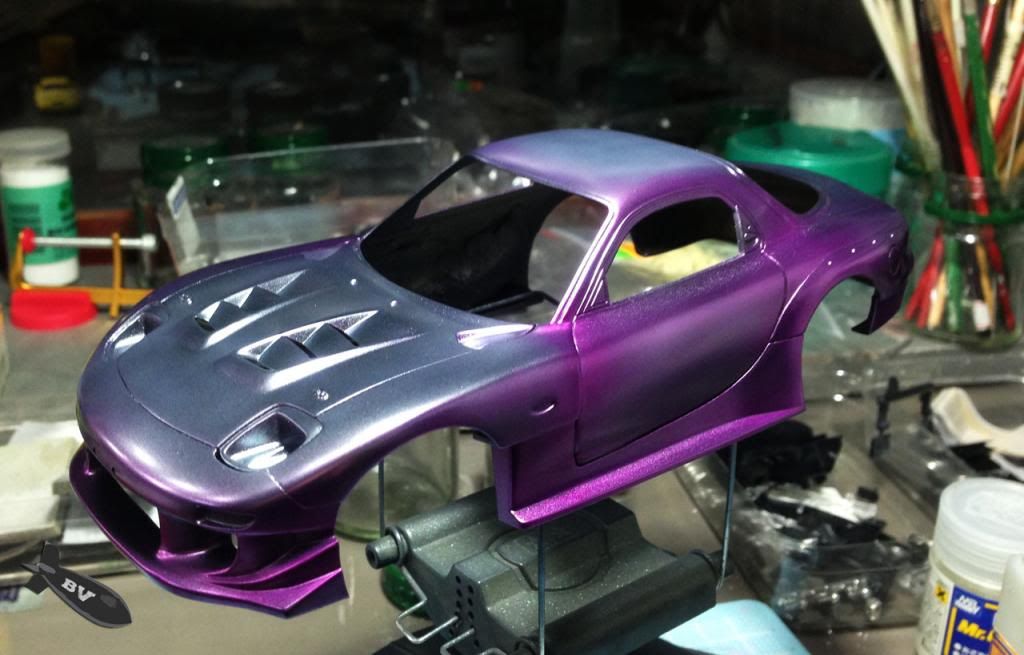 I begin the spray with thin layers, and then repeat till the whole car is covered evenly. The magenta layer is finally done, here's the result. the surface is still not glossy yet, so clear coating will be the next step. 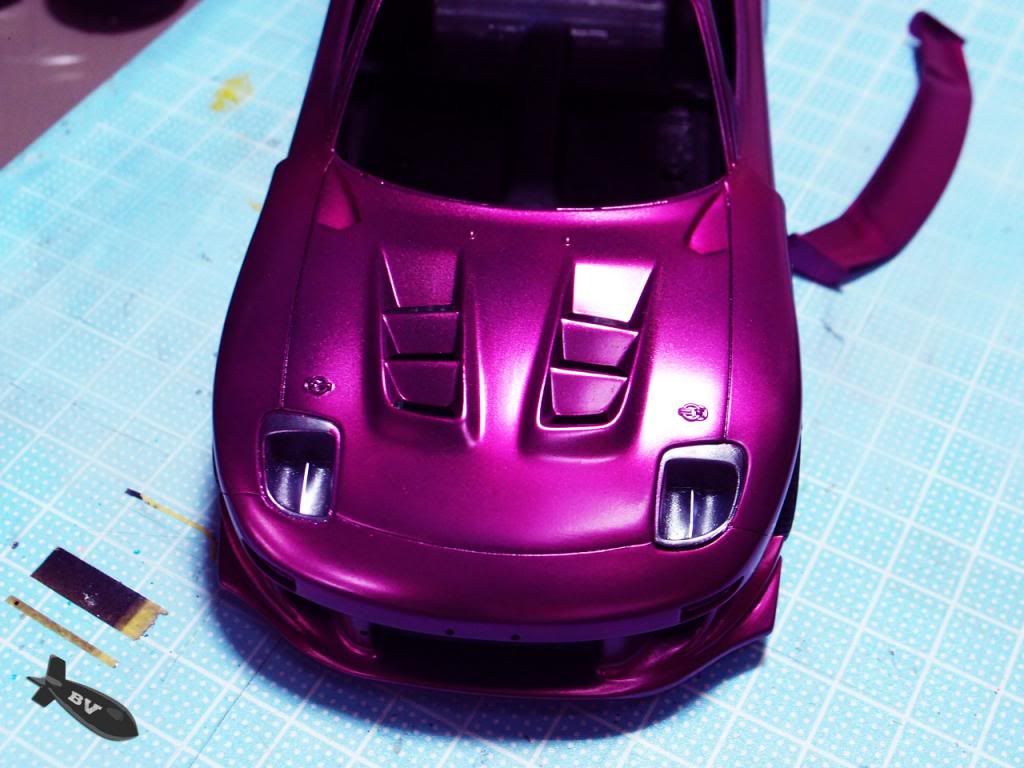 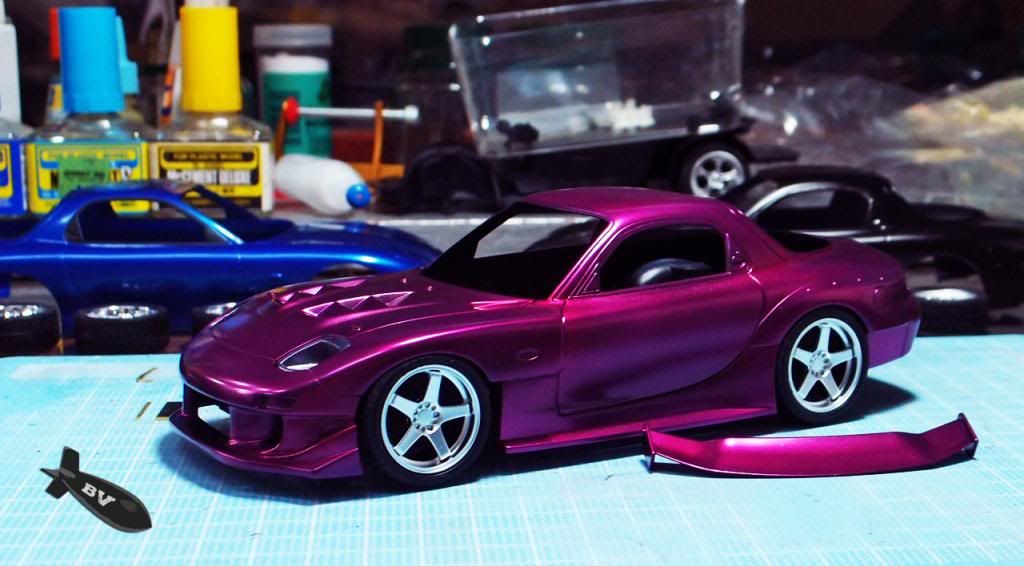  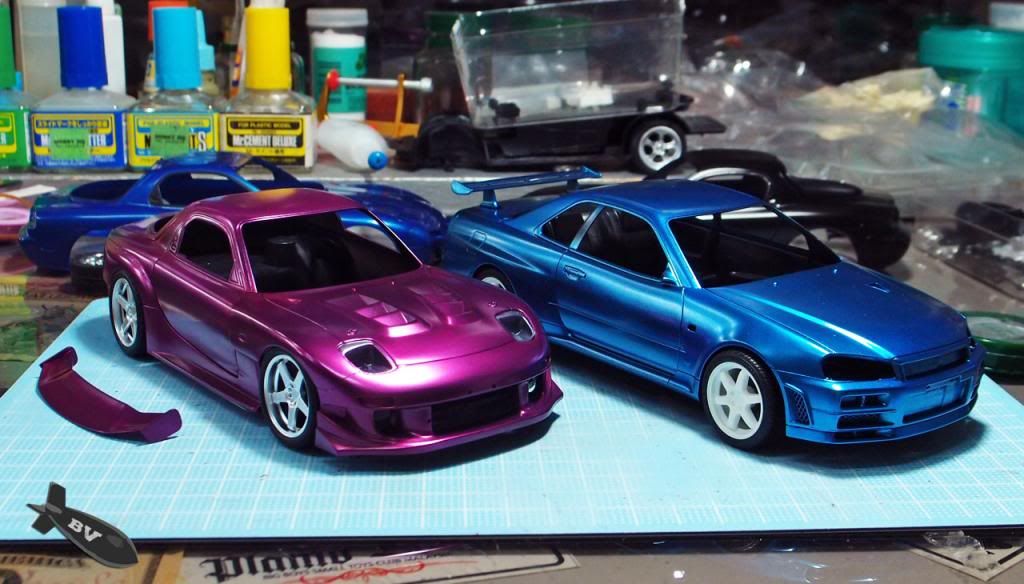 a photo-shoot with my another WIP, Initial D R-34 GTR thanks for viewing, C&C are always welcome. |
|
|
|
Post by banzai on May 20, 2013 21:13:48 GMT 8
Mix pearl in to the clear coat, would it produce a metallic pearlescent 2 tone paint? Just an idea!
|
|
|
|
Post by bombervince on May 22, 2013 13:23:52 GMT 8
The version with gunze clear blue is very nice, I will use it on My Aoshima FD3S 98' Ok, bit of progress yesterday. 1. The Magenta FD is sprayed with her first layer of Gunze Super Clear III 2. As for the FD3S Type RS, I sprayed with a custom mix "Metallic pearl florescent lime green" Formula as below 1. Mr Hobby Diamond Silver - 50% 2. Arrow Clear Yellow - 35% 3. Gaiya primary color green - 5% 4. Gaiya primary color yellow - 7% 5. Gaiya florescent green - 3% and the result.... this is a one time finish personally I think it's bit too yellow and the "metallic" effect is lesser compared to the 2-step painting method of the Magenta FD. 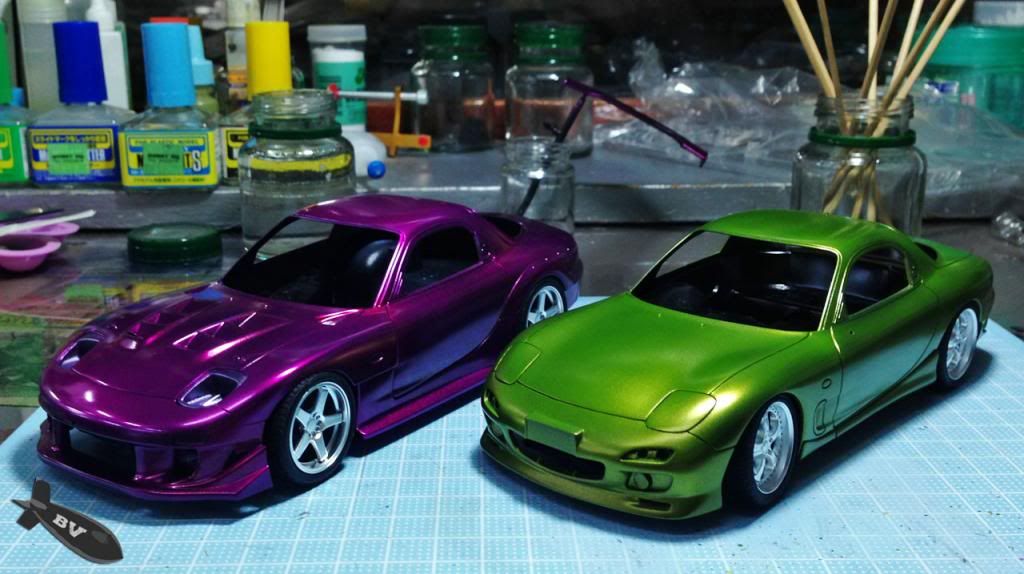 |
|
|
|
Post by banzai on May 22, 2013 16:12:47 GMT 8
Mmm shinnnny. I would like to see them polished up.
|
|
|
|
Post by bombervince on May 26, 2013 21:29:33 GMT 8
 I sprayed another layer of clear + gaiya primary green on the car to make it more "green" instead of "yellow" the spoon beside is the earlier mix 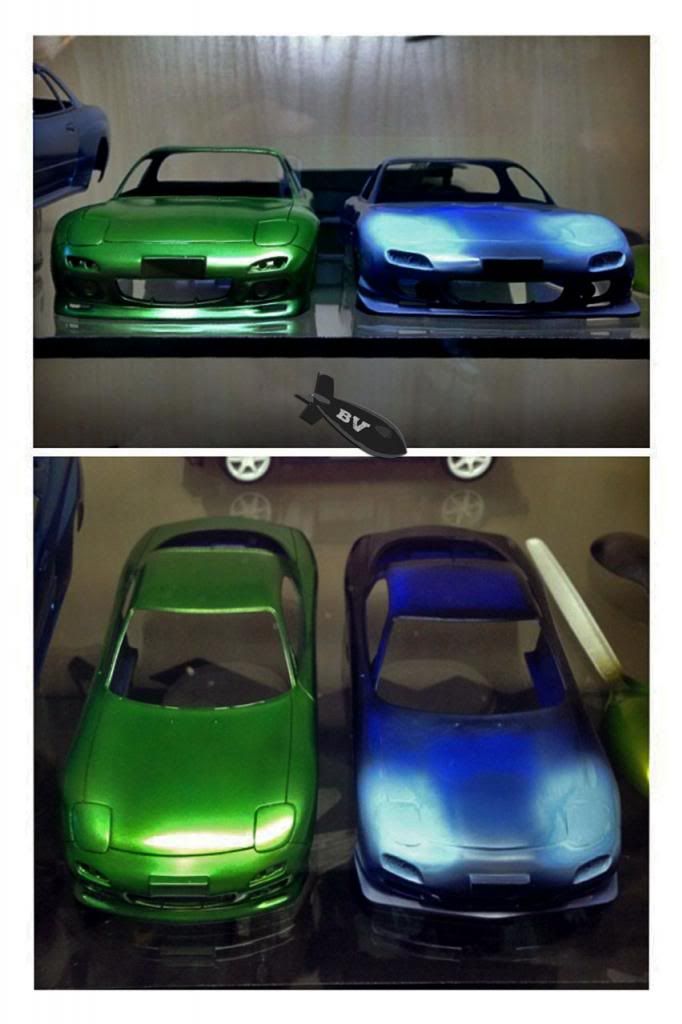 While waiting the paints to dry, I found my self a box of Aoshima FD3S with pre-finished body, but sadly it's a waste of money, the extra 800 yen is not worth it, first, the paint on the hood cracked, then the mold lines were not sanded before the paint, so say bye bye to the "innocent blue" paints. after sanding the mold lines I painted the body with gloss black (no primer this time since the body is already painted. Photo shows the comparison between Aoshima FD & Fujimi FD, Shape wise I will sure prefer Aoshima. 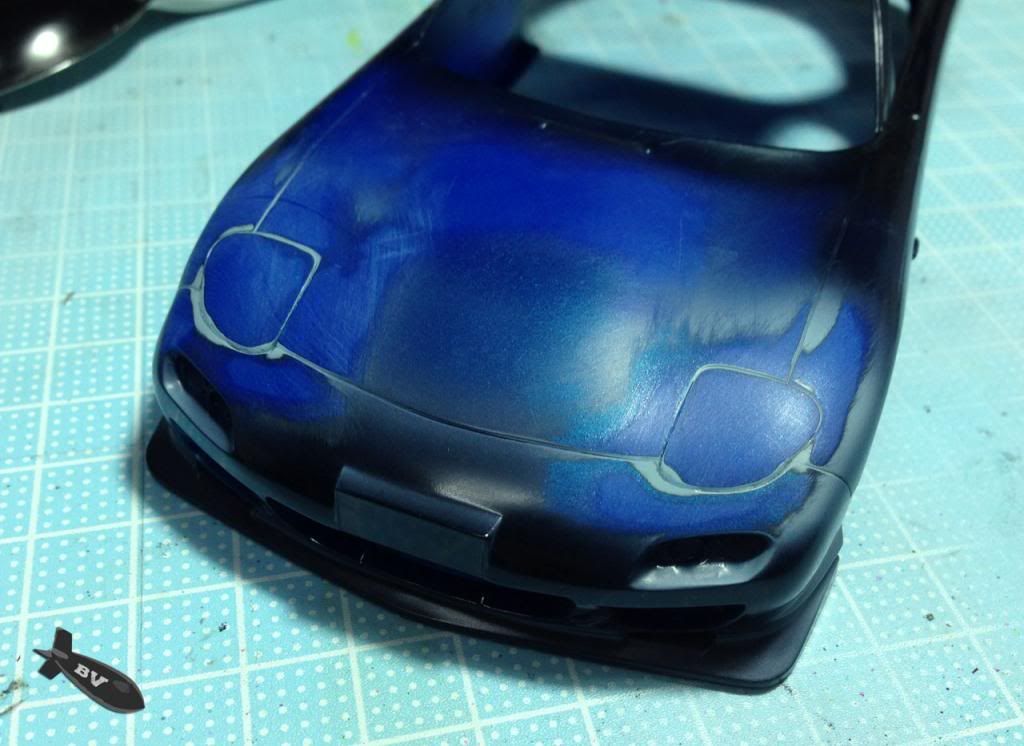 Aoshima has good shape but sadly the fitting for the separate bumper is bad.... filling, sanding and re-scribe is a must. 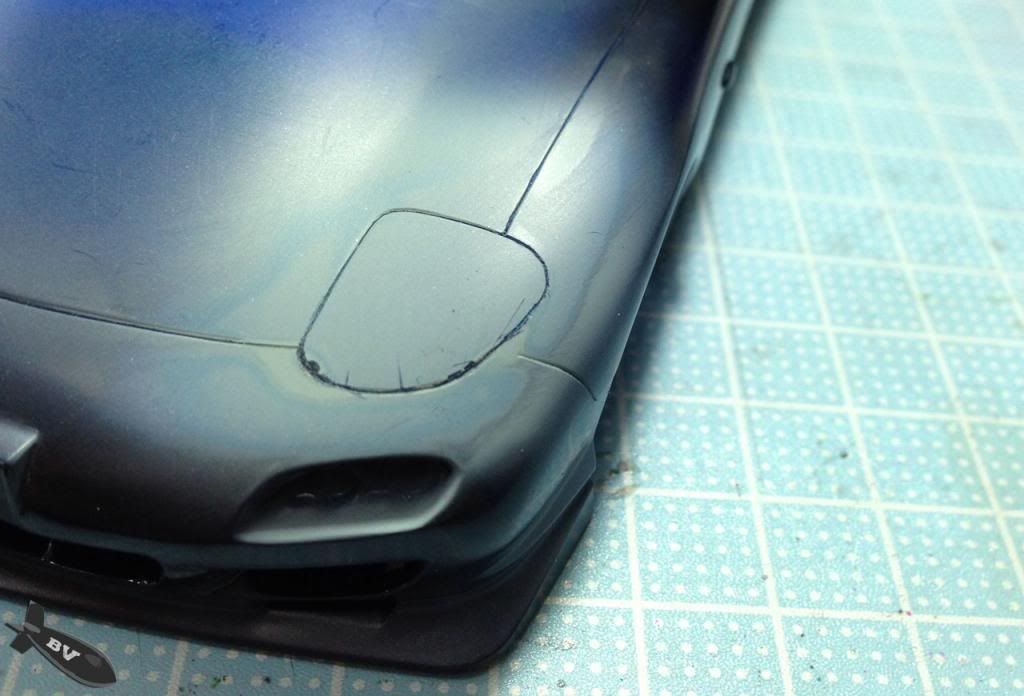 sanded smooth and re-scribe the lines. 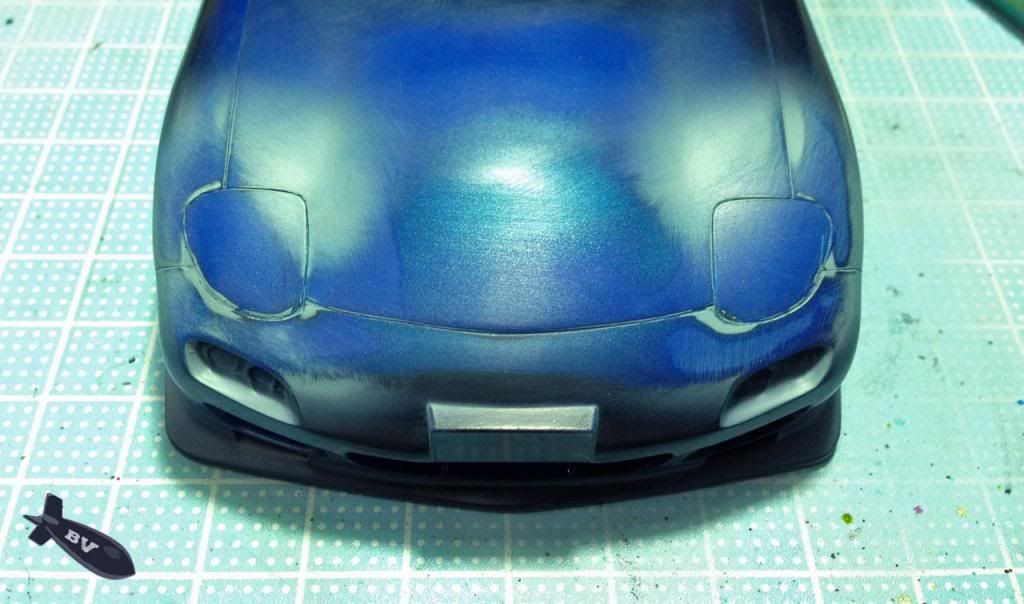 sand smooth again and later i apply primer, the process repeat until I reach a tidy finish. 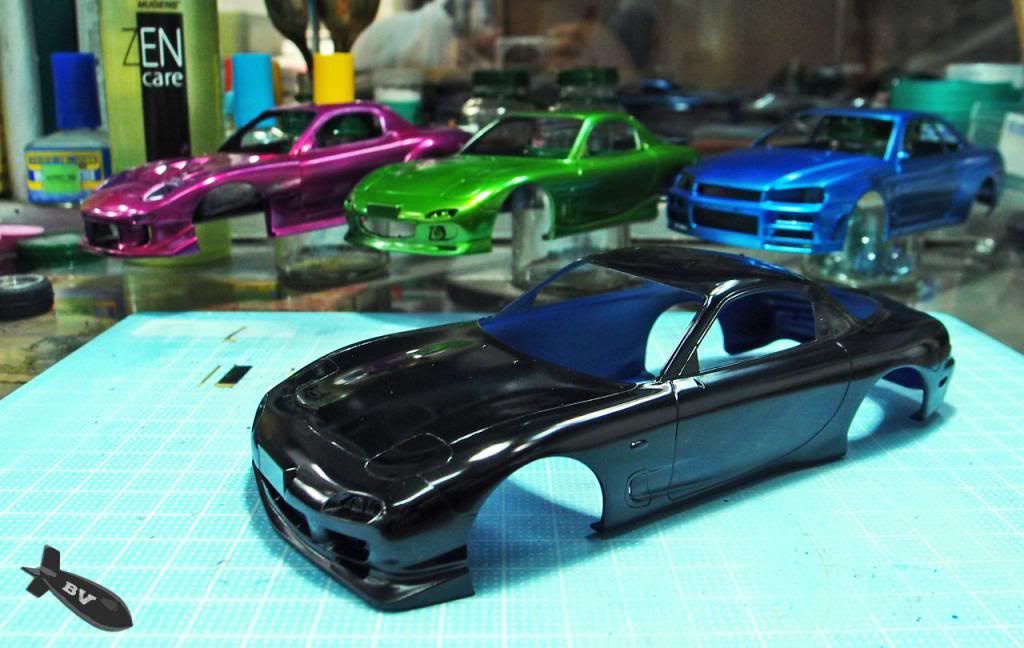 sprayed with gloss black. |
|
|
|
Post by bombervince on May 26, 2013 22:26:58 GMT 8
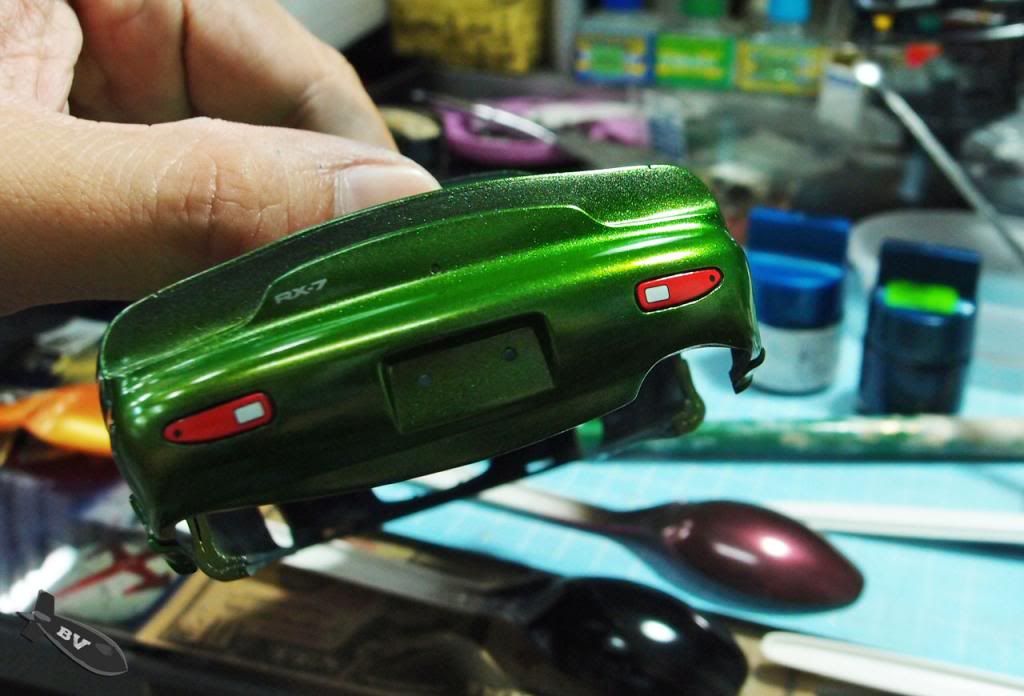 for the fujimi kit, the rear reflector and reverse lights are decal, I found it bit too bright 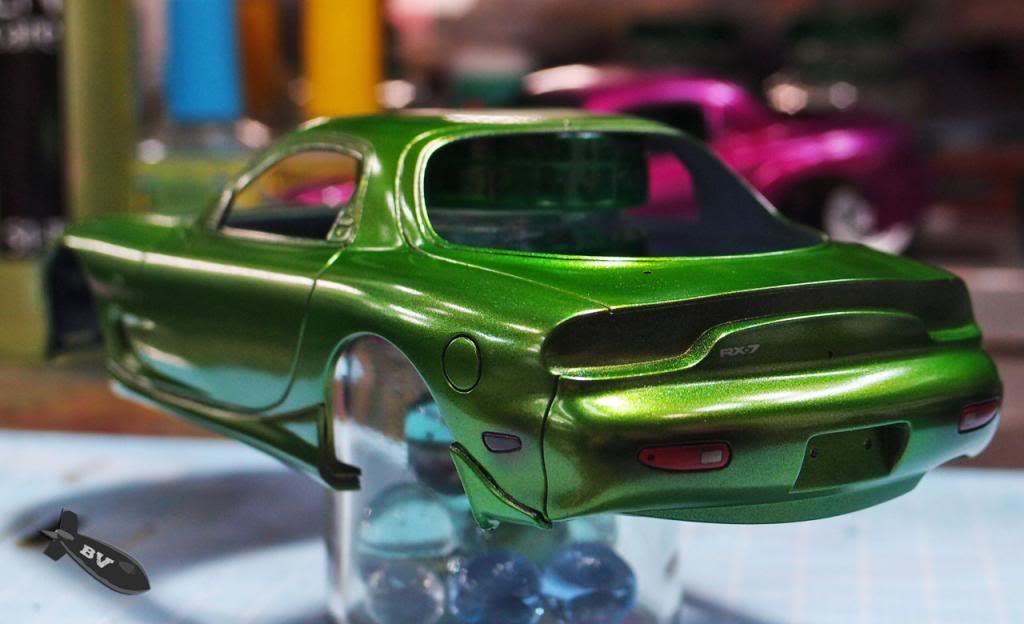 ended up I "smoked" them 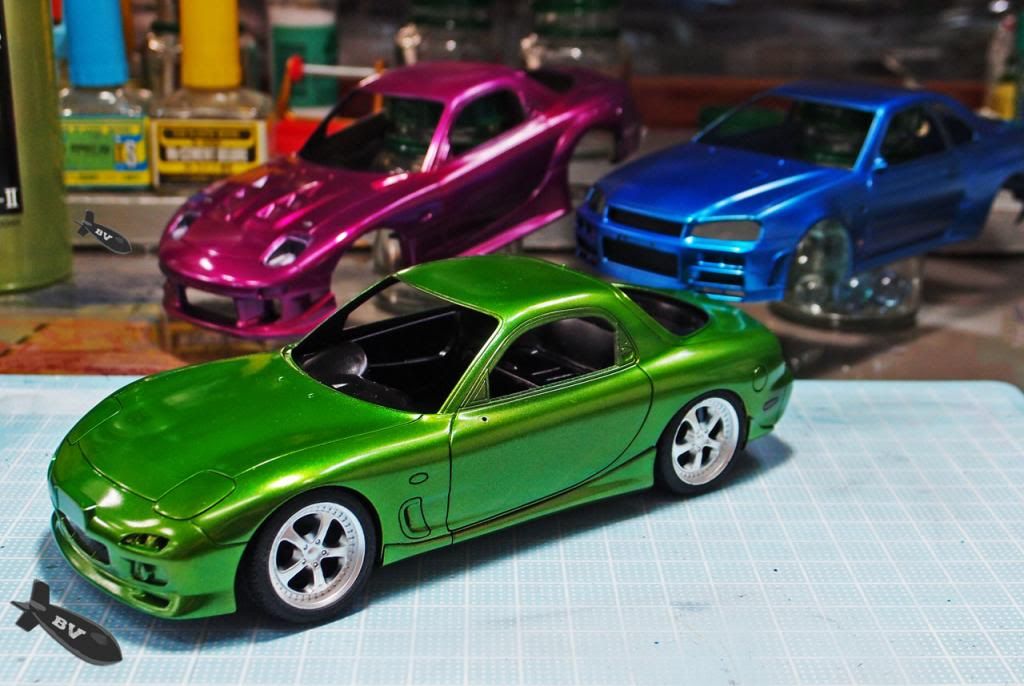 so what color shall the rims be?? any suggestions? |
|
|
|
Post by bombervince on May 26, 2013 23:21:34 GMT 8
 Hand painted the hook lock with 00000 brush 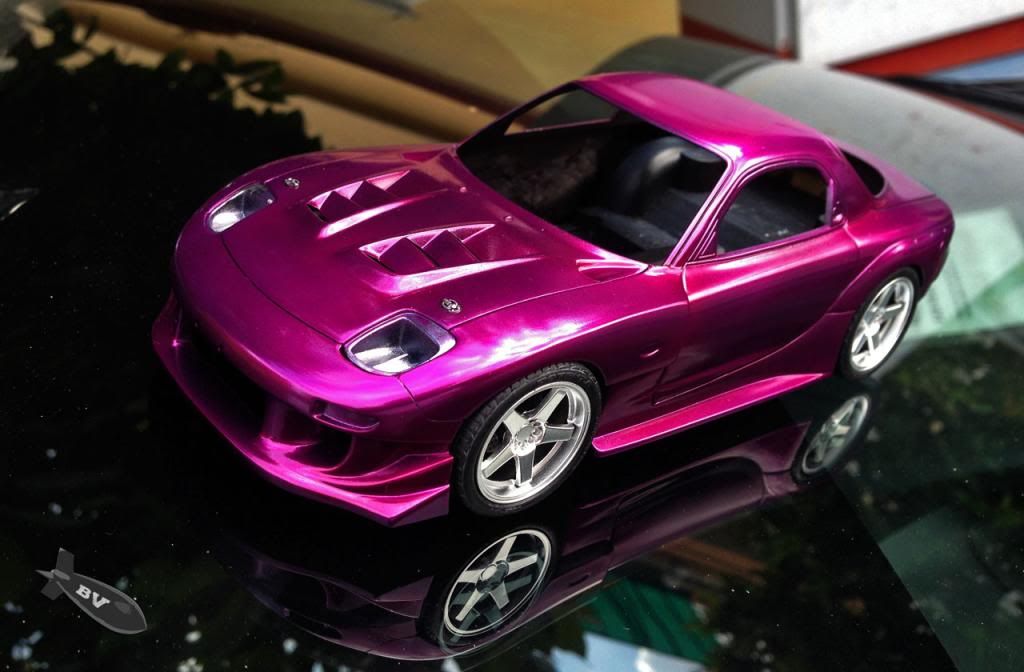 out door pic, after 2 layers of clear coat 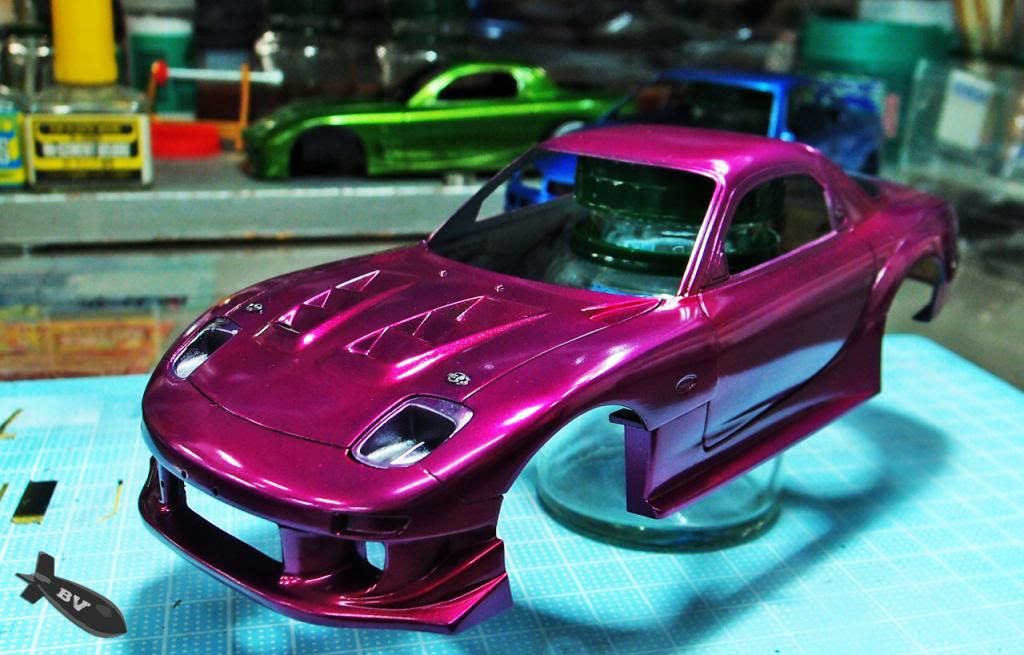  2nd layer of wet coat 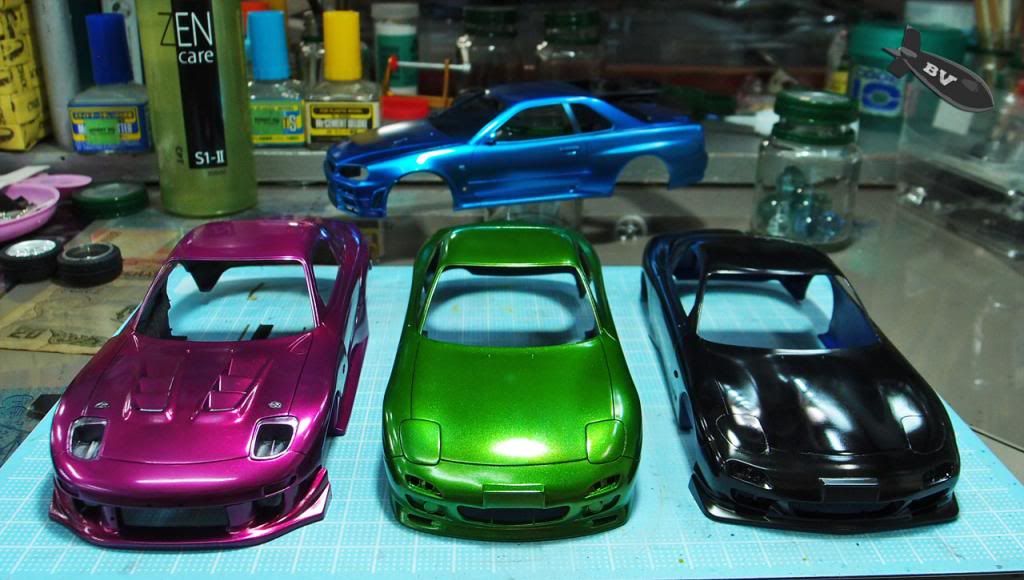 Now the twin build has became triple build. thanks for viewing, c&c are always welcome |
|
|
|
Post by bombervince on Jun 2, 2013 17:37:17 GMT 8
  Update some result on the spoon test that I'm doing along with this build 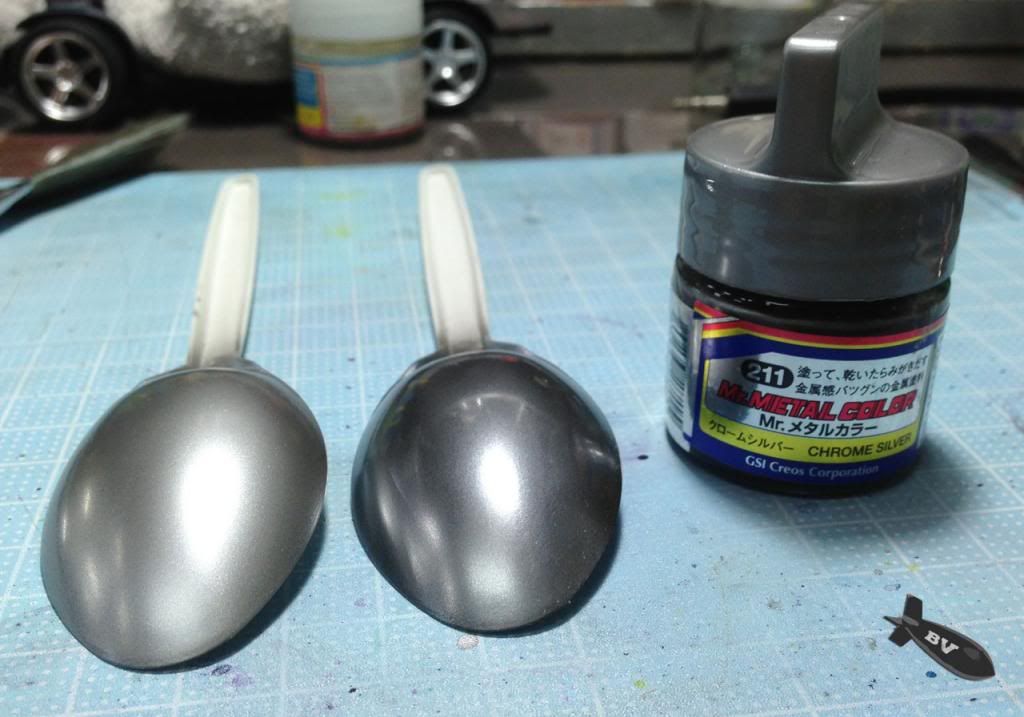 for the final FD, I'm trying another type of combination, Mr Metal Chrome Silver on gloss black, the right is buffed. This paint is so thin that it dries fast and does not create uneven surface (orange peel) like the Pear Diamond Silver that I use on the Magenta FD. 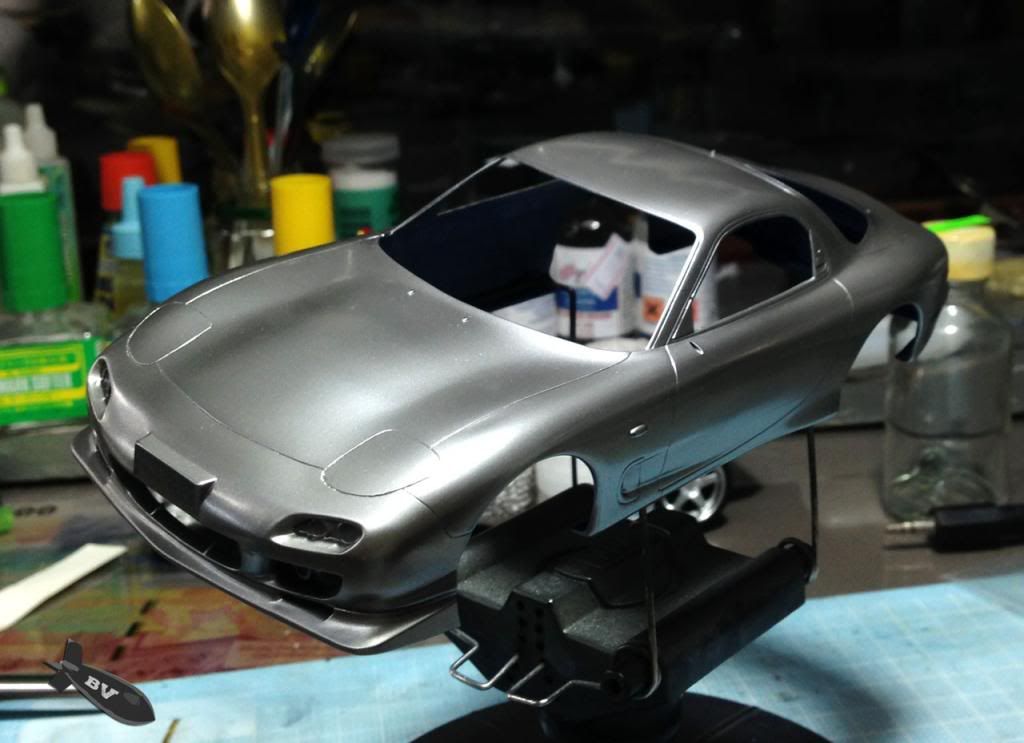 Sprayed it on the Aoshima FD3S 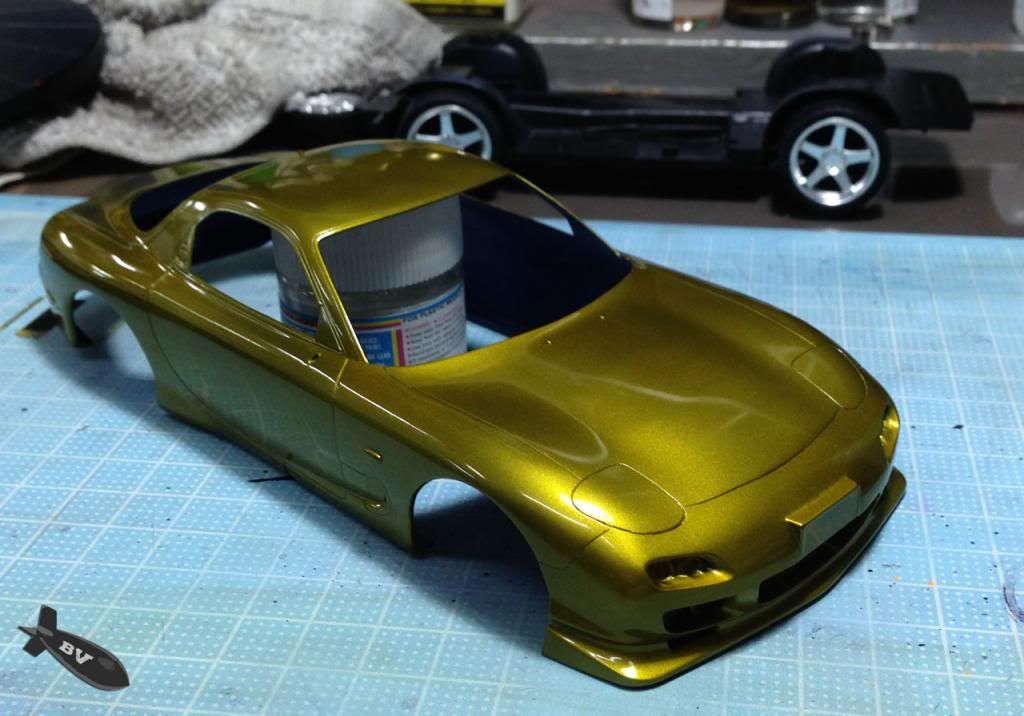 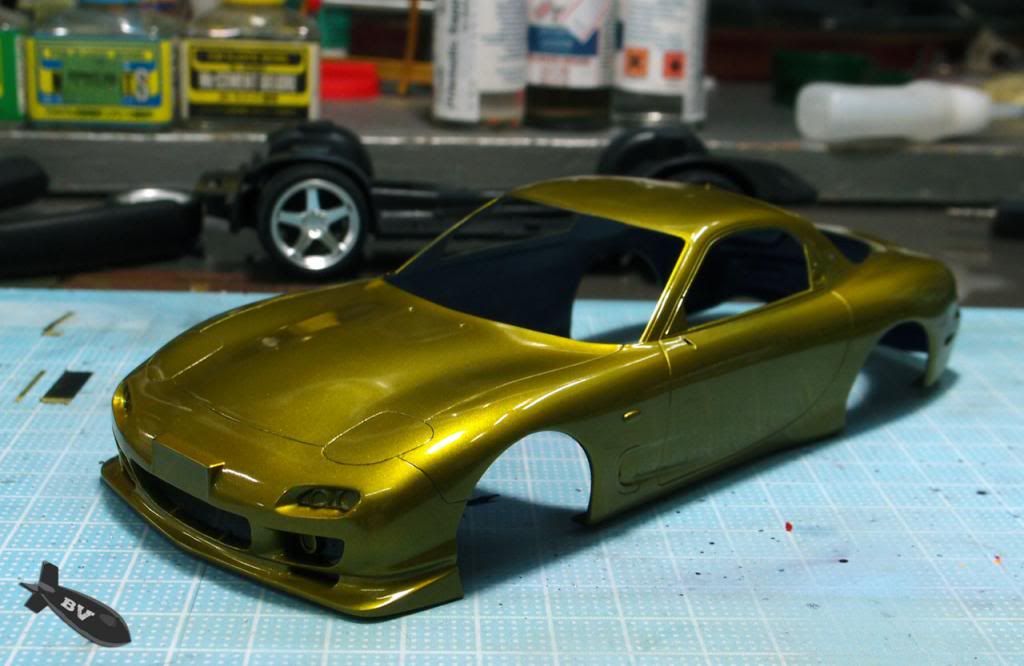 the body then spray with multiple thin layers of clear yellow (de-canned from industrial spray can) till I achieve a even and glossy finish. I like the color but some how the final result still bit out from what I expected, the color depth is lesser compare to the one with Perl Diamond Silver base. 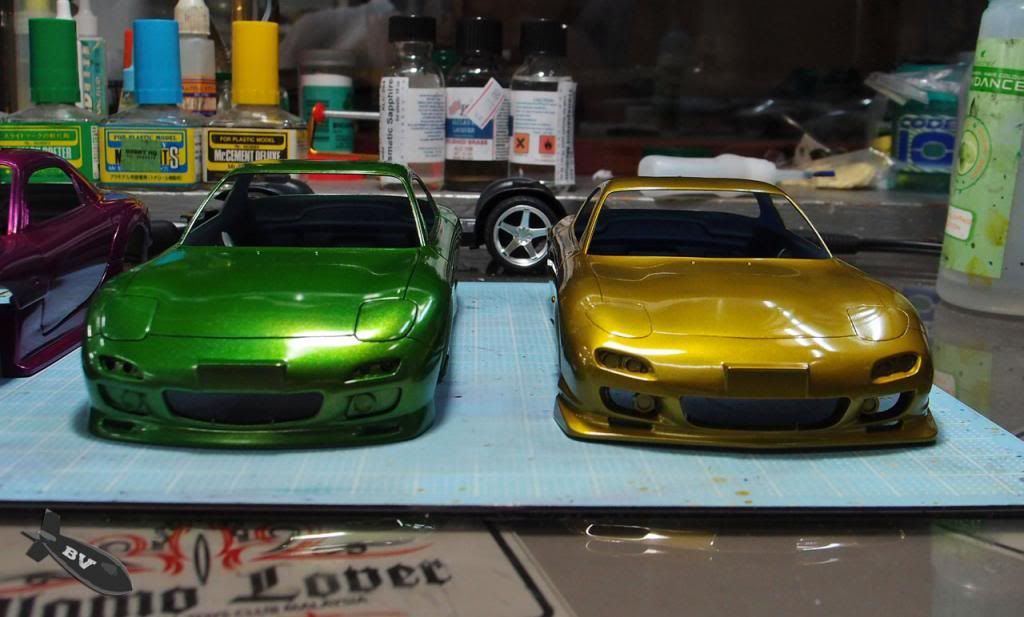 Aoshima Body looks much more better then the Fujimi one... 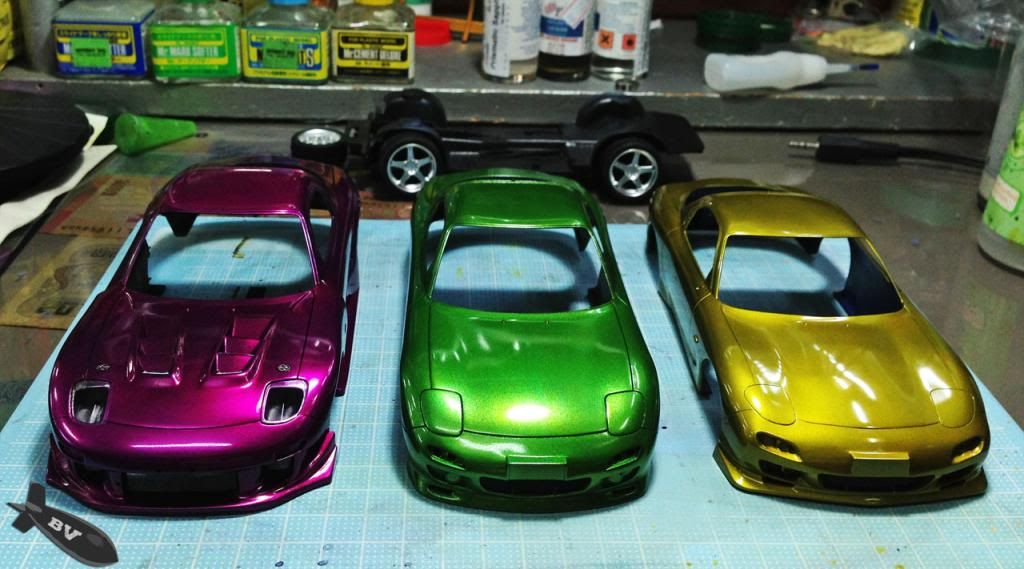 OK, all the color of the FD is confirmed, need to wait 2 months to dried up before I can start the polishing work. Time to work on the interior and chassis. Thanks for viewing, C&C are always welcome. |
|
|
|
Post by banzai on Jun 3, 2013 14:58:54 GMT 8
Beautiful! Simply gorgeous... Waiting for the polishing will be agony. Can't wait to see these beauties all shined up!
|
|
MastaKilla
Lurker
This Avatar is Awesome!!!
Posts: 22
|
Post by MastaKilla on Jun 8, 2013 18:31:54 GMT 8
The technique was awesome!
Is it ok to use spray can for car kit?
|
|
|
|
Post by bombervince on Jun 30, 2013 23:28:37 GMT 8
Mastakilla, U can actually use spray cans but it's bit hard to achieve above's result 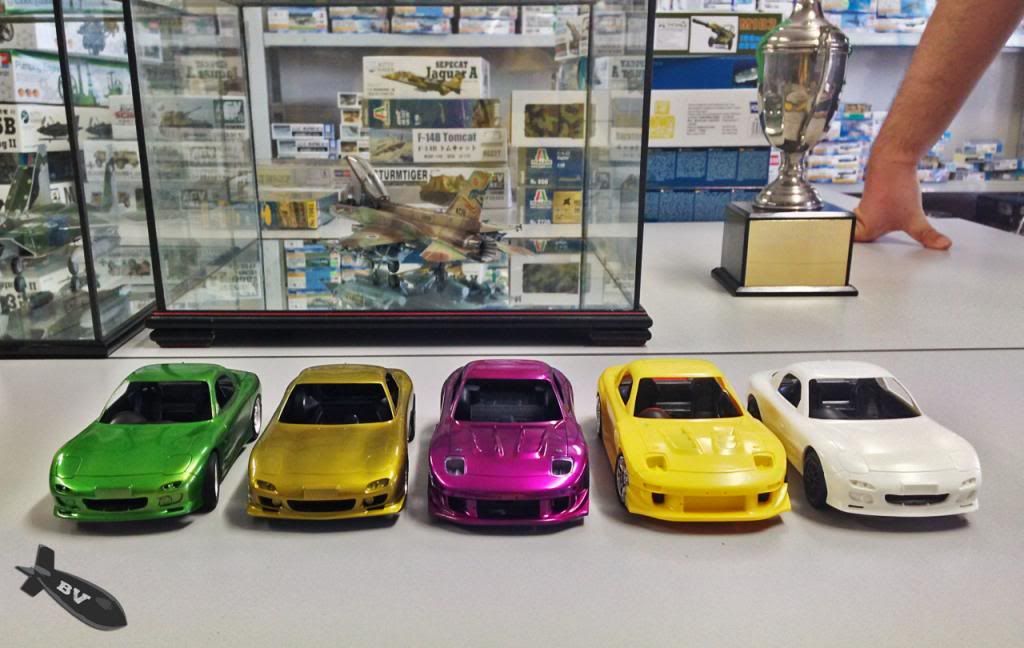 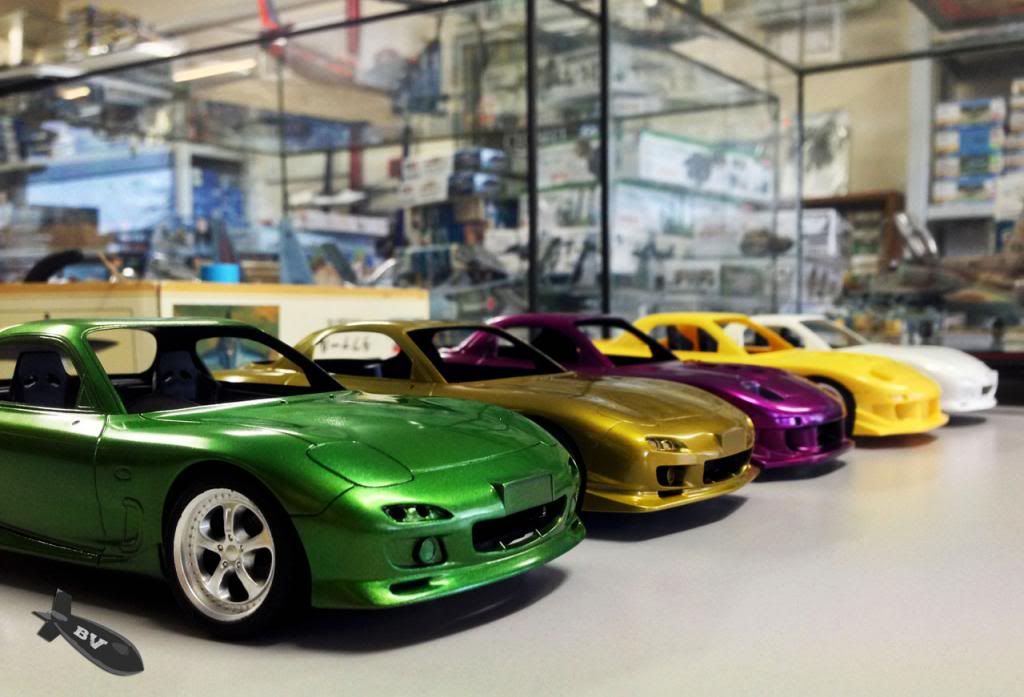 some photos of RX-7 Fun Build pre-gathering in one of our LHS, Hobby HQ 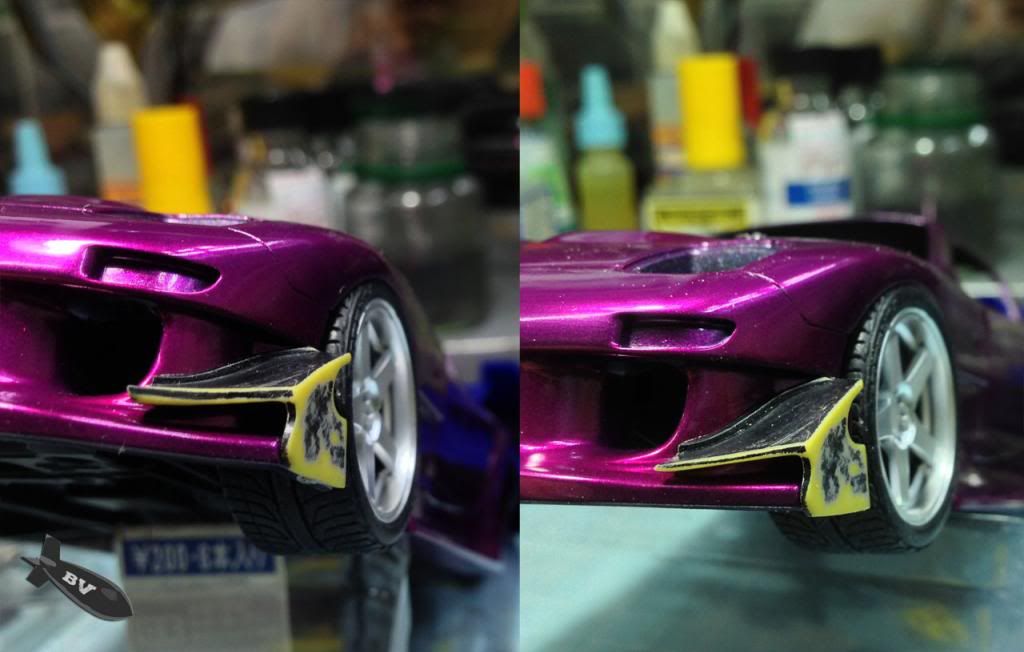 the thick diffuser were sanded down 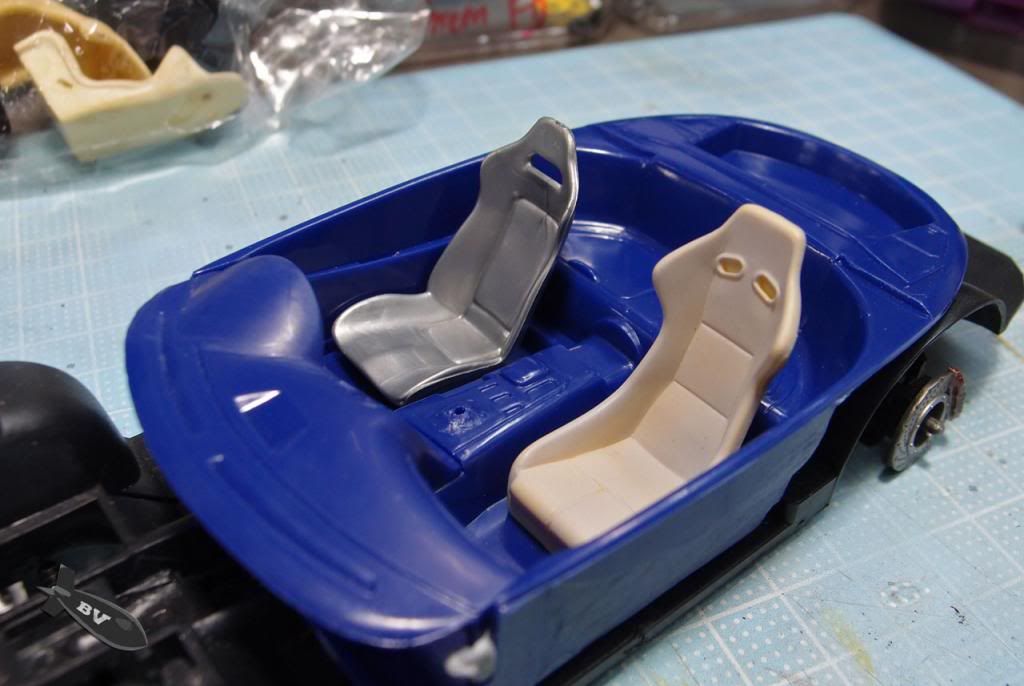 Since I'm building a street version, I've swapped the kit's full bucket seats with sports seats and the kit's gear knob pouch is so so so badly molded... curse u Fujimi 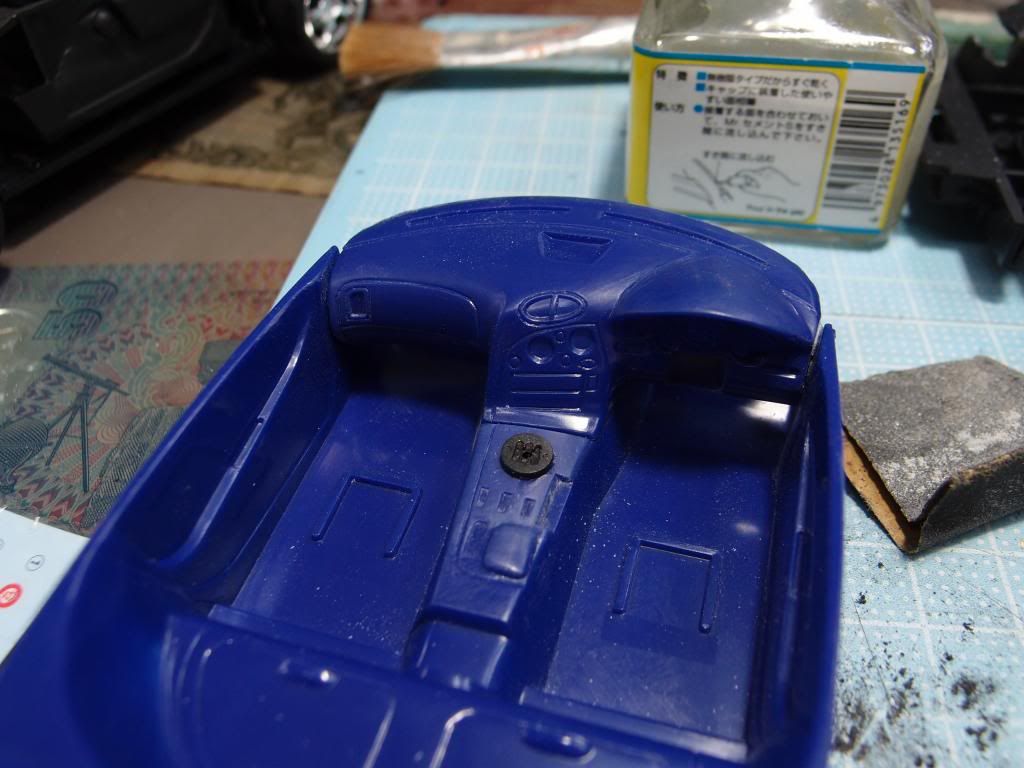 converted to 6 sped manual transmission 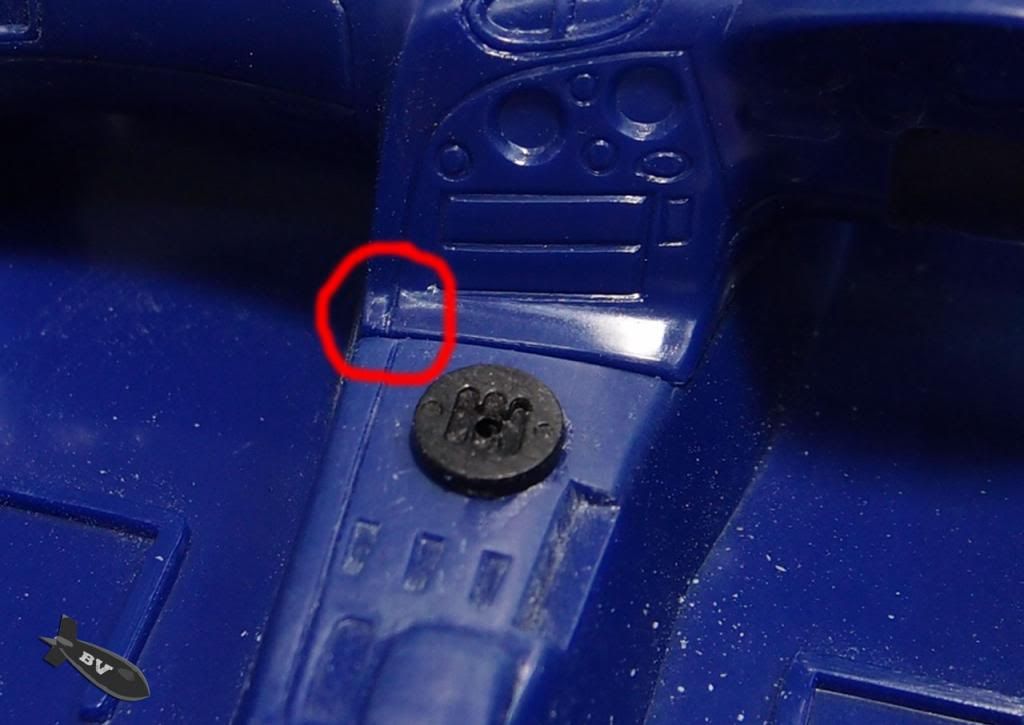 one more problem found, panel line not align well 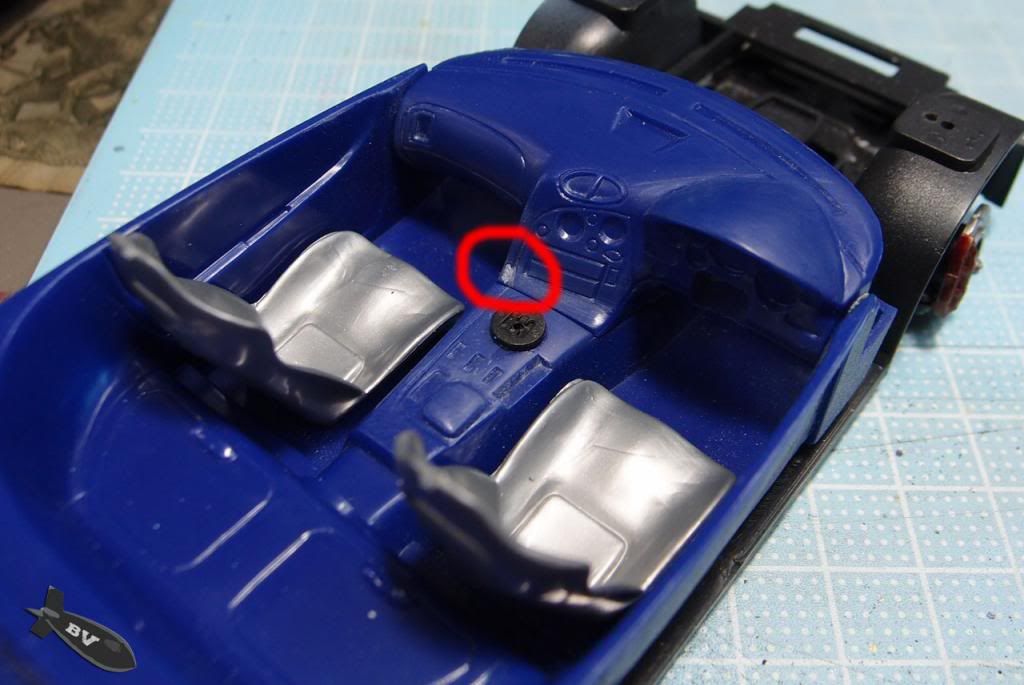 re-scribe nel panel line and fill up the wrong one. |
|
|
|
Post by bombervince on Jul 1, 2013 0:18:37 GMT 8
Meanwhile on the green FD... Fujimi's suspension for the RX-7 FD really scuks!! 1. SUV standard front ride height 2. Using spacer for rims, I mean thick spacer, until the distance between the brake disc and rim is beyond acceptable 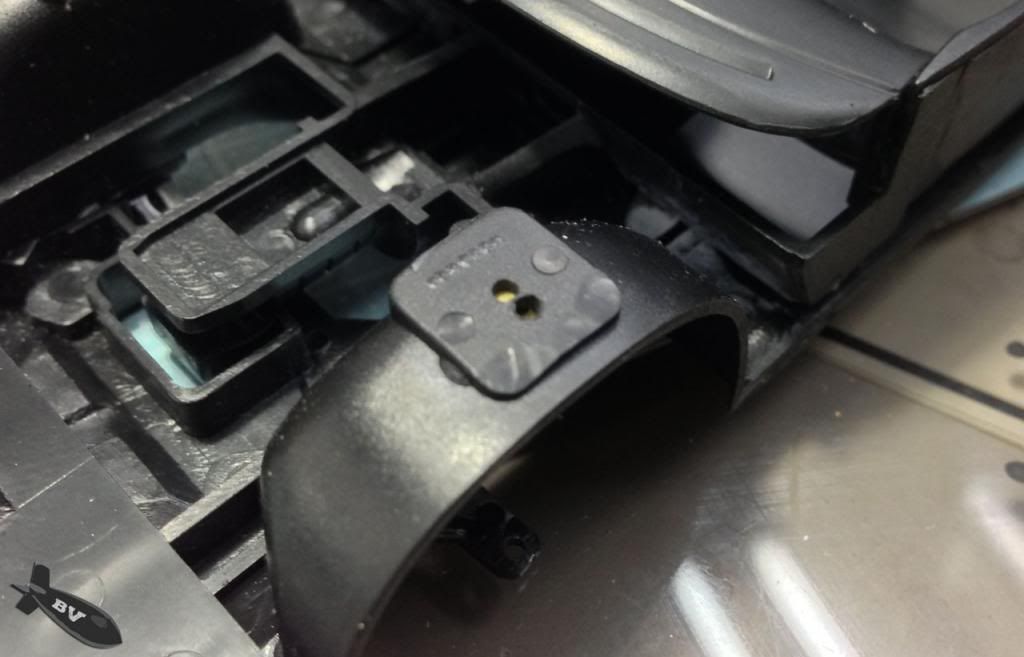 new hole drilled  I've sand down the top of the absorber by around 2mm, drilled a hone and inserted new steel pin, and I've use some recycle plastic to make the extended knuckle mount. 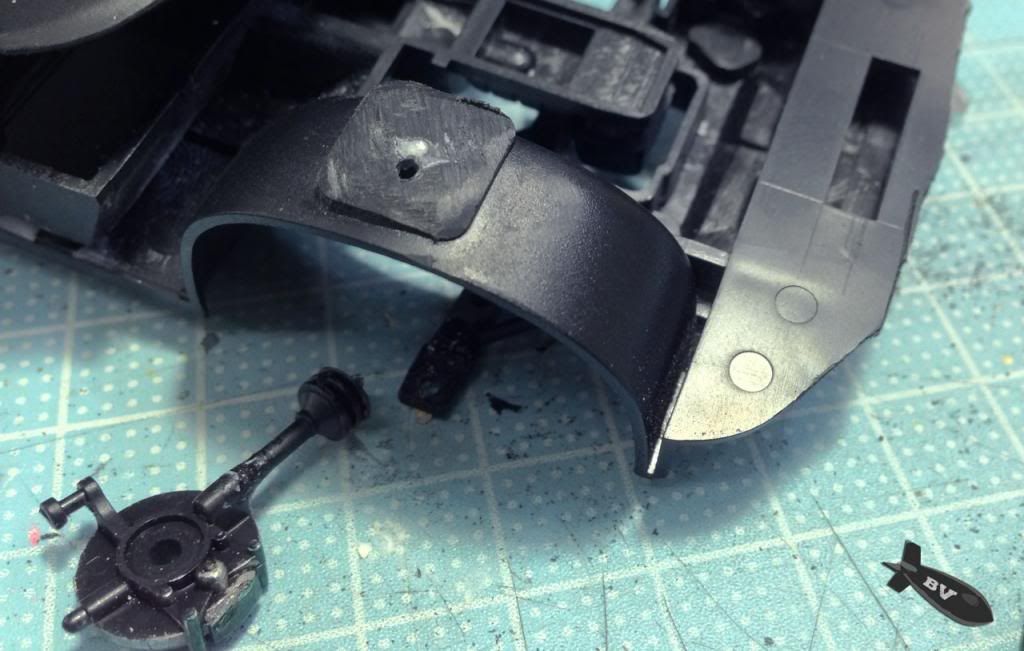 the original hole filled with superglue+talcum powder 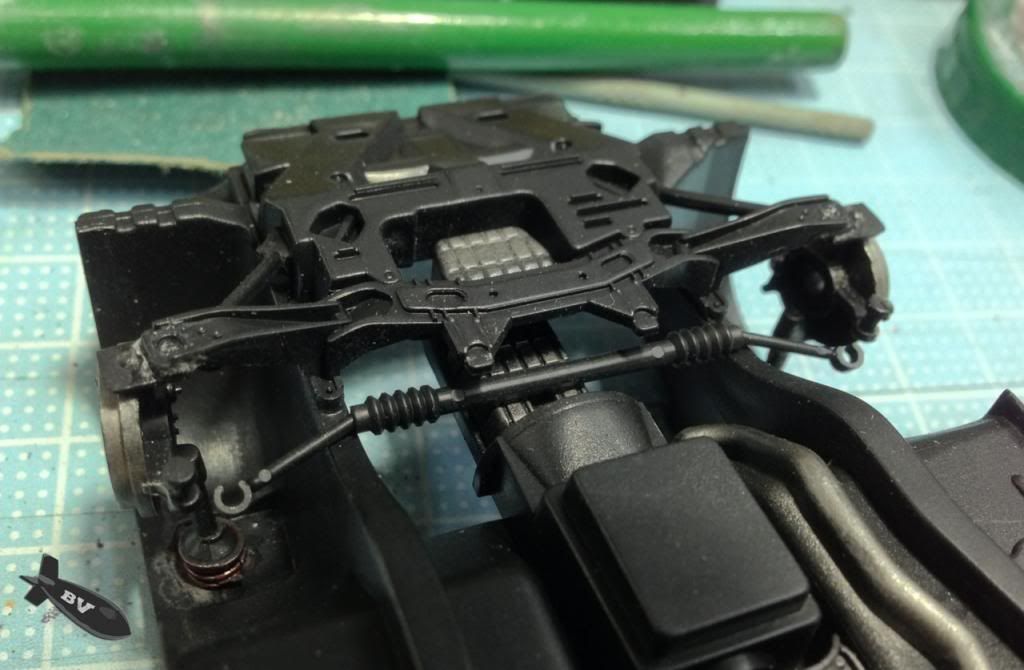 now the original steering rack is too short, need to find a replacement. 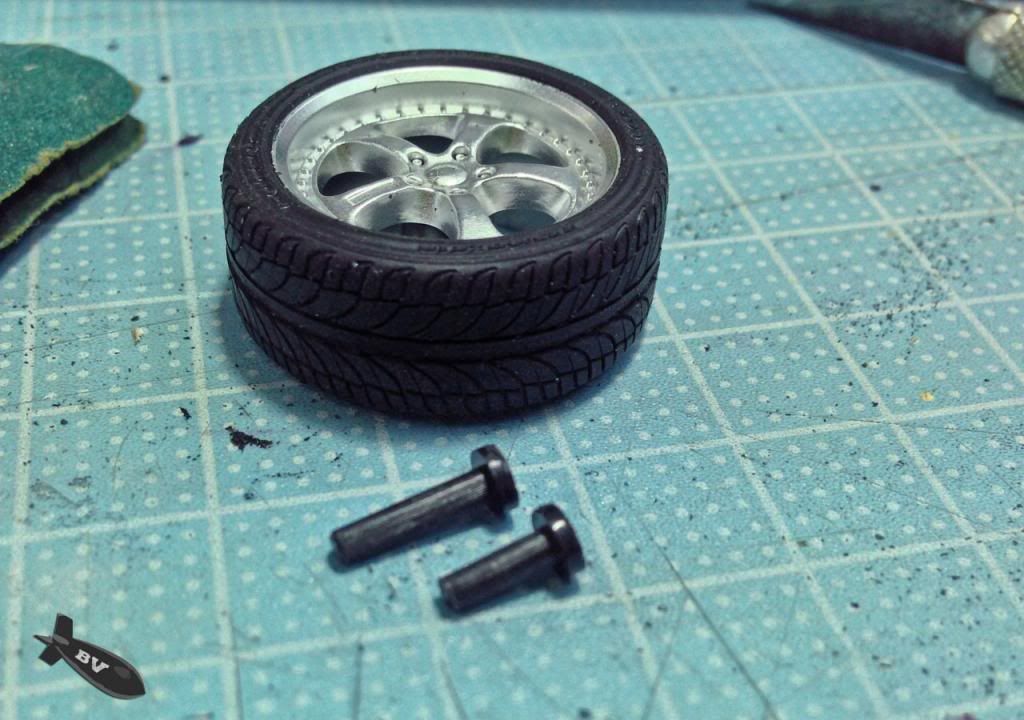 since the spacer is not necessary now, the original wheel pin were cut short. |
|
|
|
Post by bombervince on Sept 17, 2013 14:44:58 GMT 8
Found out that I've miss a few updates here, sorry. 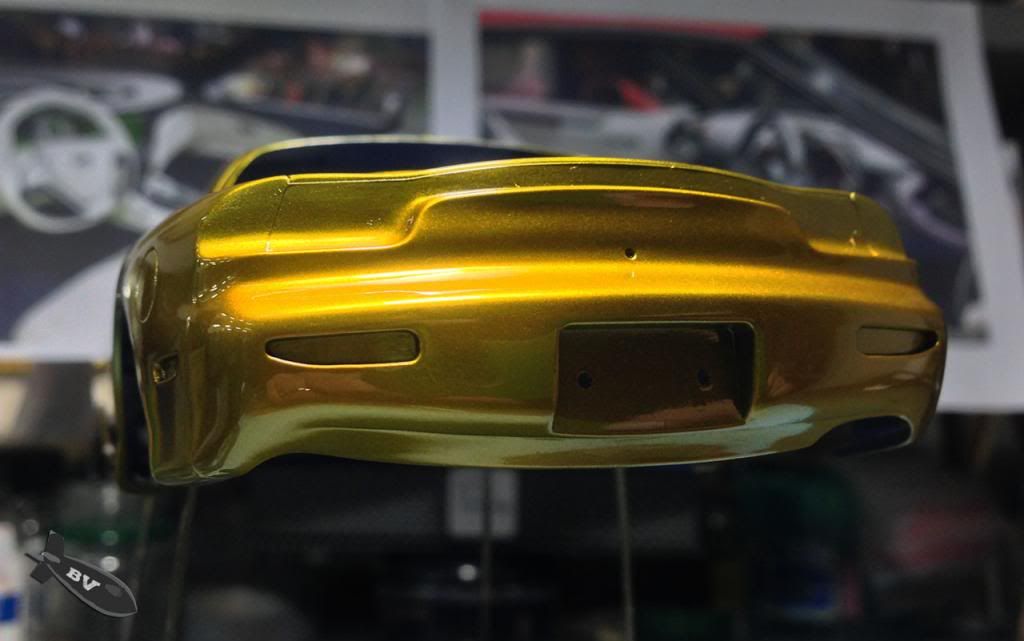 Disaster happens earlier, I over-sand the gold FD till the primer, but it's now fixed 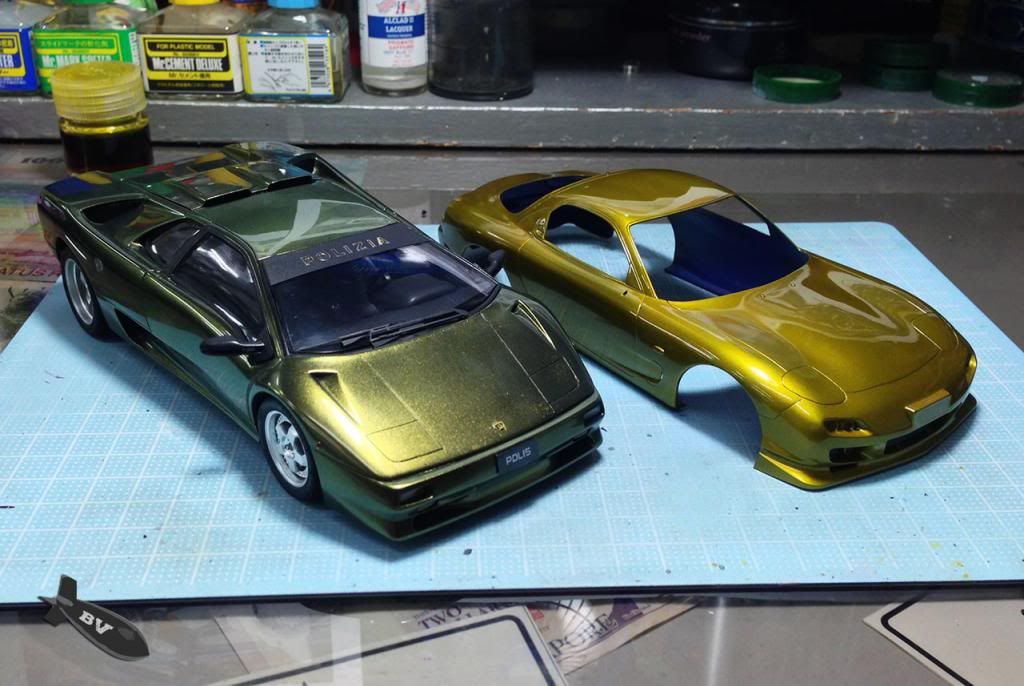 a different gold compared to my Diablo SV 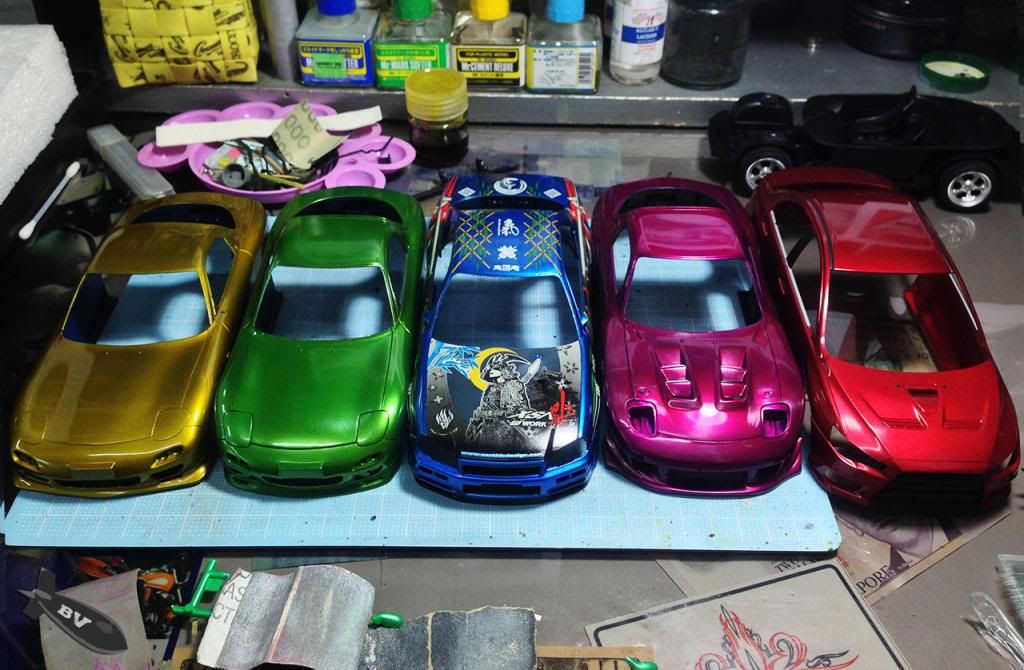 a picture of my current WIP that waiting to be clear-coated 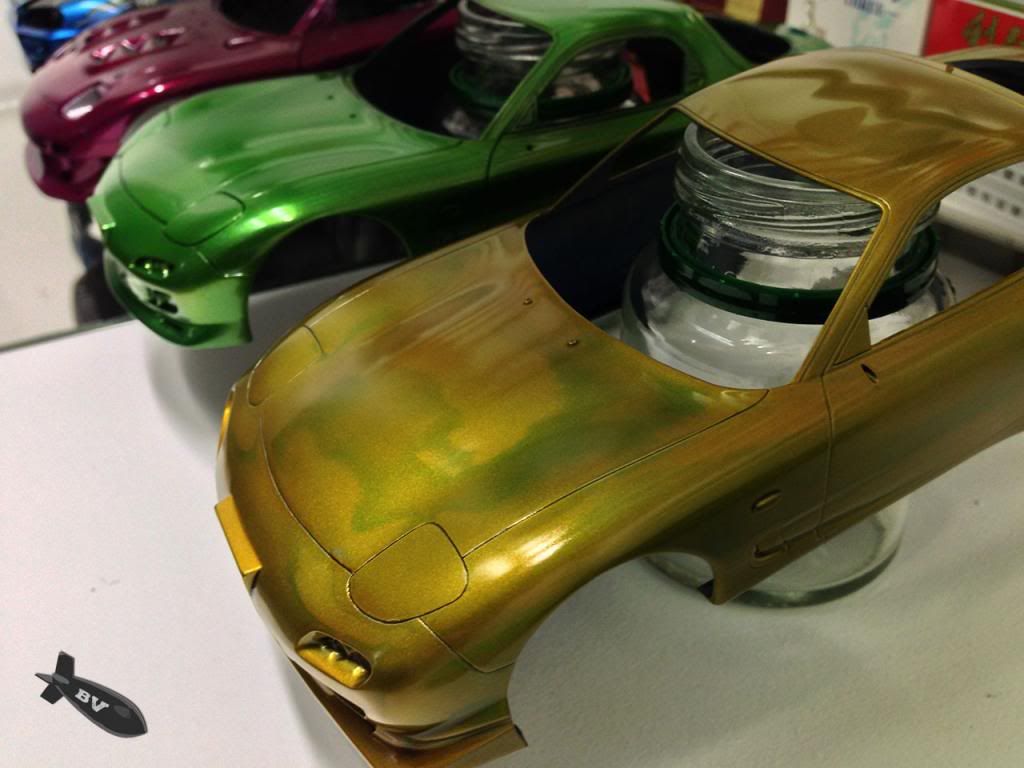 and.... disaster again, the Superclear III "eats" through the clear yellow layer and even till the black base in certain areas... T_T I've let the clear yellow dry for 3 weeks, so the only reason that I can figure out that will cause this is I'm using clear yellow from industrial spray can. |
|
|
|
Post by bombervince on Sept 17, 2013 14:57:03 GMT 8
 while thinking of what to do on the spoiled gold FD, i continue with the rear lights of the Magenta FD, holes were drilled for the rear lights parts  changed the stock rimes to 18" Work Meister S1 from Diablo SV  Finally I've decided the color, matte gun metal, got this idea from a friend.  and to match the matte body, I need something striking, so I go for chrome magenta rims. 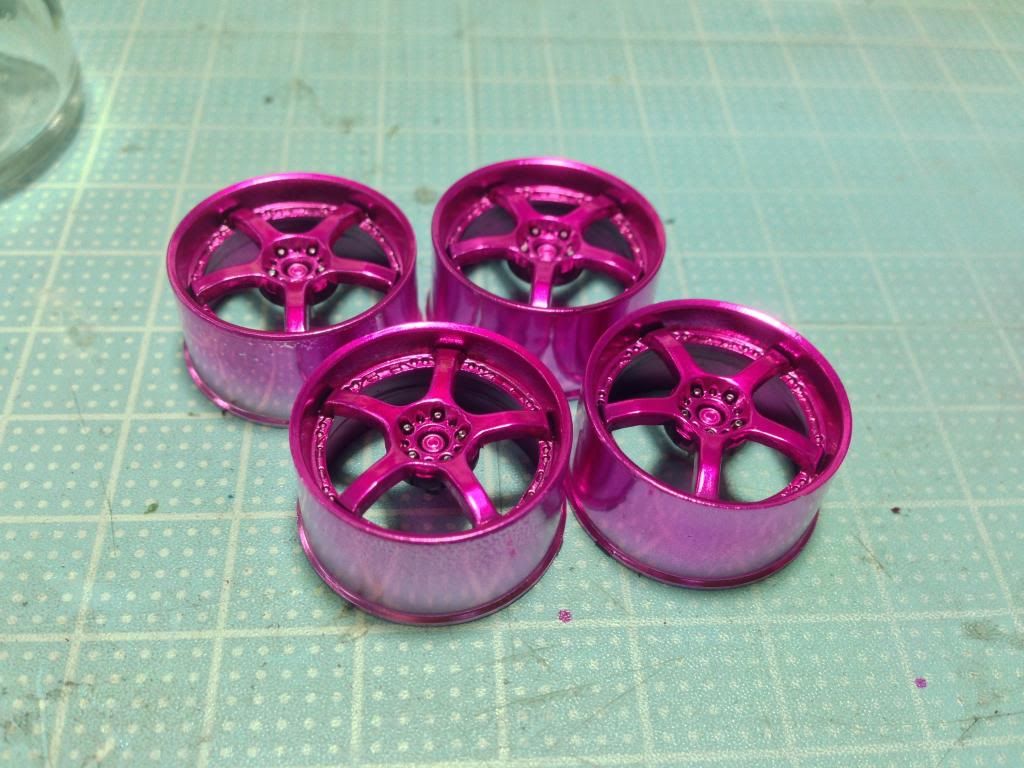 I scraped of the paints on the lug nut to reveal the chrome coating 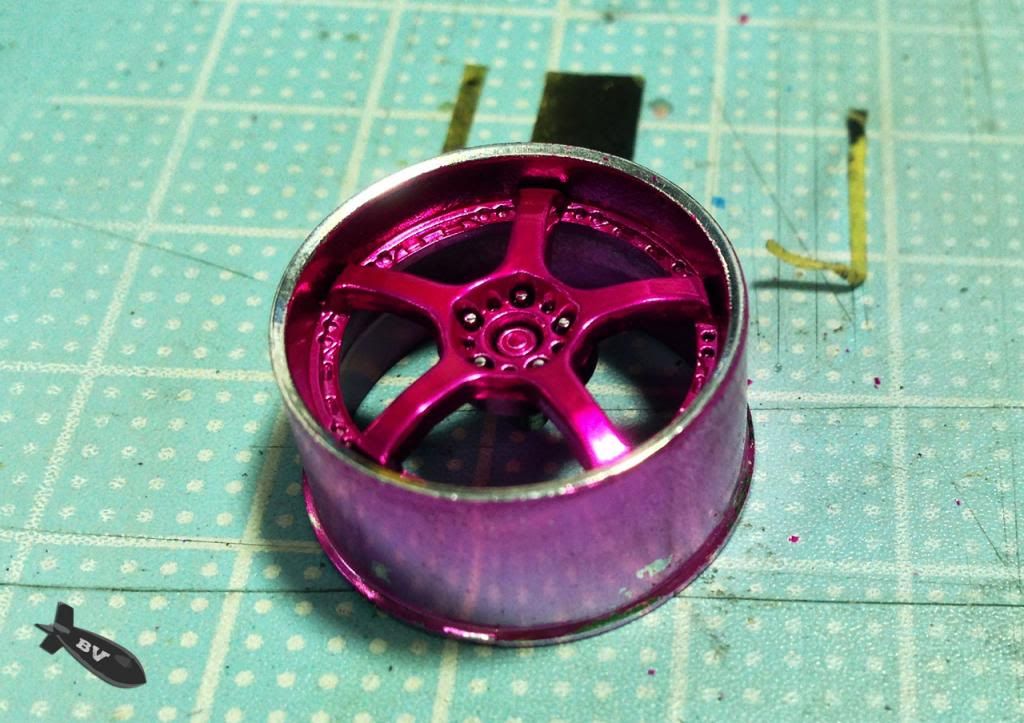 the paints of the outer ring were scrape off as well. |
|
|
|
Post by bombervince on Sept 17, 2013 14:59:02 GMT 8
 clear parts have a fine scratch on it.... need to polish 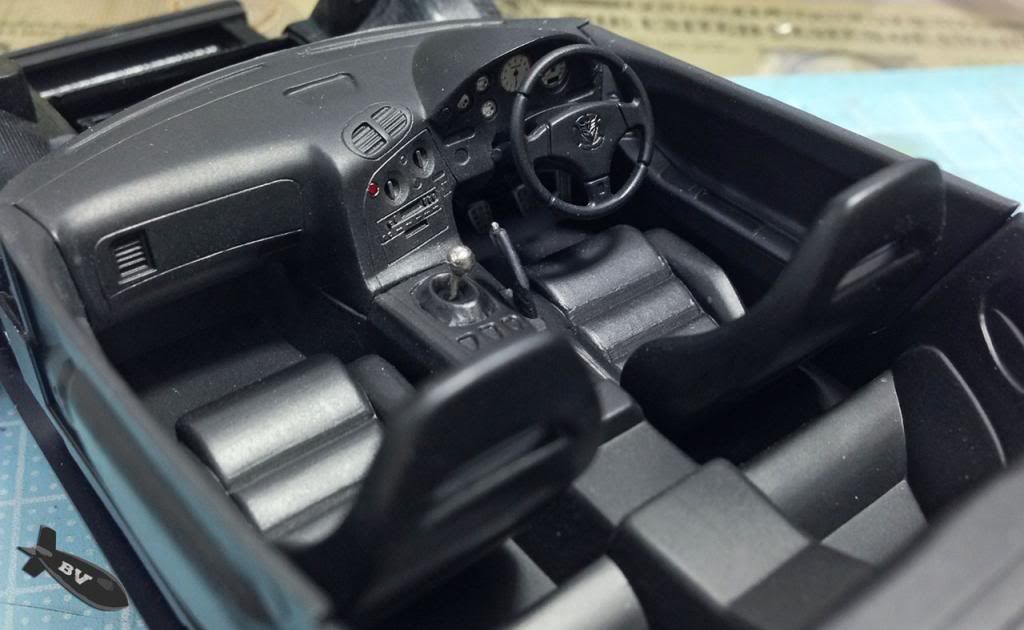 while waiting the paints to dry, I began works on the interior. Black will be the major color for the Gun Metal Aoshima FD 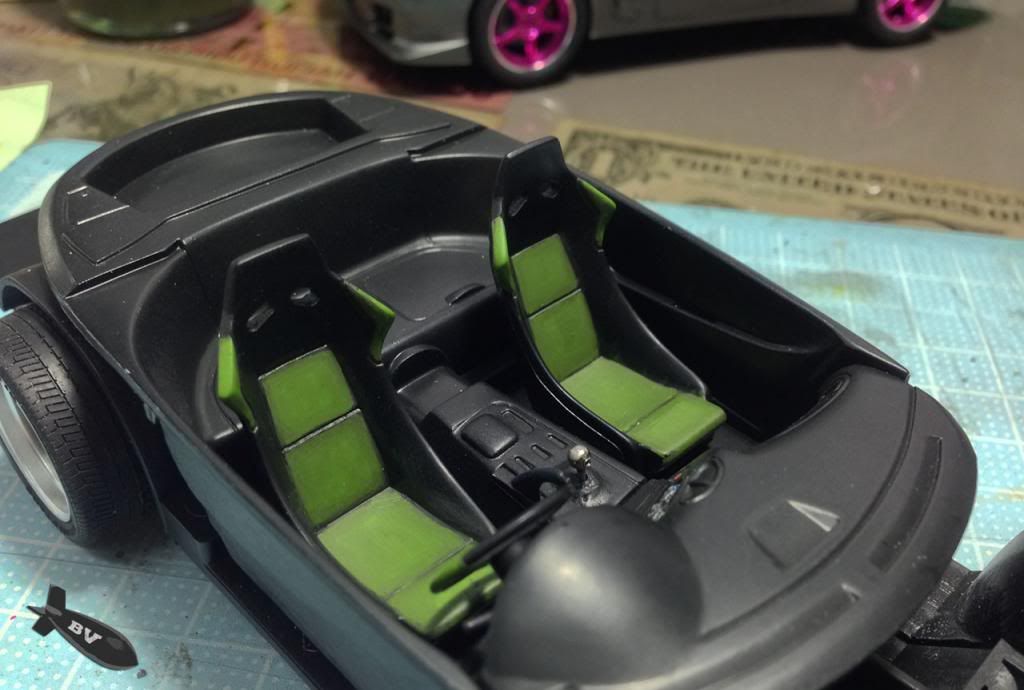 as for the Green FD, i added some colors, the seat belt holes are also drilled. 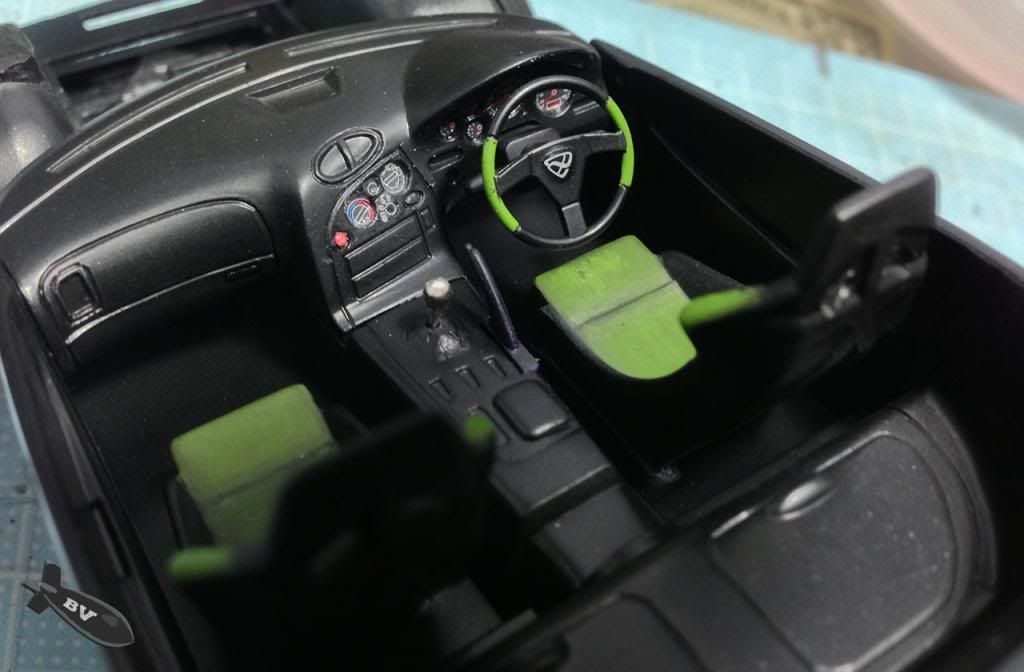 I use only part of the dash board decal, the radio part totally don't fit as the molding line on the kit is distorted. 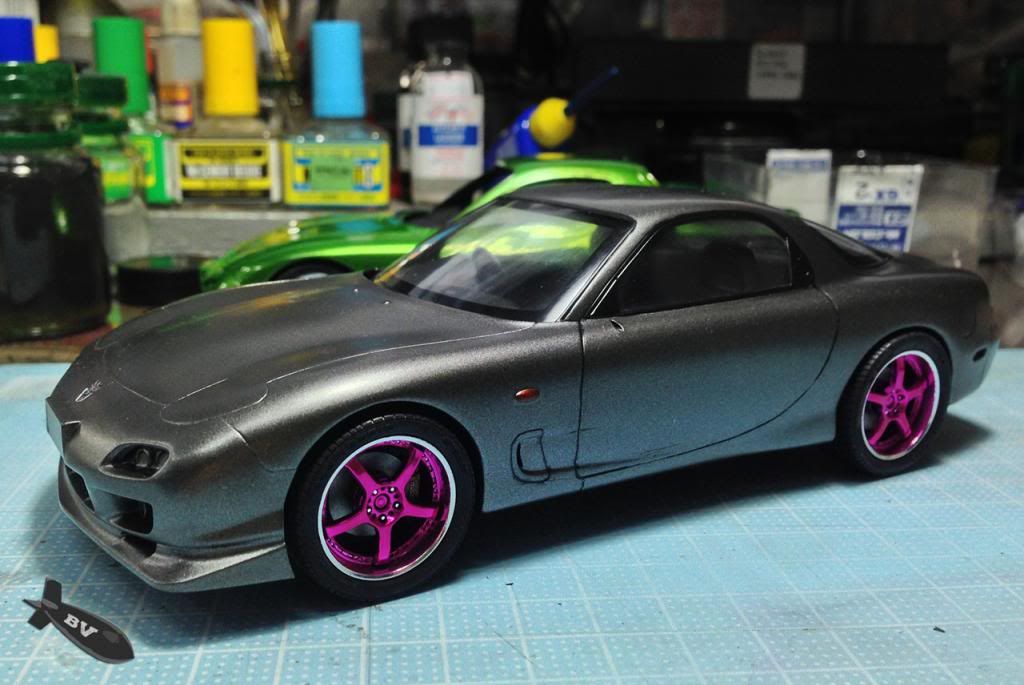 here's the final combination. 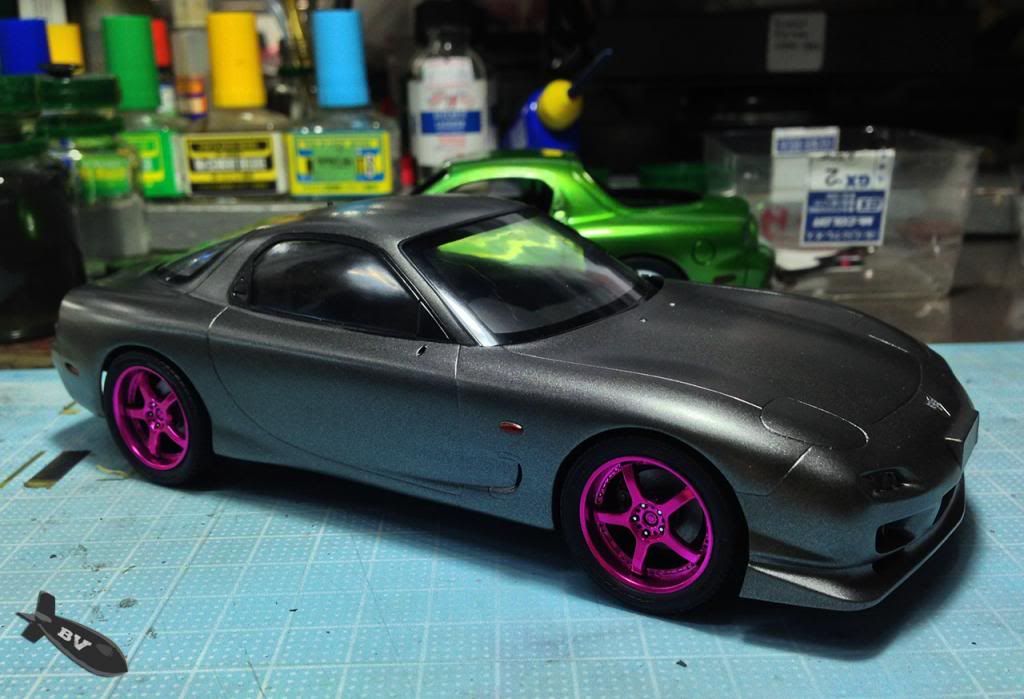 In fact i didn't scrape off the color on the rims for the other side, so that the car have 2 different looks, just like my previous car (1:1 scale) |
|
|
|
Post by bombervince on Sept 17, 2013 15:01:45 GMT 8
Thanks for the support guys, and now 2 of my FD has completed, one more to go. 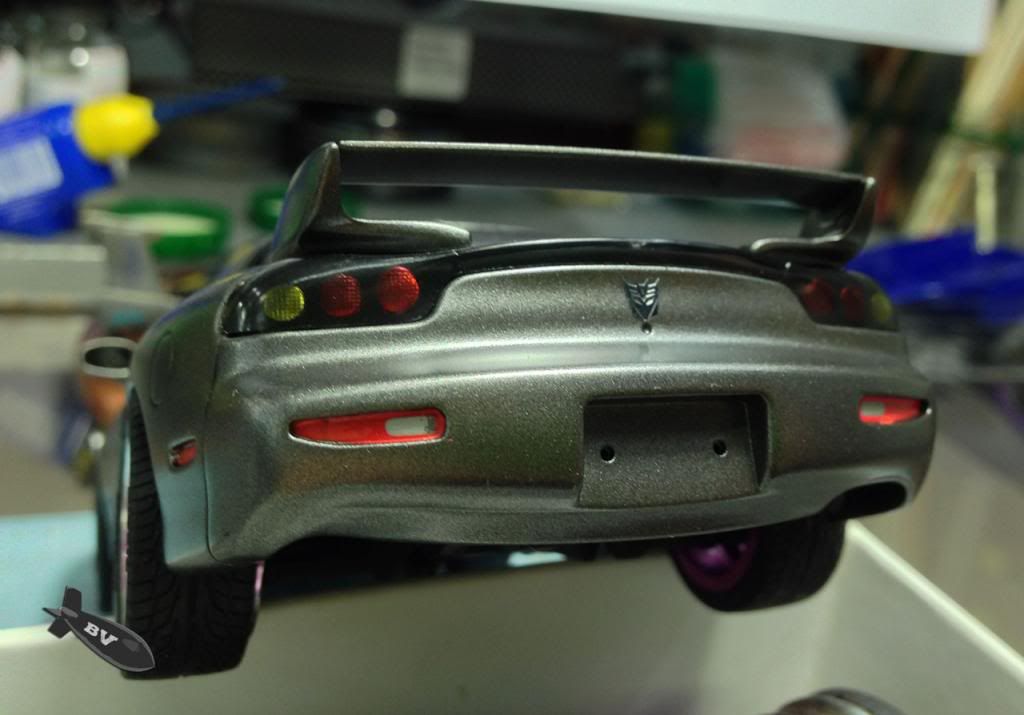 rear light were tinted using Artline Marker 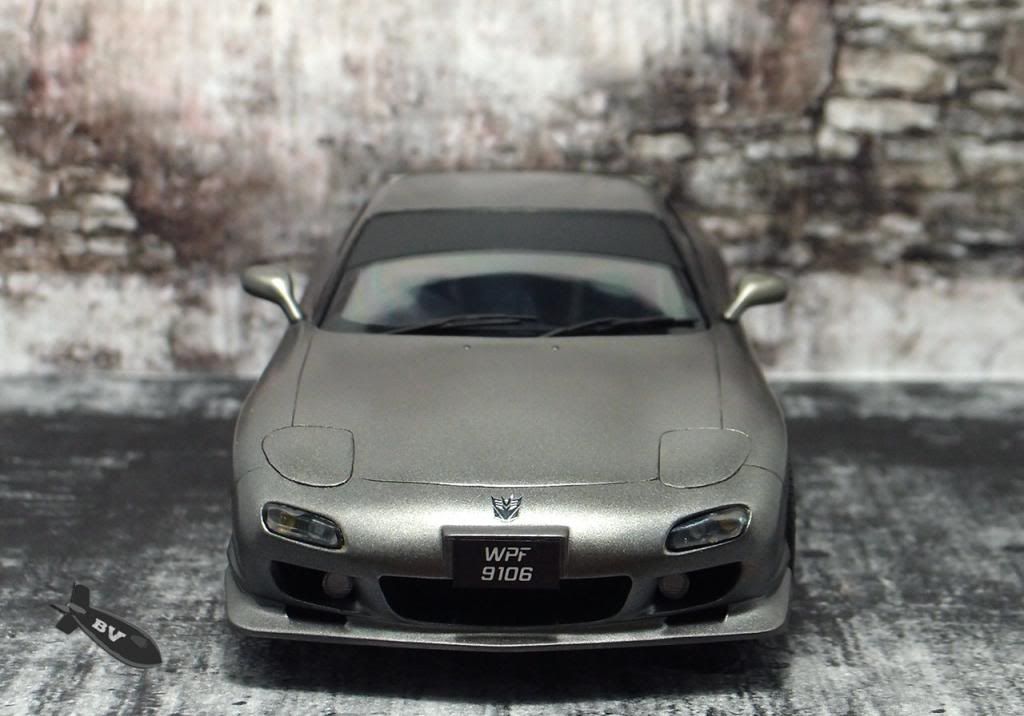 |
|