banzai & The Nub Remover, thanks for the compliment.
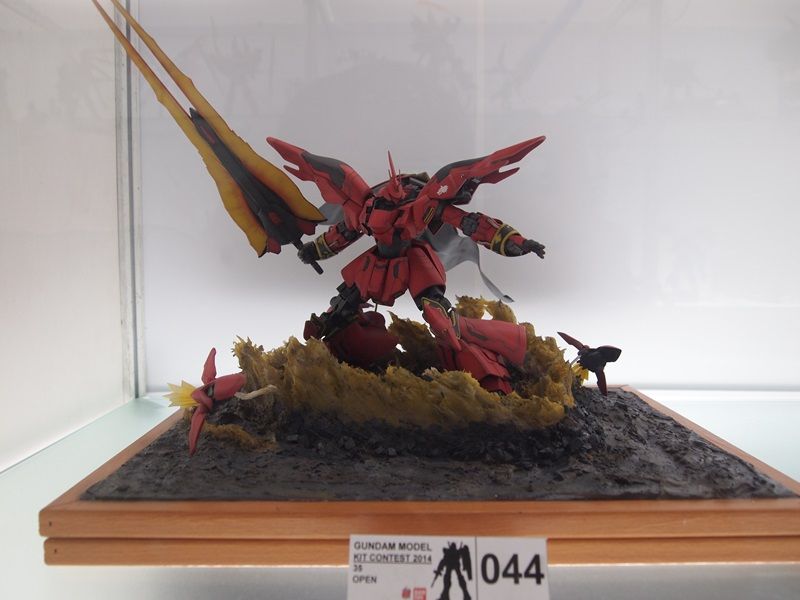
Final Update & The End of ChaptersI have to skip quite a lot of updates because I really giving it a last push to make it for GBWC, and it's done, hooray!!! But may not be up to competition standard probably

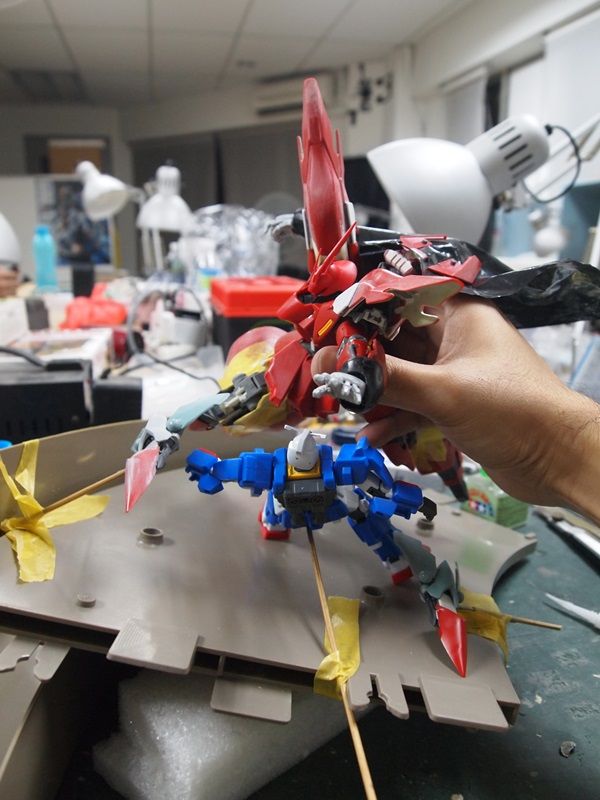
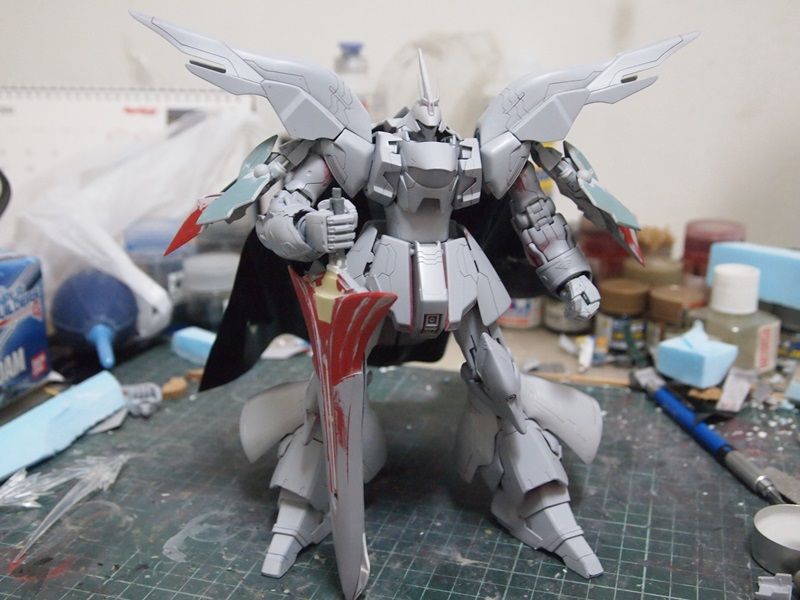
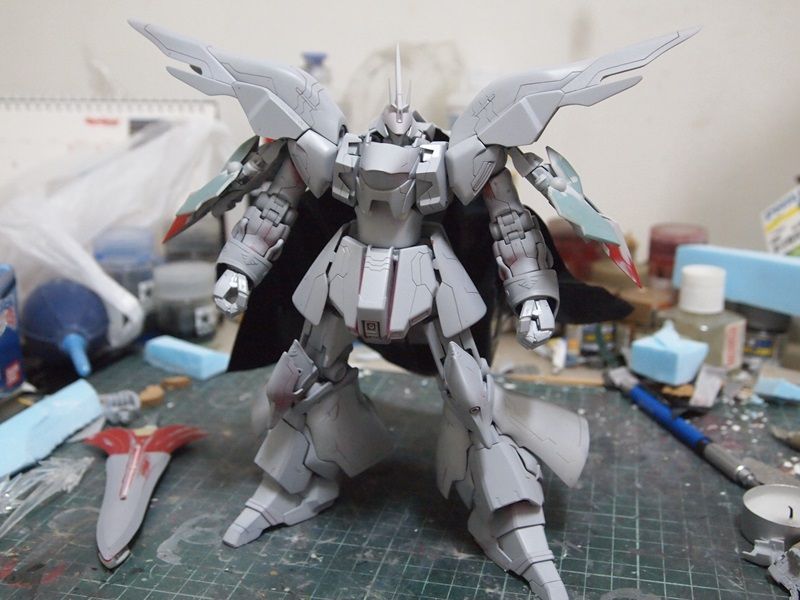
Pictures of the final outcome first, then the last update on what I've done on the coloring & concept that I was trying to achieve.
And so here's the long winded explanation on what's going on since the last update:
1. The intended diorama has to be scrapped because technically I can't achieve it at the moment.
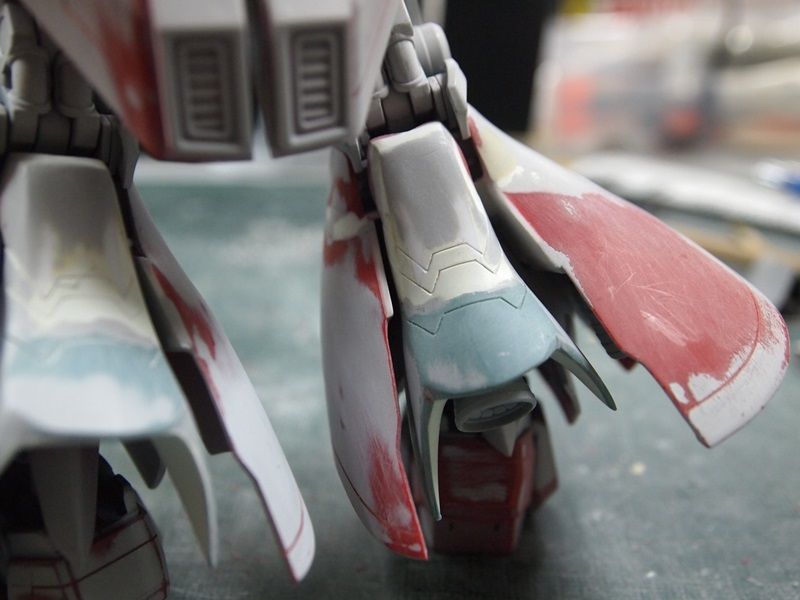
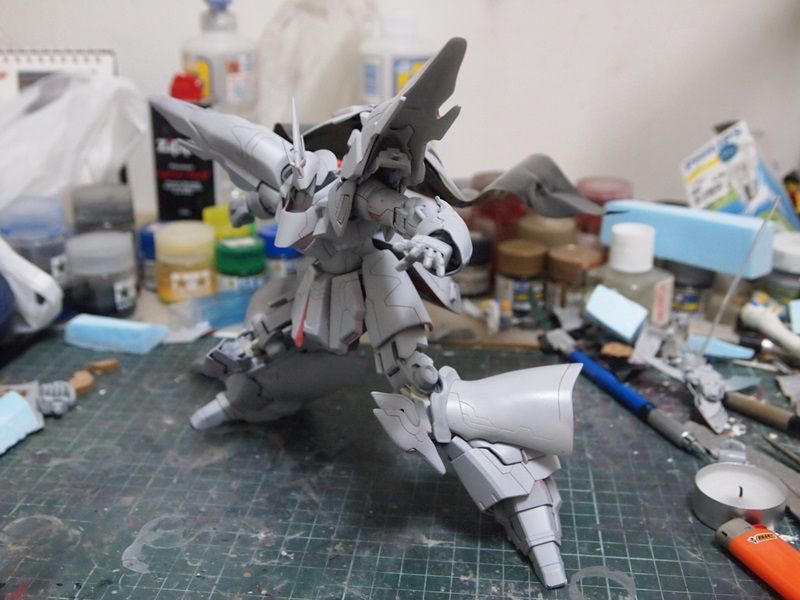
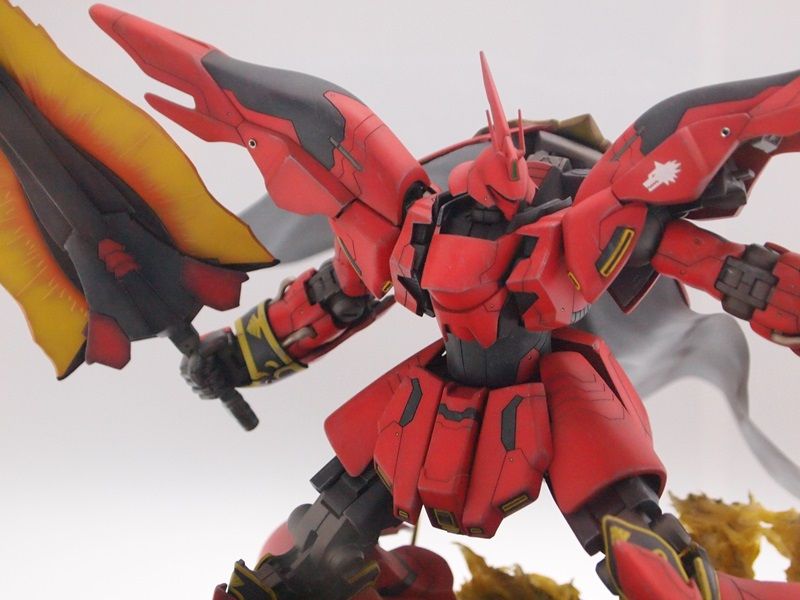
2. Re-do the side skirt panel line.
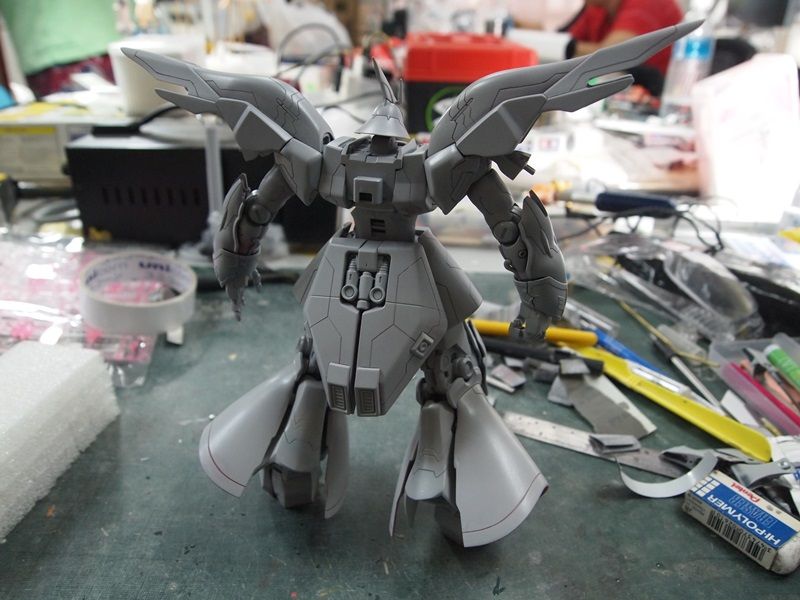
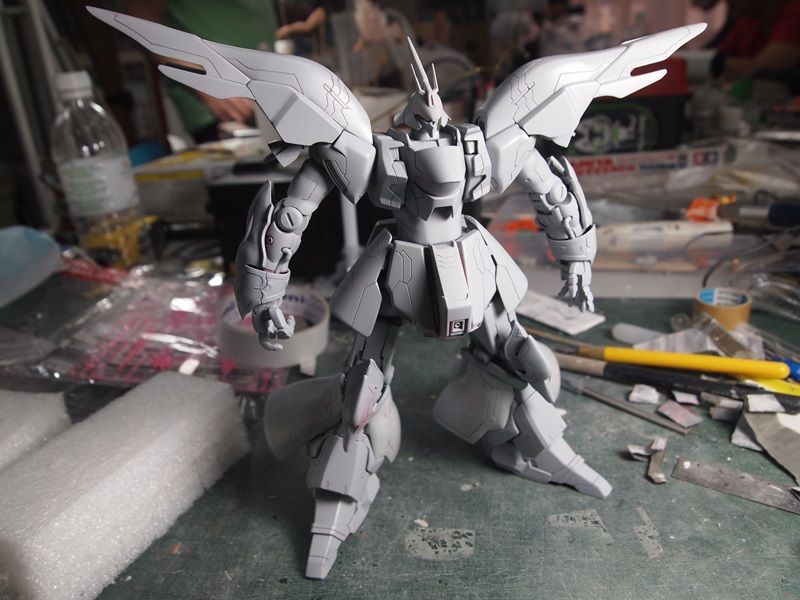
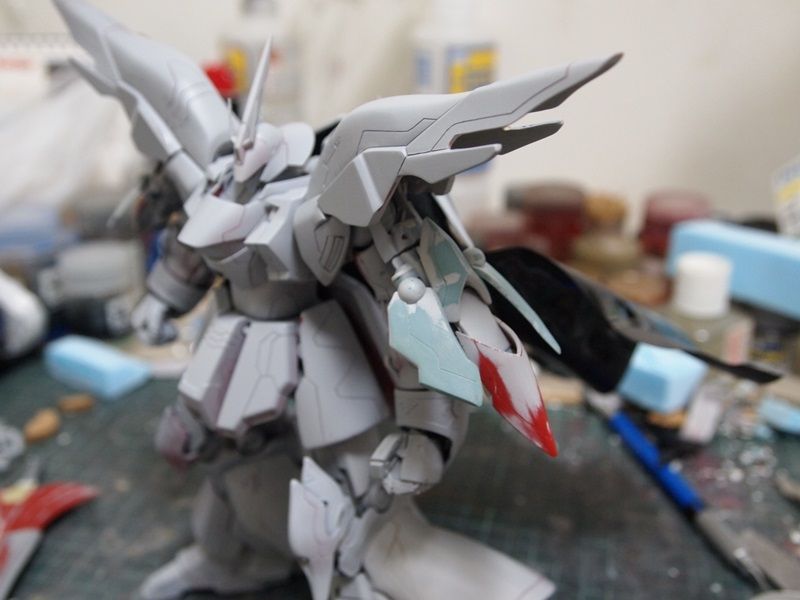
3. Added more minor details to cover up for some of the visible loop holes.
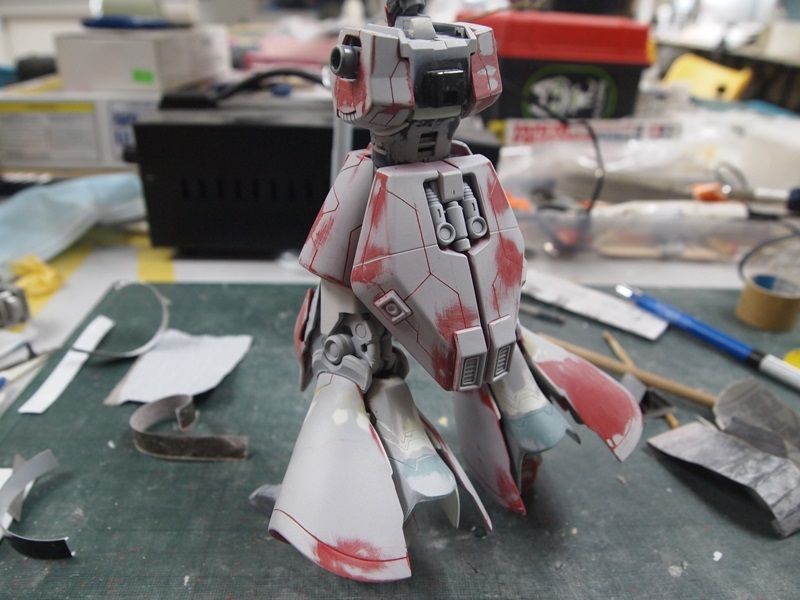
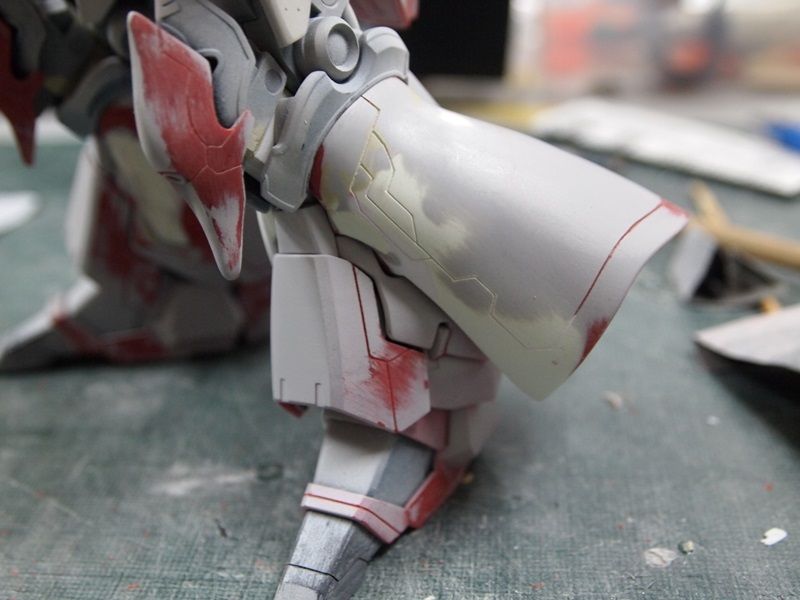
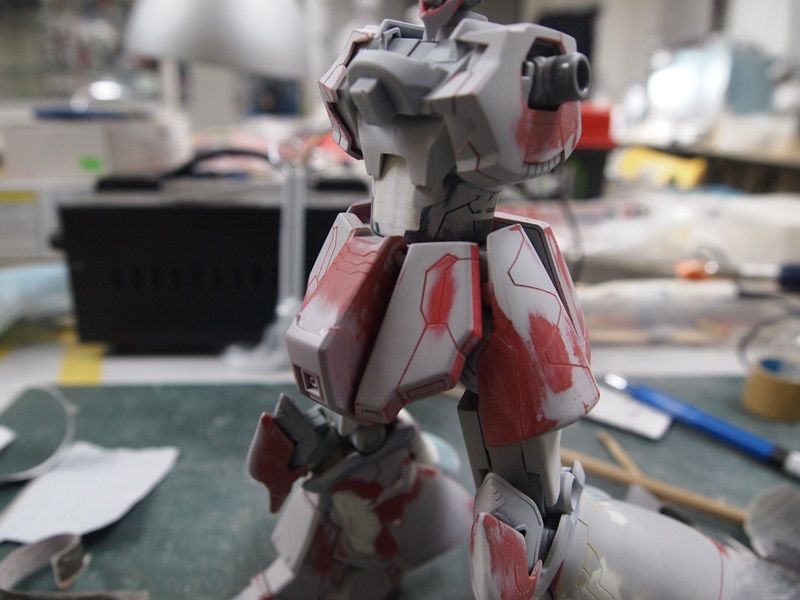
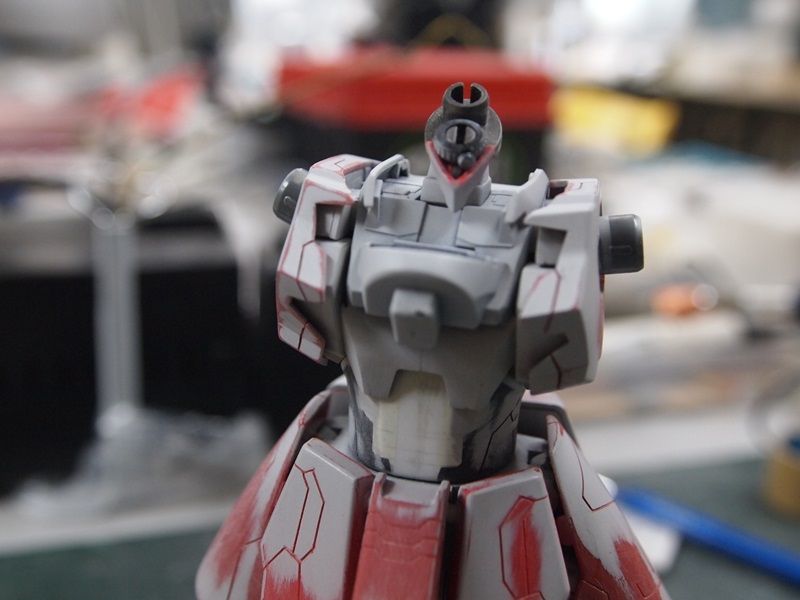
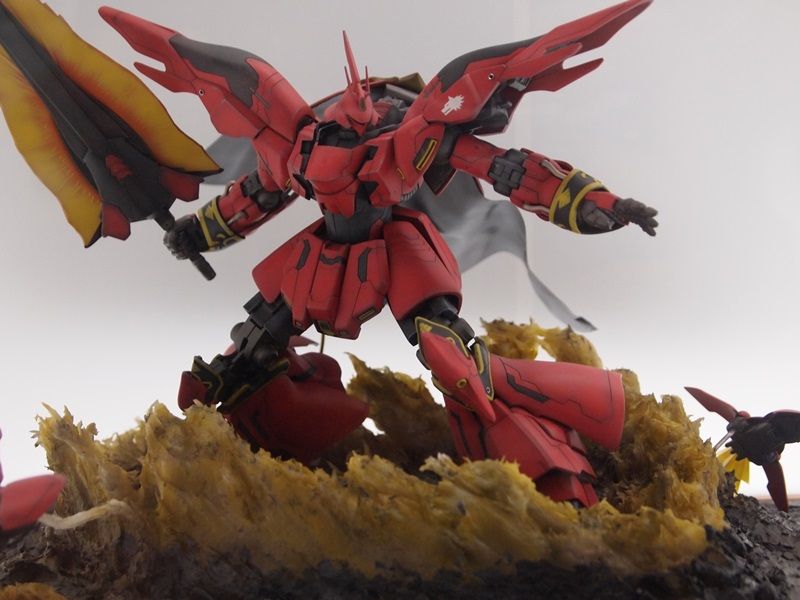
For the finishing, I intended to make it looks simpler, with color variation determined by how concentrate the whiter tone of the main color during preshade, with minor details and no wording type decals. Then, after being set with the intended display, I did the dry brush to enhance the details in such that the surface is worn down by the friction of the wind.
The colouring process:
1. Red - With the left over red that I've mixed from my previous PG build, mixed a little bit more with fluorescent orange, then with some other colours to make it darker as the base tone. Then, in the middle of the surface, airbrushed the other left over lighter tone red (again, mixed with more white and fluorescent orange).
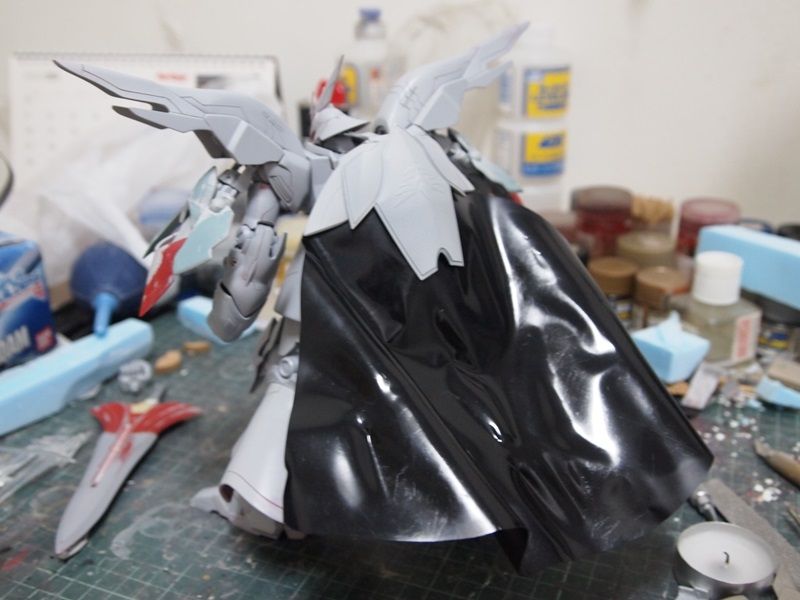
2. Black - Midnight Blue as the base tone, then White mixed with Midnight Blue to get the lighter tone.
3. Yellow - Left over from the previous PG built. Then, the edge of some the yellow is seasoned with Gundam Marker - Real Touch Marker Dark Yellow.
* This time I didn't use enamel wash at all, simply just using different color tone to create the shading and to fill up the panel line.
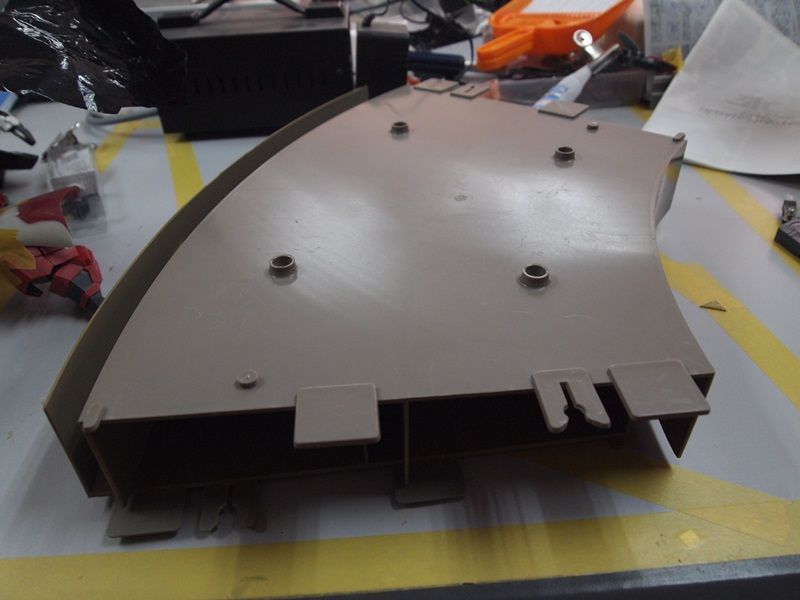
The base:
1. Using blue foam as base, applied a few layer of cellulite plaster putty.
2. Using the paper clay to form the basic bone structure of the dashing effect.
3. Using the acrylic silicone clear window glue, mixed with White to create the dashing effect.
4. Airbrushed the base with different tone of grey.
5. Airbrushed the dashing effect with yellowish brown tone.
6. Applied some pigments and some rocks (sliced from pastels) to create the cracking done by the dashing effect.
7. Used 2 pin board frame bought from Daisho to frame the base.
With this, it's the end of my kit-bashing chapter. Finally with this build, I know what kind of direction that I should follow in my future build. Honestly, although the base may not be the best base, but it's the first time ever that I've done a presentable base ToT.
THE END