Post by rennyd on May 7, 2012 12:39:06 GMT 8
Managed to get the whole team done with the sand & grass applied last Sunday.
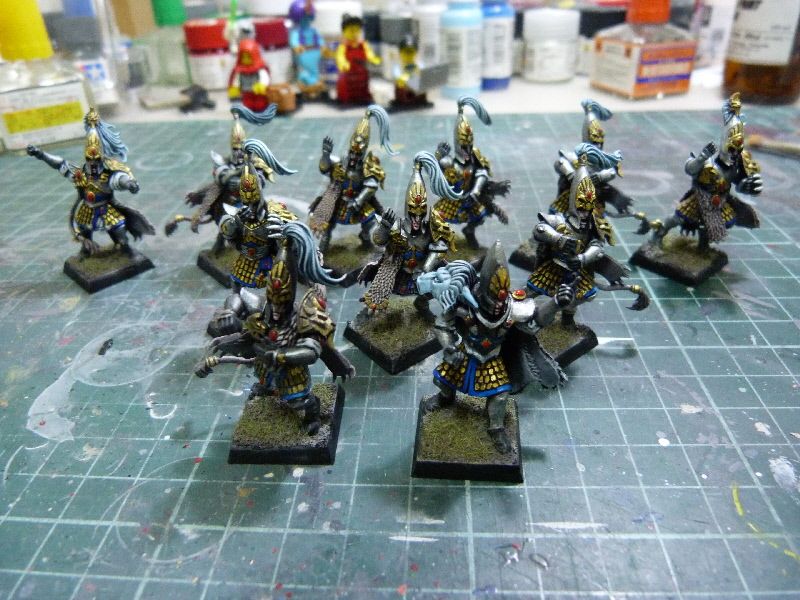
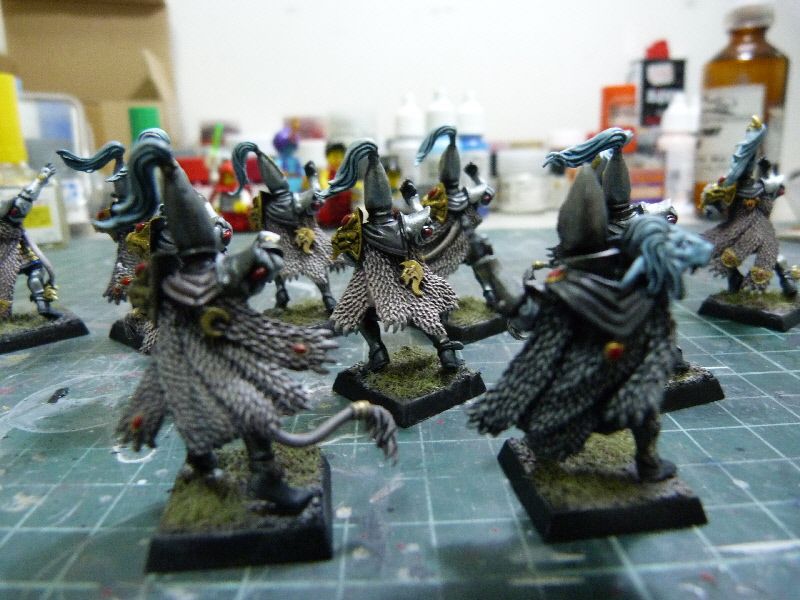
First time trying on a mini, and 2 things that I found quite enjoyable with this work.
1. The assembly work. Reason is because I enjoy the part where trying to figure out how to make a reasonable cool post without too much modification works involve.
2. The painting. Reason is because during the painting process, I'm able to explore and learn something new regarding painting, i.e. creating color transition between 2 tones with layering (did that for the blue, the white, the back, plus the silver but not too good) and also painting all the separation line without the use of washing.
For the painting, this is what I have done.
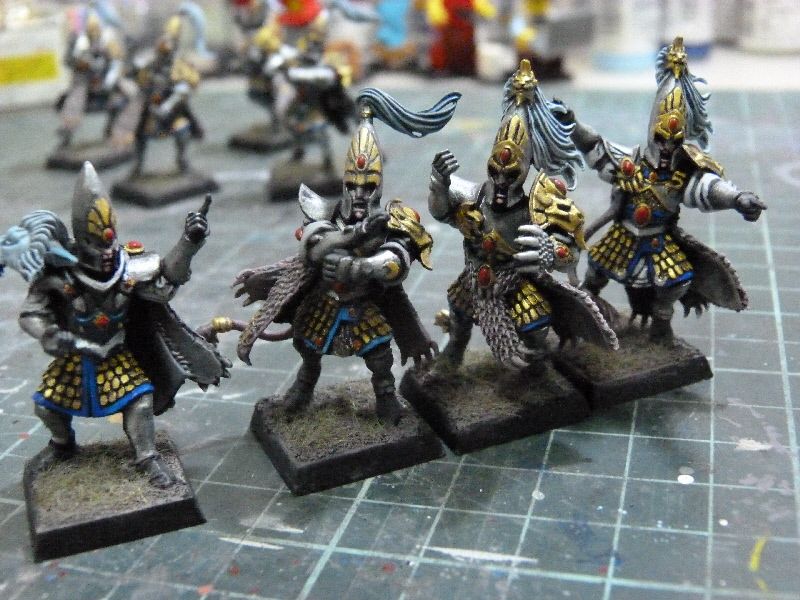
1. white:
- Base color black ---> neutral grey + black (avoiding painting the folded section) ---> neutral grey (with some layering) --> neutral grey + white (again, trying to do layering here again) ---> neutral grey + more white (as the main color, again trying to layer as well).
2. Blue:
- This one is a bit tricky because I can't really get the color right, so I've tried all sorts of way to get the color out.
- Base color black ---> sky blue + black + some transparent blue (layering) ---> sky blue + transparent blue (layering) ---> more sky blue + transparent blue (layering) to highlight on areas that supposed to get highlighted.
- Depending on how it turns out, some of them I painted with transparent blue over the painted area if the color turn out to light.
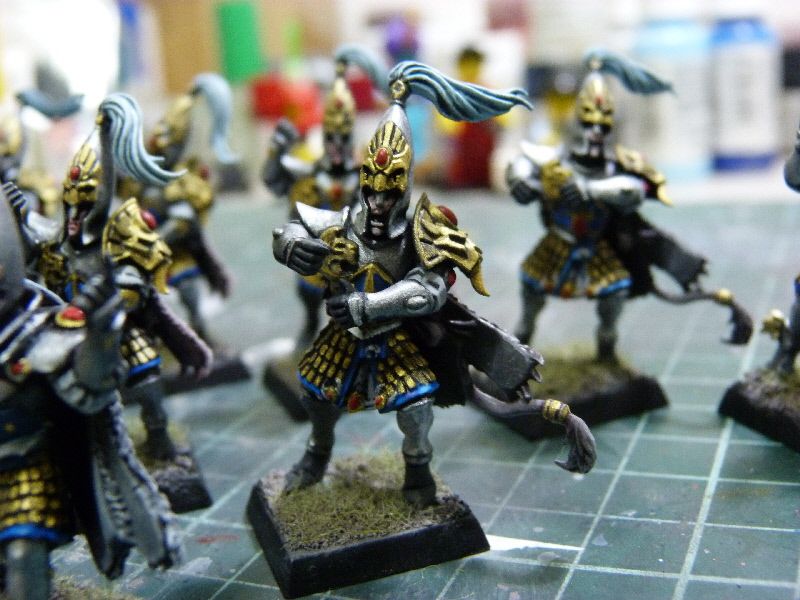
3. Silver:
- Base color black ---> black + silver at darker area --> black + more silver from dark area towards the light --> black + extra more silver (brighter tone) towards the lighter tone area --> highlighting the edges or brighter area with silver.
4. Gold:
- Base color black ---> gold over the raised surfaces.
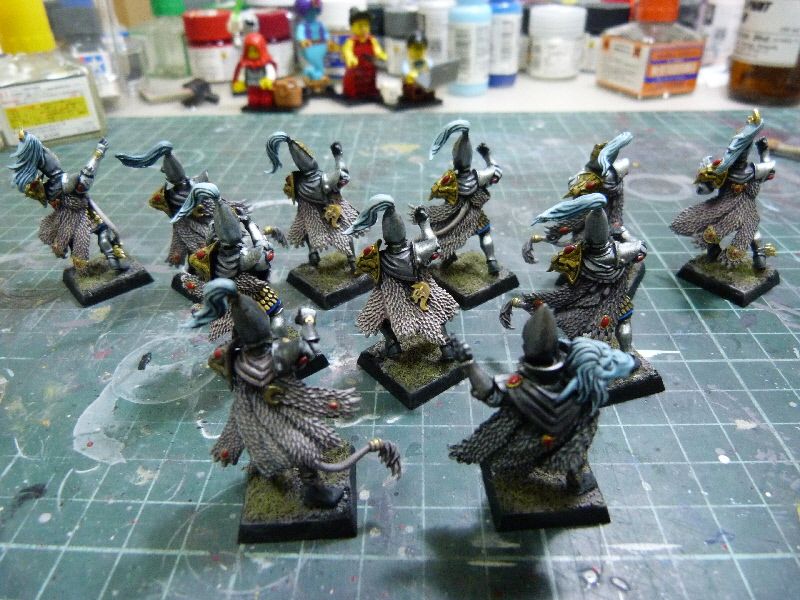
5. Fur cape (no idea what it calls):
- Base color as black.
- Hard to get the color for this one. I tried to mix brown out by trying to mix Carmine Red + Light Flesh + Lemon Yellow + Neutral Grey + Black + White, so the result varying. So, as long as I could get the right tone, I'll use that as the main color, painting on the cape without painting the shadowy area that's already painted with black. Next, will dry brush with the mixed color + white ---> mixed color + white + more white ---> white alone.
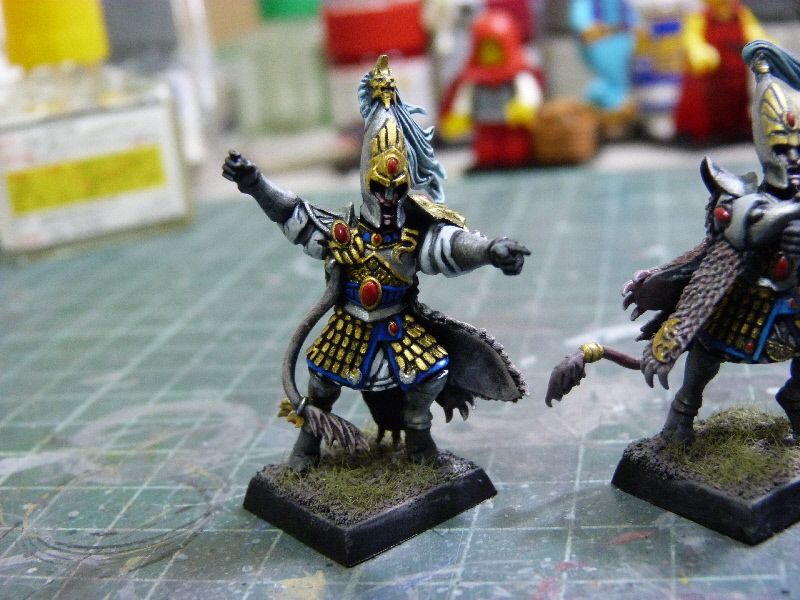
6. Face
- Base color as black ---> light flesh + red (experimenting the mixing) ---> more light flesh + red ---> light flesh.
- Again, I'm trying to see if I could do any layering on this one, but very hard to do.
7. Other
- Painted the details with the color as shown in the box-art.
Color used:
Vallejo Model Color High Elves paint set (www.maelstromgames.co.uk/index.php?act=pro&pre=val_hob_mcl_set_501_000)
Black and neutral grey are not part of this paint set, therefore I have to buy them separately.
First time trying on a mini, and 2 things that I found quite enjoyable with this work.
1. The assembly work. Reason is because I enjoy the part where trying to figure out how to make a reasonable cool post without too much modification works involve.
2. The painting. Reason is because during the painting process, I'm able to explore and learn something new regarding painting, i.e. creating color transition between 2 tones with layering (did that for the blue, the white, the back, plus the silver but not too good) and also painting all the separation line without the use of washing.
For the painting, this is what I have done.
1. white:
- Base color black ---> neutral grey + black (avoiding painting the folded section) ---> neutral grey (with some layering) --> neutral grey + white (again, trying to do layering here again) ---> neutral grey + more white (as the main color, again trying to layer as well).
2. Blue:
- This one is a bit tricky because I can't really get the color right, so I've tried all sorts of way to get the color out.
- Base color black ---> sky blue + black + some transparent blue (layering) ---> sky blue + transparent blue (layering) ---> more sky blue + transparent blue (layering) to highlight on areas that supposed to get highlighted.
- Depending on how it turns out, some of them I painted with transparent blue over the painted area if the color turn out to light.
3. Silver:
- Base color black ---> black + silver at darker area --> black + more silver from dark area towards the light --> black + extra more silver (brighter tone) towards the lighter tone area --> highlighting the edges or brighter area with silver.
4. Gold:
- Base color black ---> gold over the raised surfaces.
5. Fur cape (no idea what it calls):
- Base color as black.
- Hard to get the color for this one. I tried to mix brown out by trying to mix Carmine Red + Light Flesh + Lemon Yellow + Neutral Grey + Black + White, so the result varying. So, as long as I could get the right tone, I'll use that as the main color, painting on the cape without painting the shadowy area that's already painted with black. Next, will dry brush with the mixed color + white ---> mixed color + white + more white ---> white alone.
6. Face
- Base color as black ---> light flesh + red (experimenting the mixing) ---> more light flesh + red ---> light flesh.
- Again, I'm trying to see if I could do any layering on this one, but very hard to do.
7. Other
- Painted the details with the color as shown in the box-art.
Color used:
Vallejo Model Color High Elves paint set (www.maelstromgames.co.uk/index.php?act=pro&pre=val_hob_mcl_set_501_000)
Black and neutral grey are not part of this paint set, therefore I have to buy them separately.