|
|
Post by bombervince on Mar 8, 2013 23:19:56 GMT 8
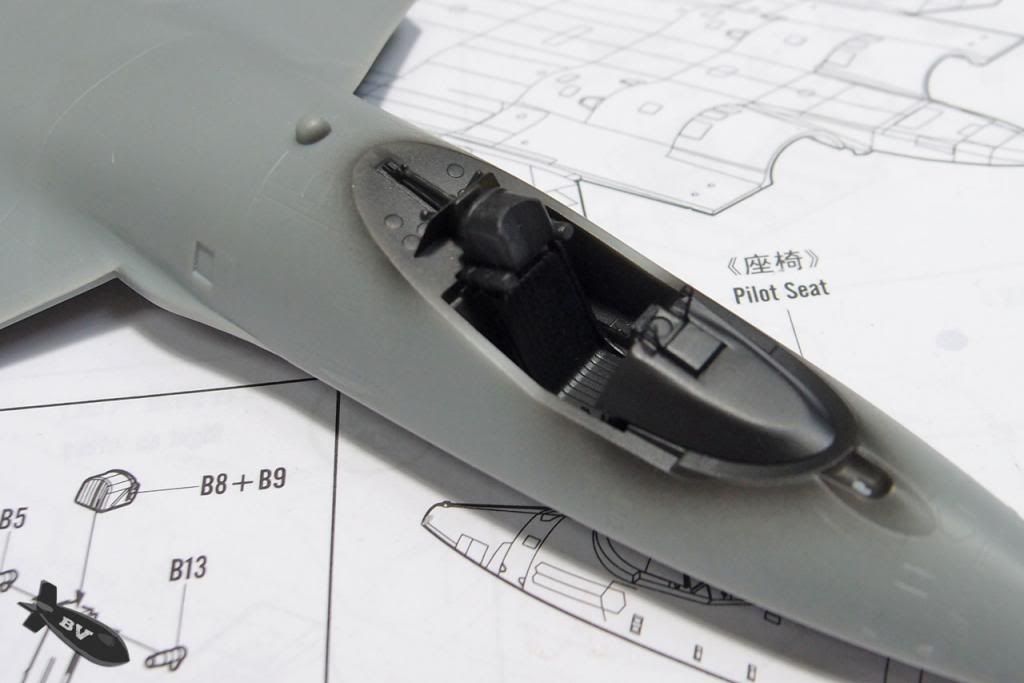
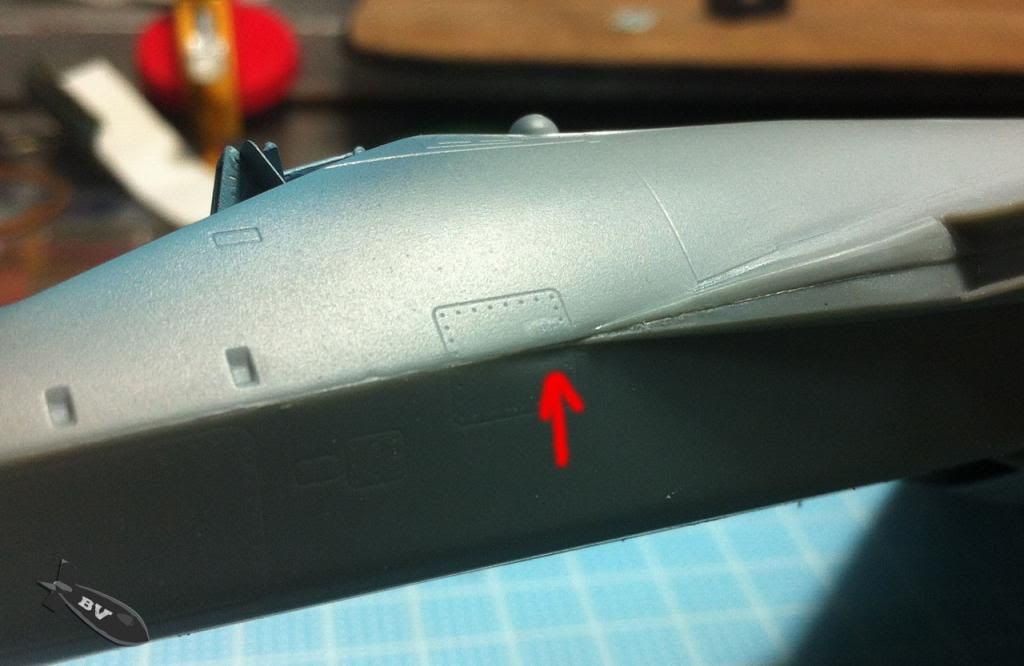
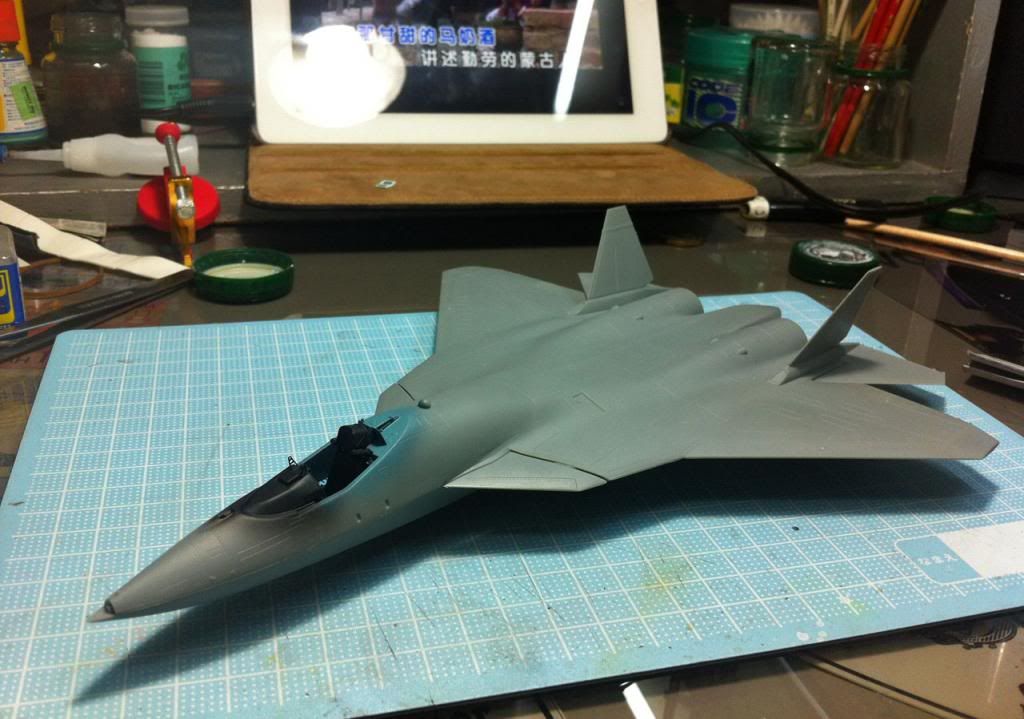
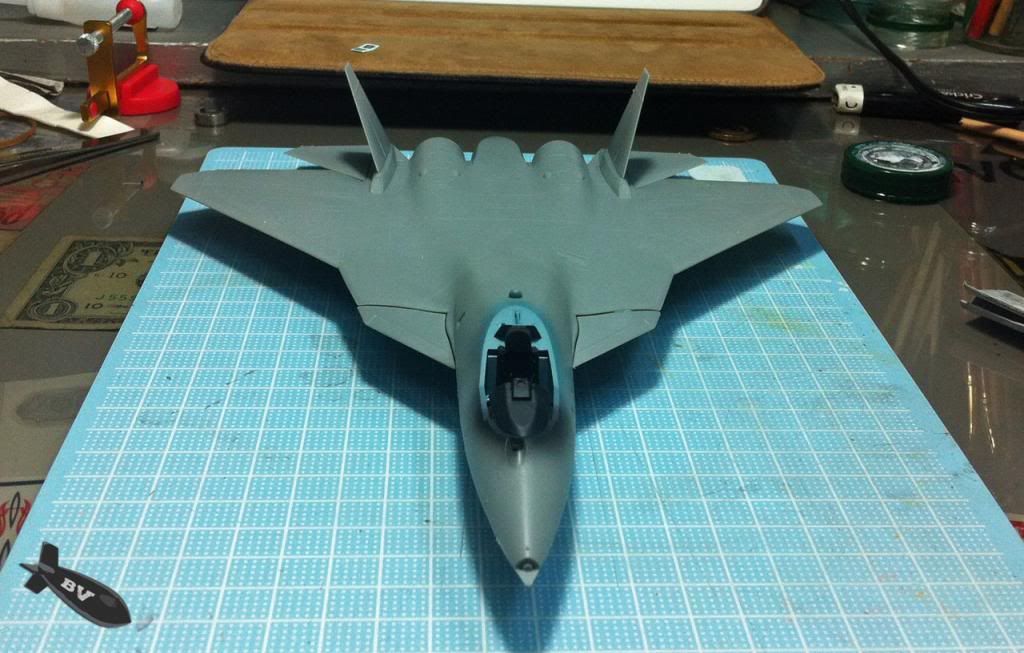
Ok guys, time to post my build for the coming AGB 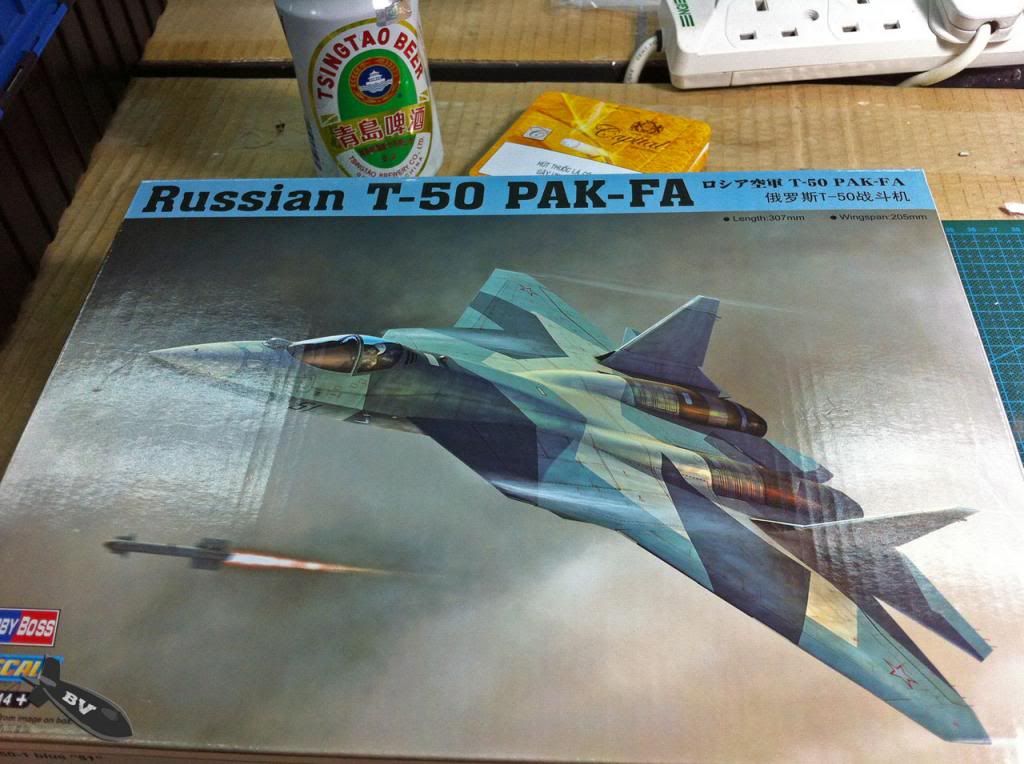 I begin with the Russian T-50 PakFa from Hobby Boss 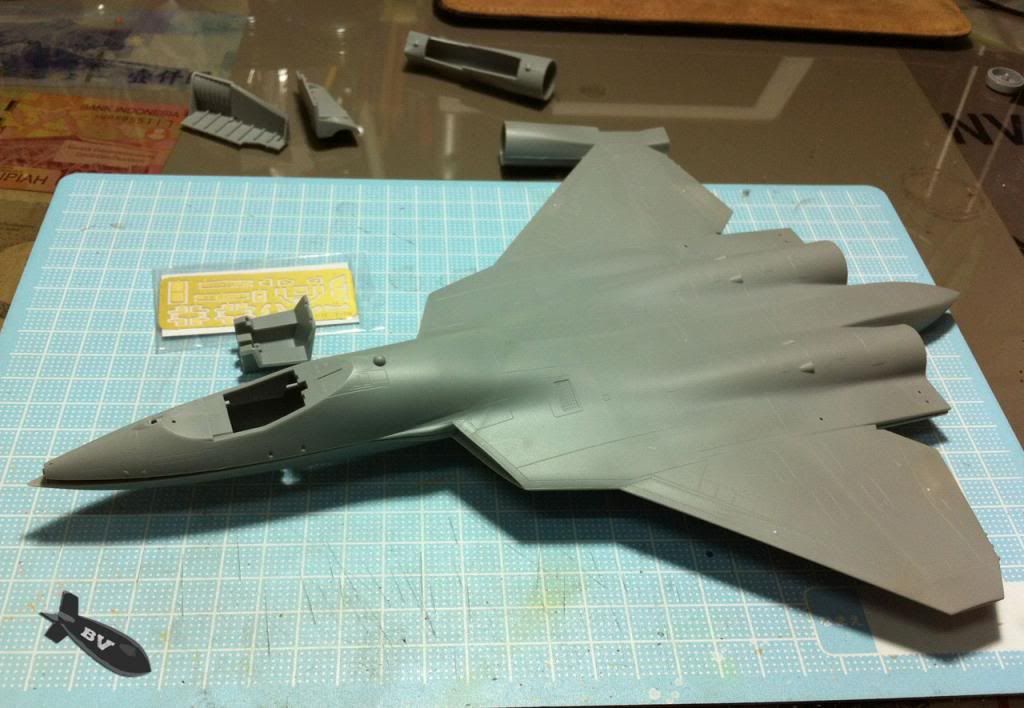 The kit comes with a small fret of photo-etched parts for the cockpit and antenna  Fitting wise it's moderate, few areas needs some trimming and filling. The underside of the wing is one of the place. 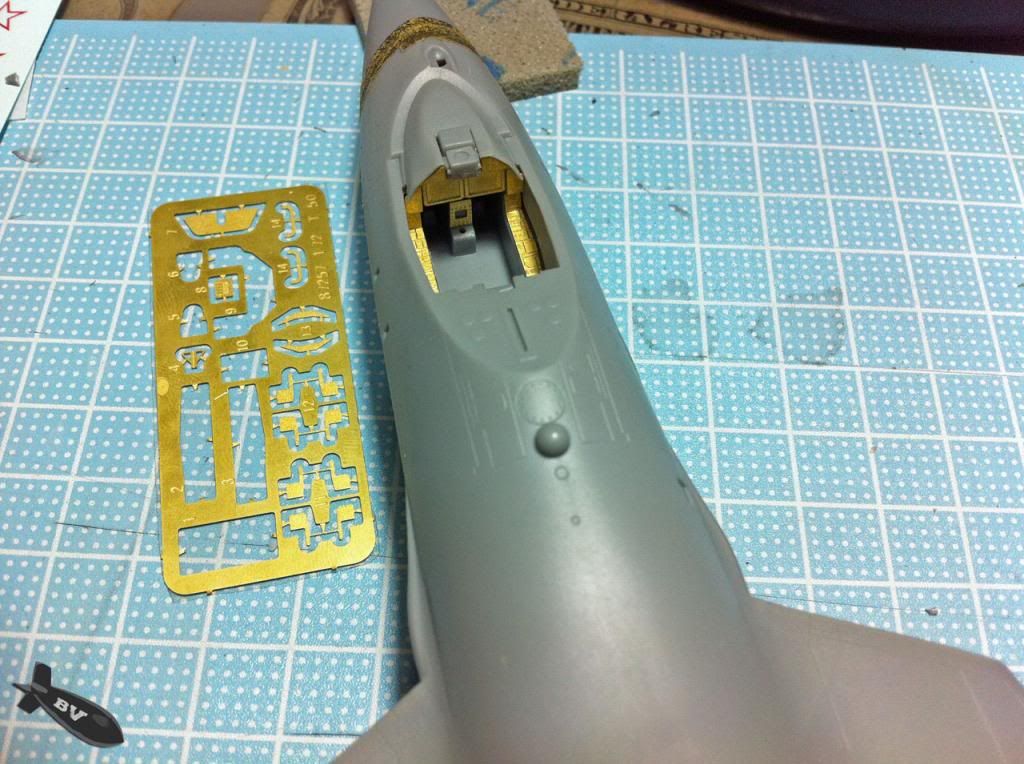 The instrument panels are 100% photo-etched parts, will it be bit too much for 1/72? I use it anyway since it's included in the kit. This is the first time I use photo-etched parts on a 1/72 jet. The instructions are not good enough to describe and explain the building process. These are the few missing info that I'm now searching online: 1. Landing gear color 2. Landing gear bay color 3. HUD actual picture, the kit comes with a PE part to hold the HUD but didn't explain clearly how to bend it. 4. Landing gear door color. 5. Ejection seat color is wrong. Anyone with reference source to share are greatly appreciated, thanks in advance. As usual, C&C and suggestions are always welcome. |
|
|
|
Post by kirin on Mar 9, 2013 16:43:29 GMT 8
A good challenge and level up to tackle hobby boss kit with their PE, I will follow this topic!
|
|
|
|
Post by Phoon on Mar 9, 2013 18:58:33 GMT 8
The size of this eagle is as good as my buster!
|
|
|
|
Post by bombervince on Mar 26, 2013 1:25:31 GMT 8
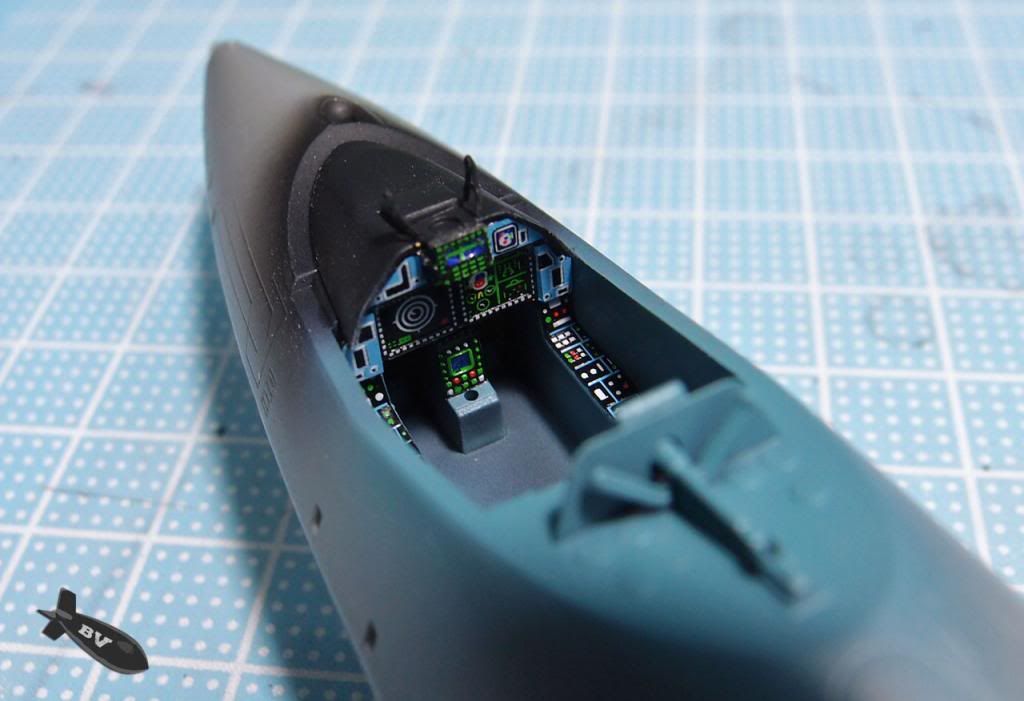
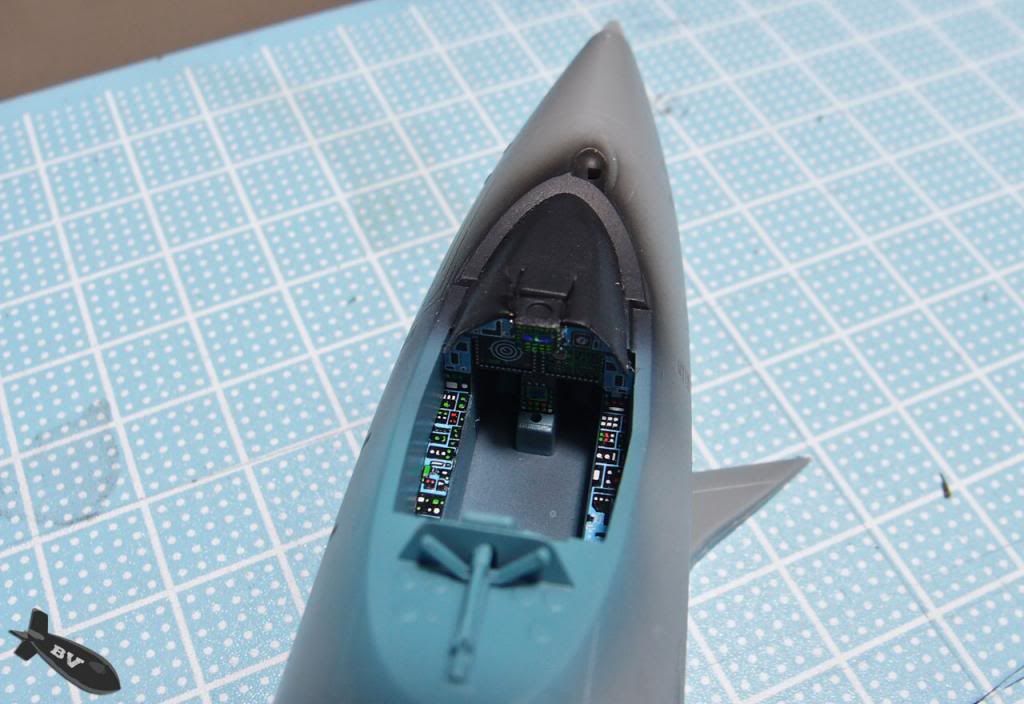
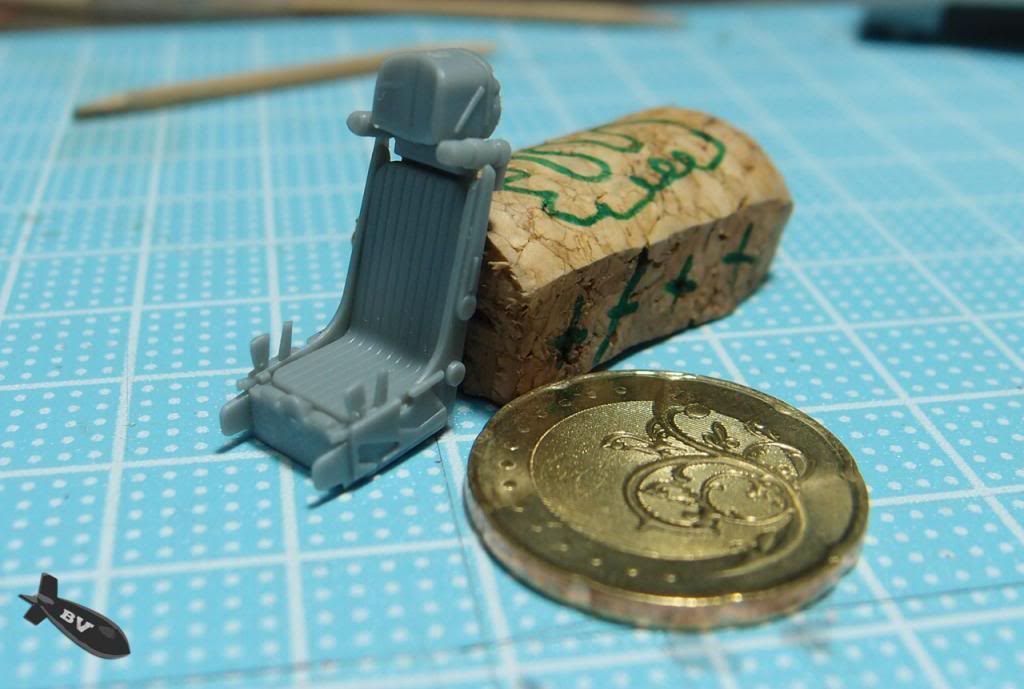 this seat it self is already 8 parts + 1 PE(not yet install)  the HUD tinted with "cap ayam" marker from pasar malam, genuine artline marker too opaque (parts above) 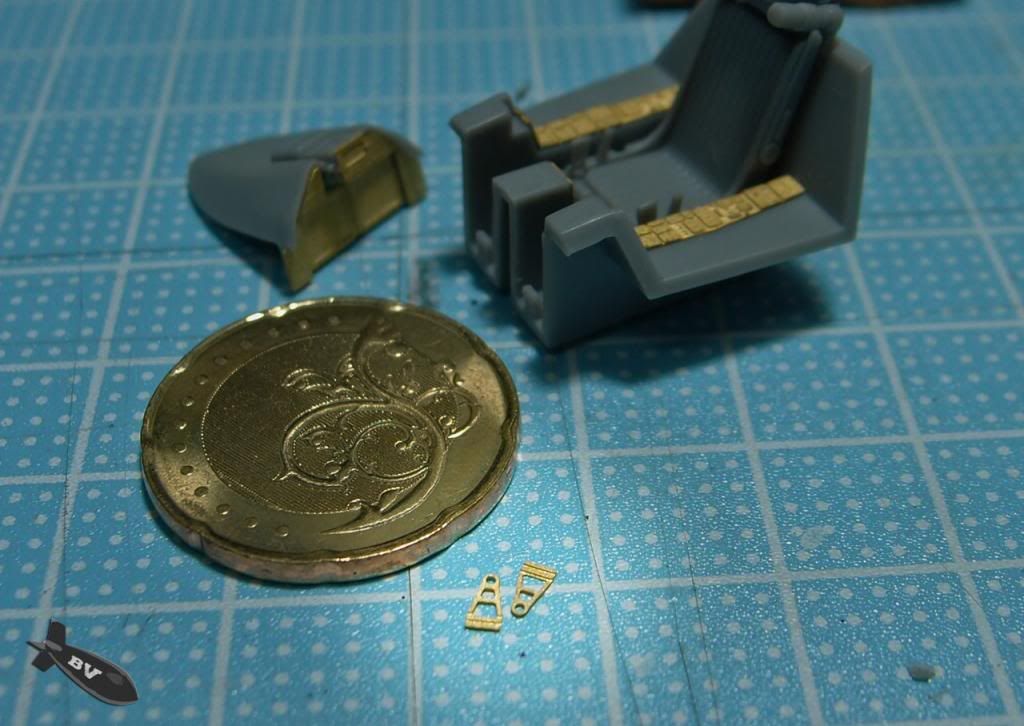 Rack for the HUD are 2 PE parts 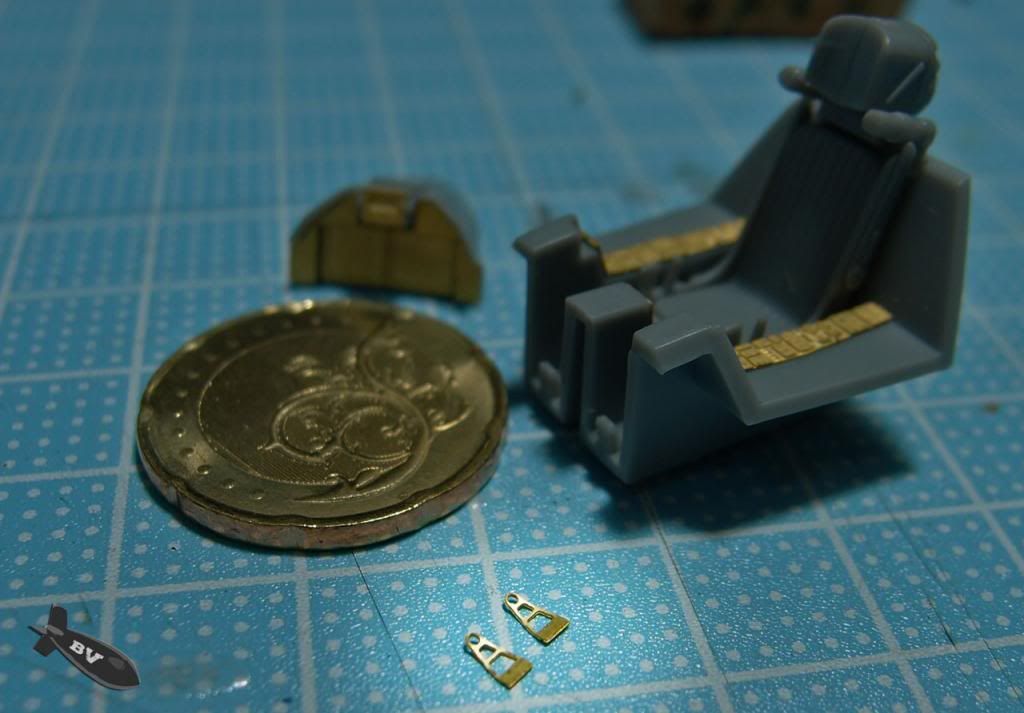 first I curved it by rolling a pen knife over it. 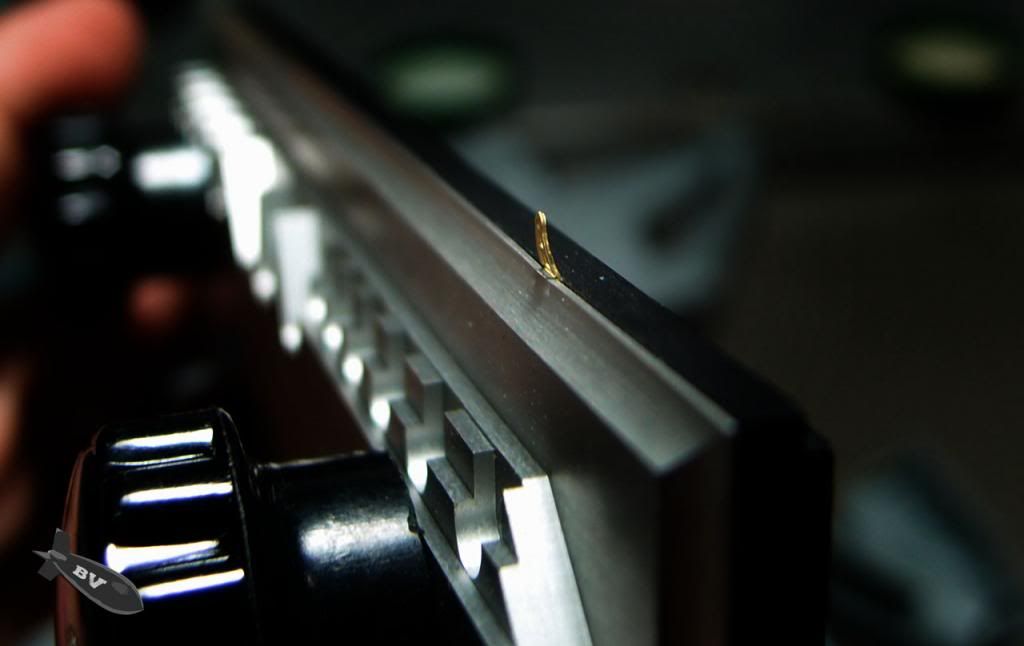 bend using PE bender, this is the first bending 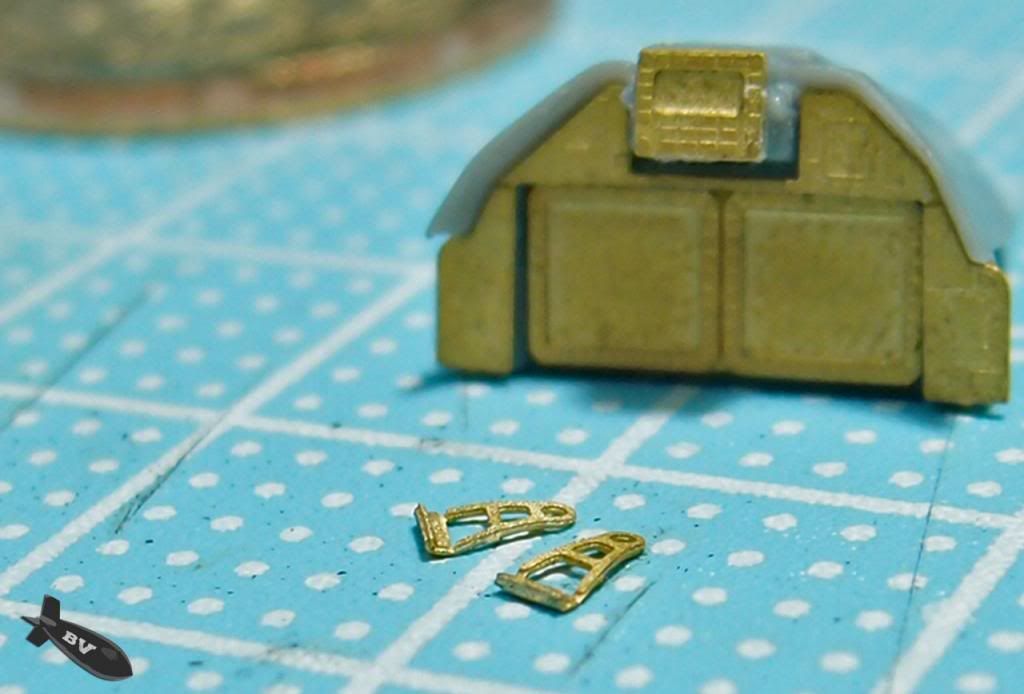 Result after 2 bends (sore eye already) 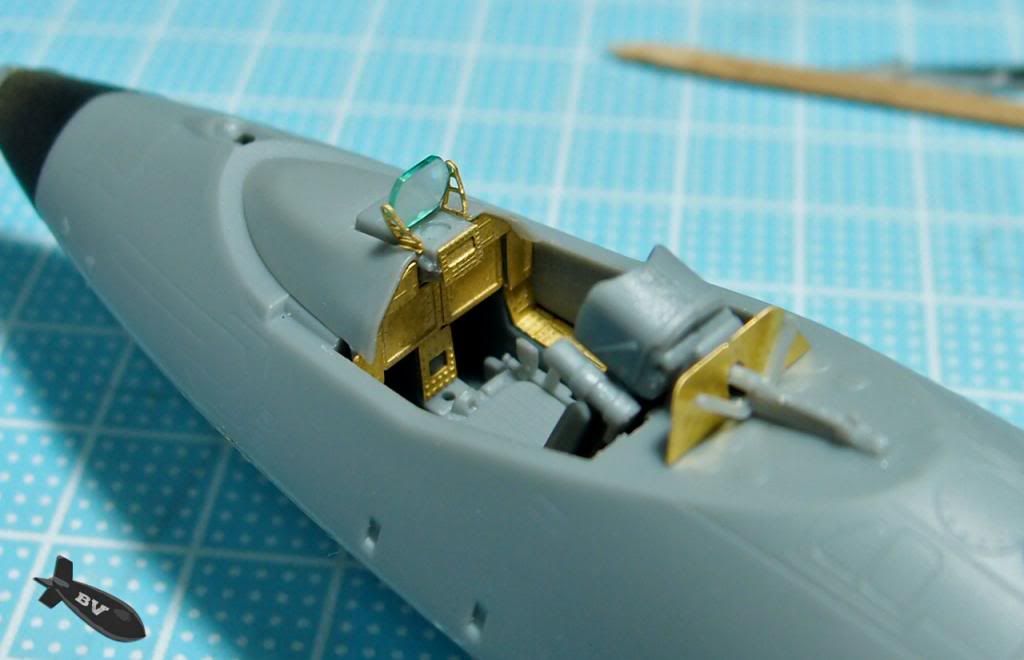 the end result is very promising, spend bout 1.5 hrs just to get things done 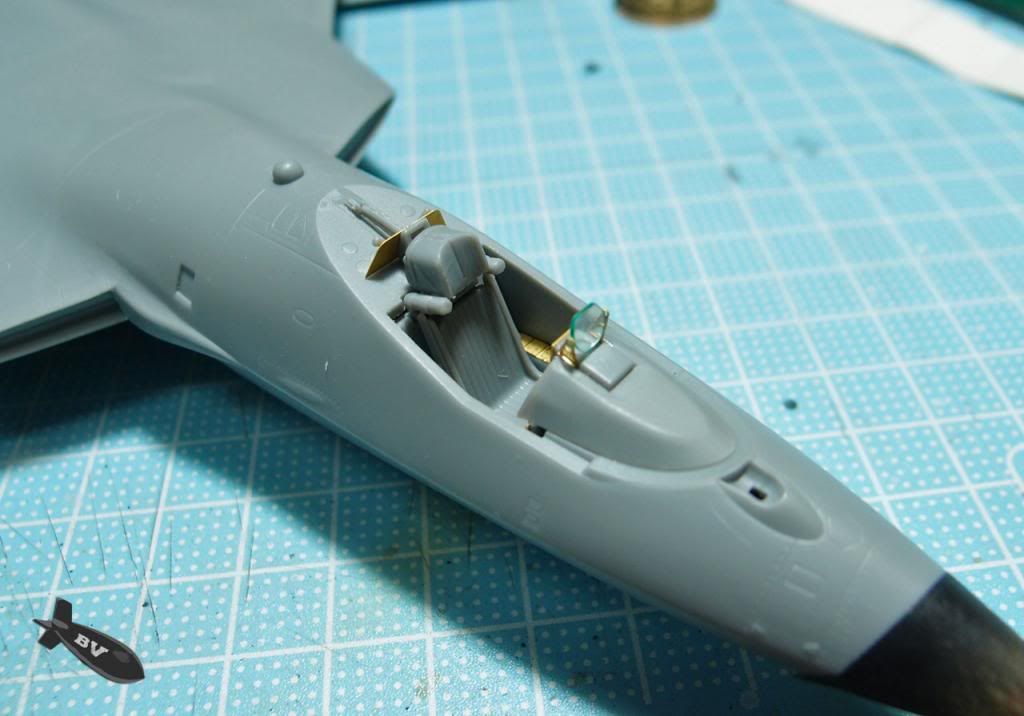 front view 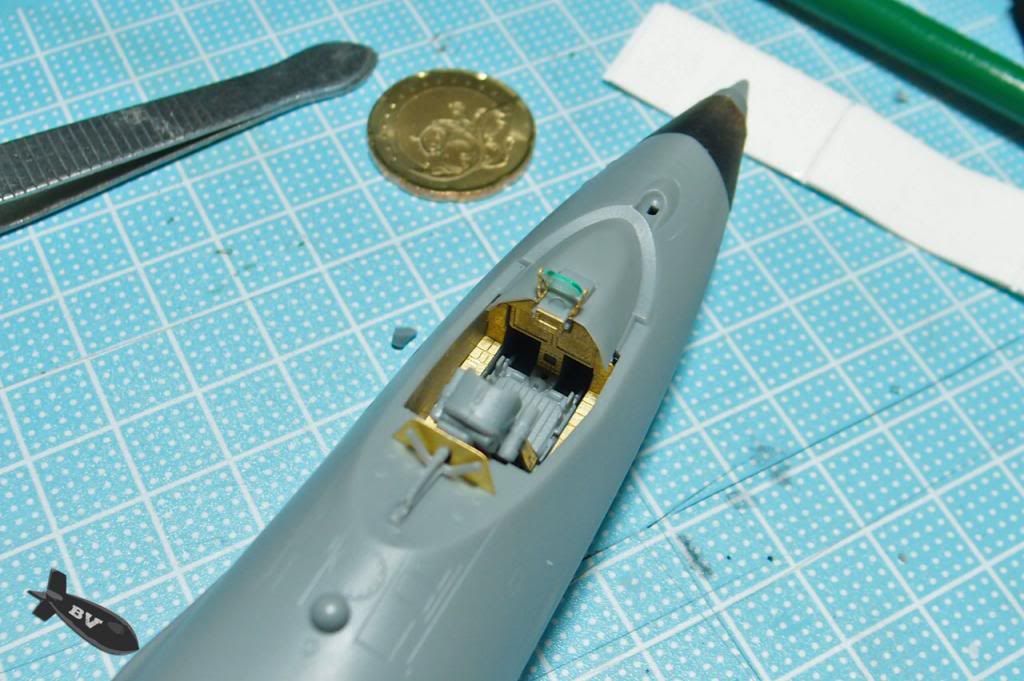 Conclusion, this kit comes with a cockpit with details way better then many 1/48 kits but still.... missing the seat bealts (which I think I will make later) thanks for viewing, C&C are always welcome |
|
|
|
Post by bombervince on Apr 3, 2013 15:24:05 GMT 8
|
|
|
|
Post by Phoon on Apr 4, 2013 8:15:16 GMT 8
Cap ayam effect indeed awesome! Looking the progress of PE bending and sort makes me feel phobia towards this subject....nevertheless, the results are promising...keep us posted bro!  |
|
|
|
Post by bombervince on Apr 4, 2013 10:32:30 GMT 8
Thanks Master Phoon
|
|
|
|
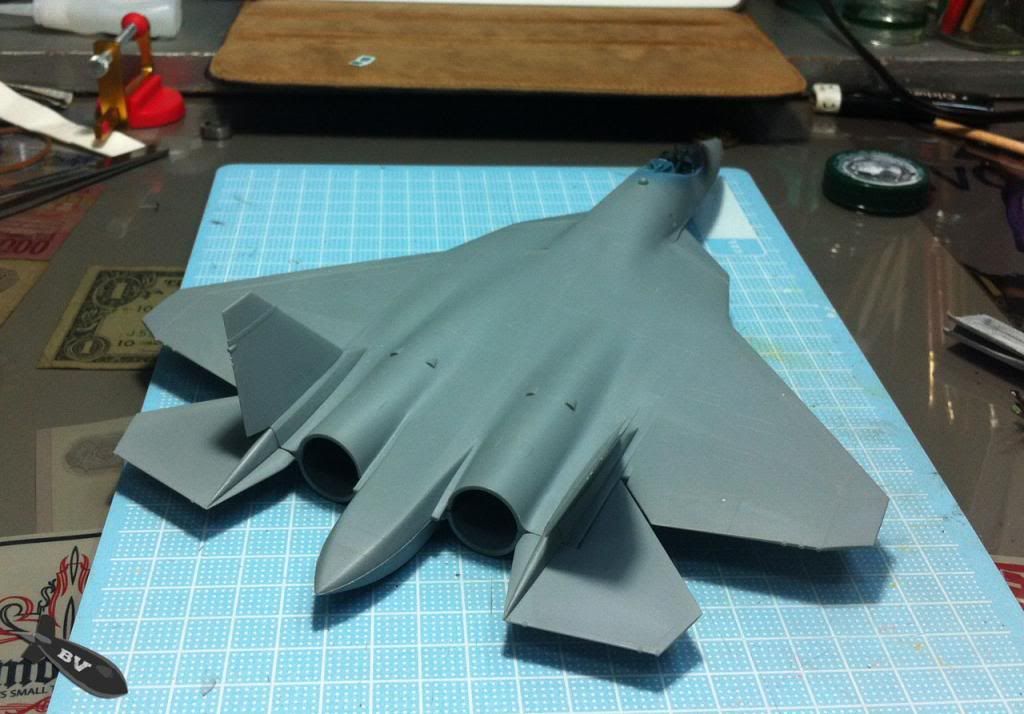
Post by bombervince on Jun 14, 2013 12:42:40 GMT 8
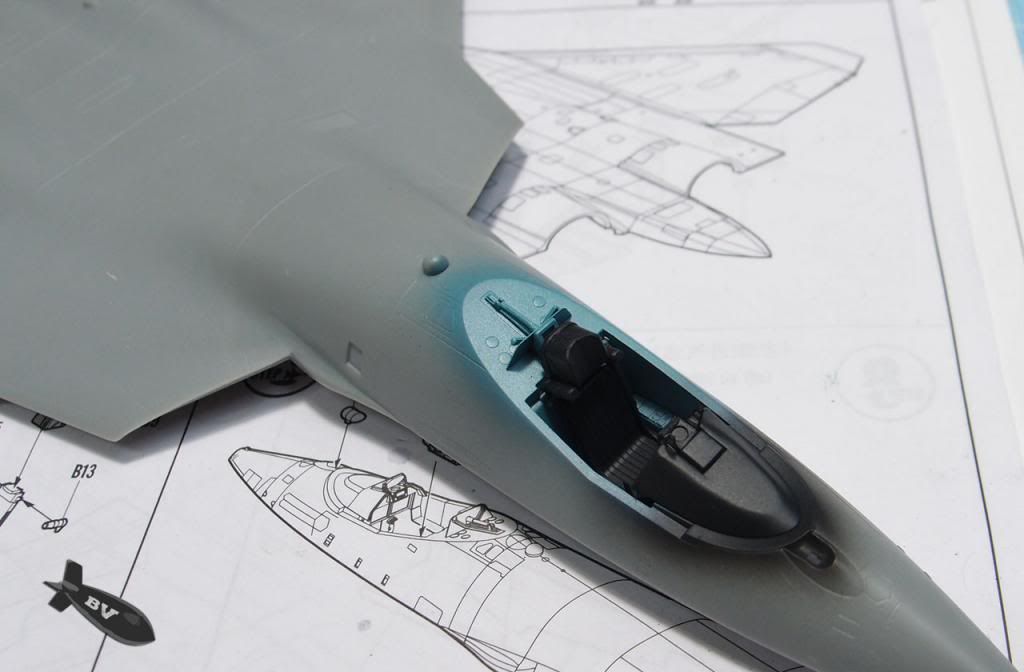
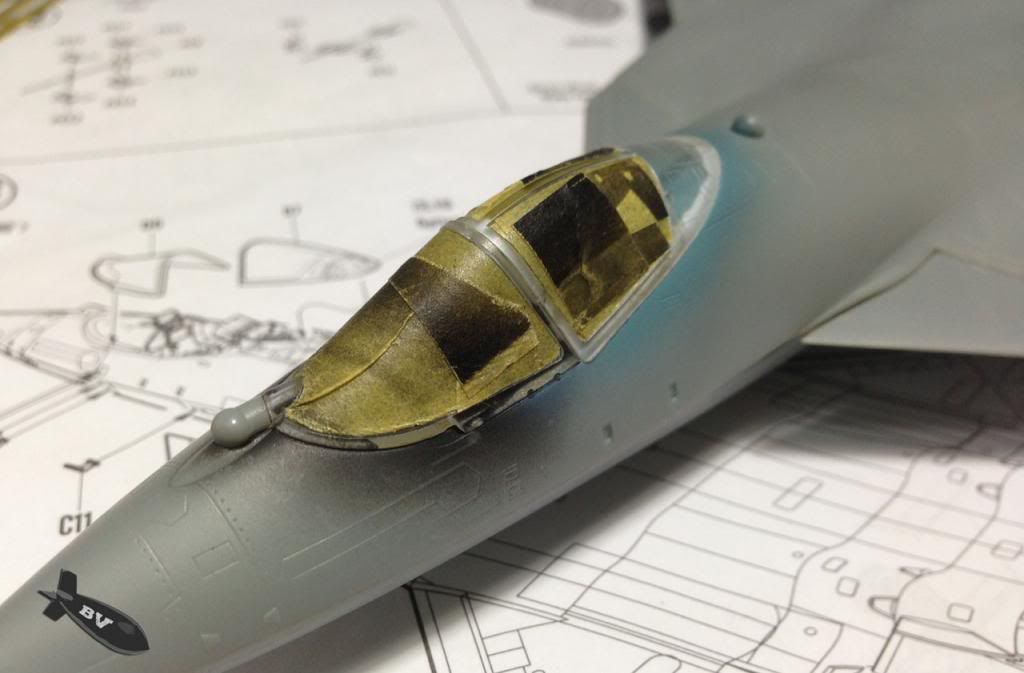 I always mask the cockpit with the canopy.  the interior of the T-50 is Blue, so I sprayed a layer of blue before the body color 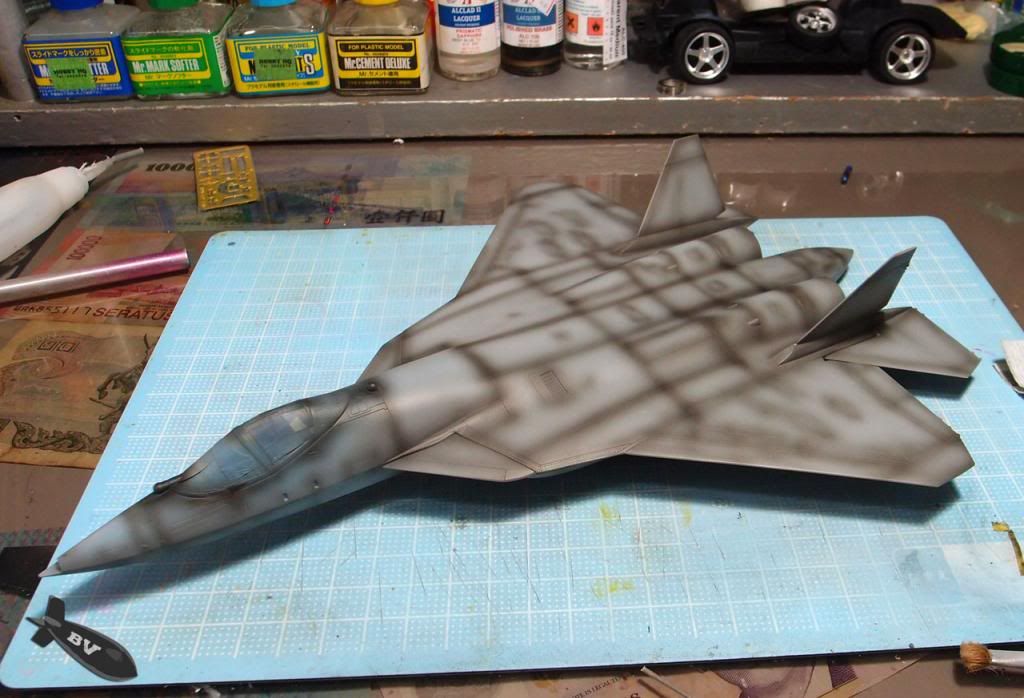 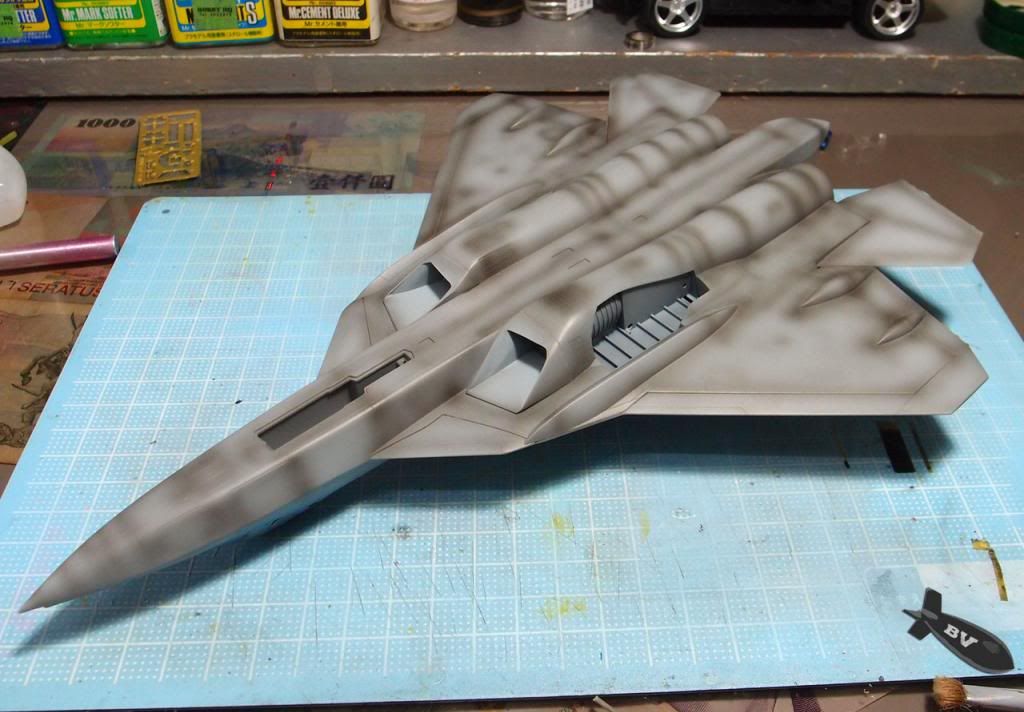 pre-shaded with thinned black 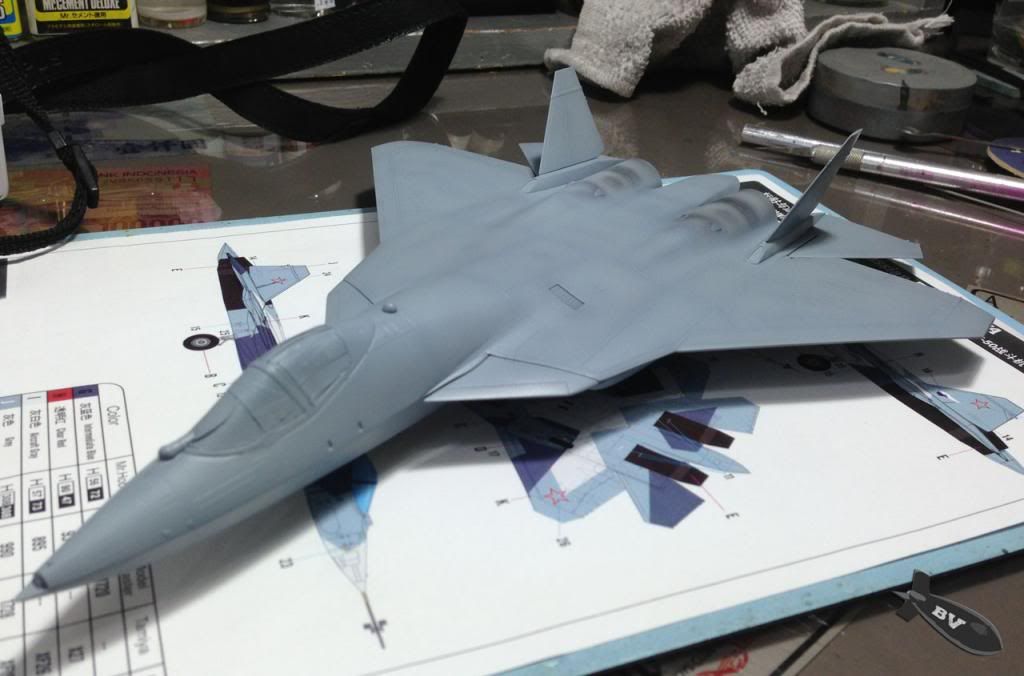 Body painted with Mr Color 308 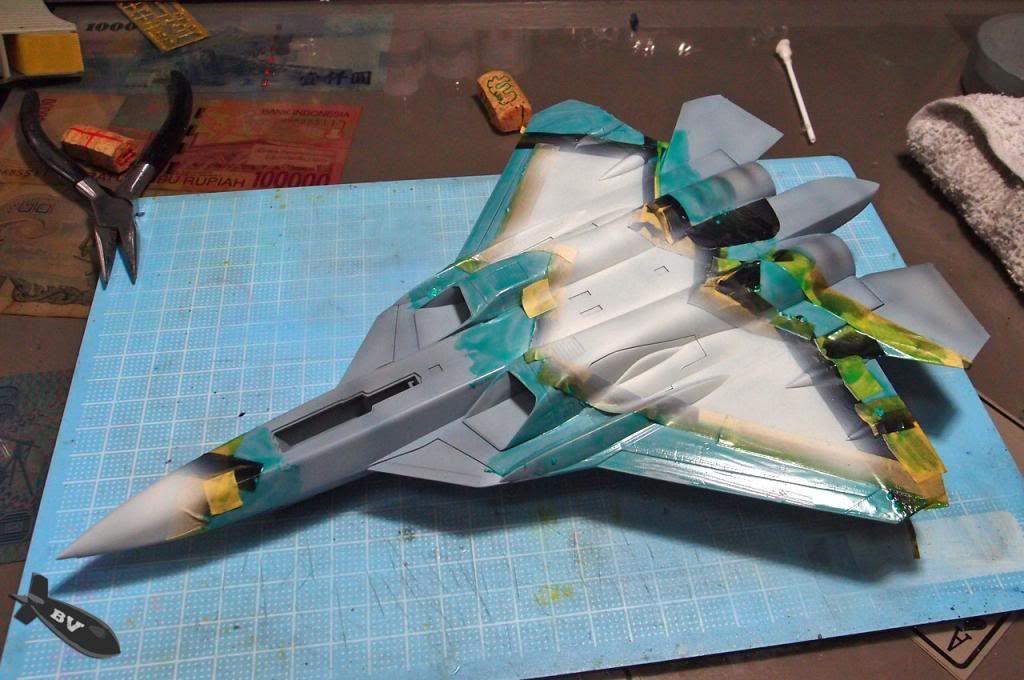 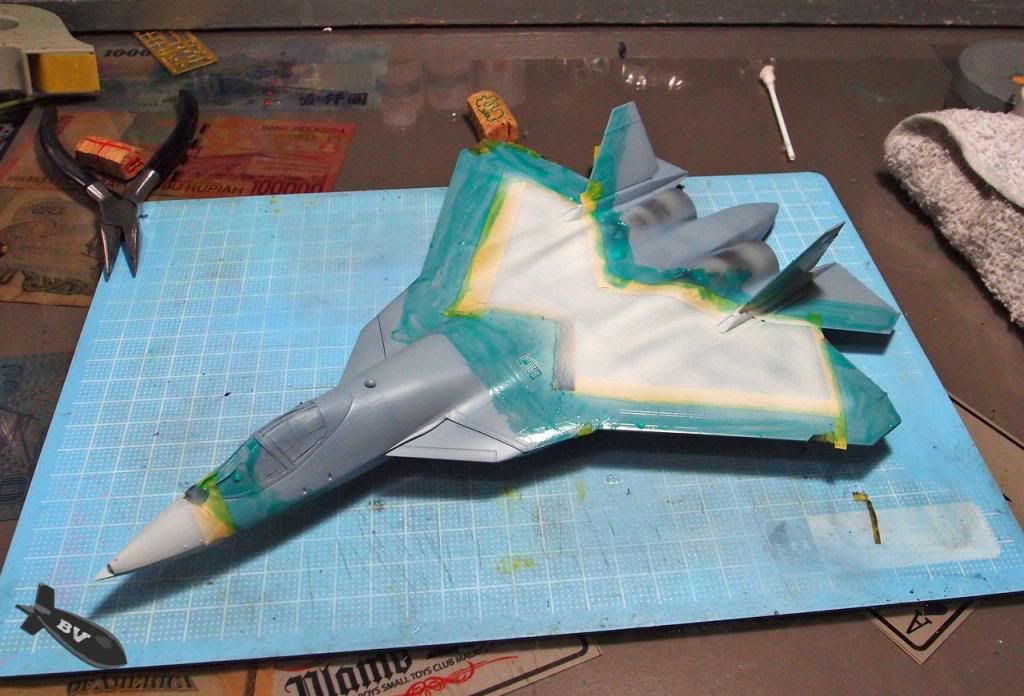 then the 2nd camouflage color, insignia white (I custom mix earlier), masked and spray 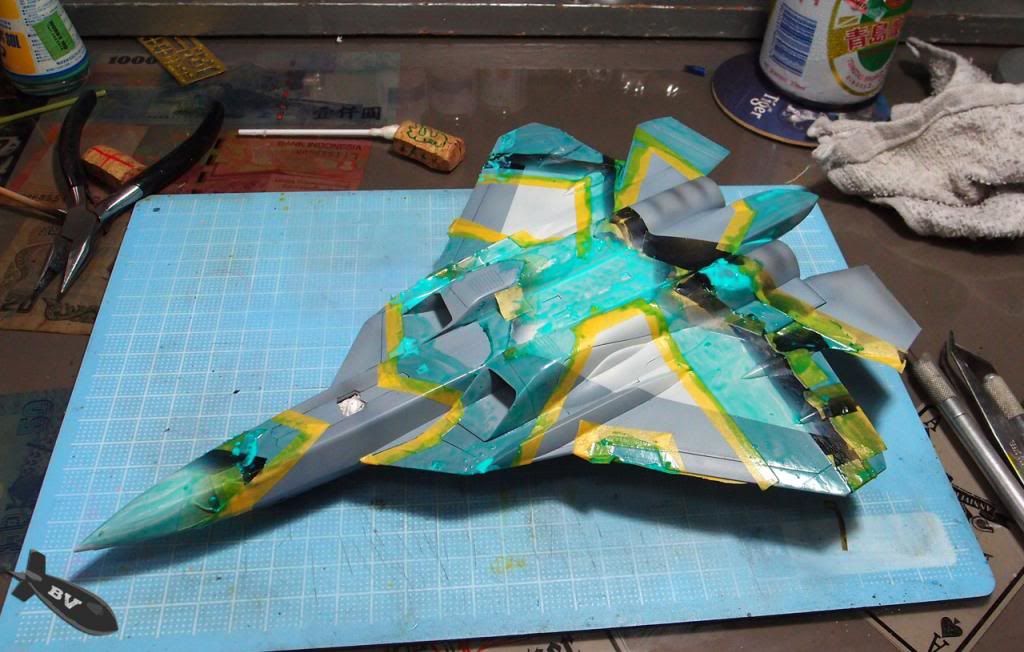 Masking again to spray the dark blue gray is a new mix for this build. 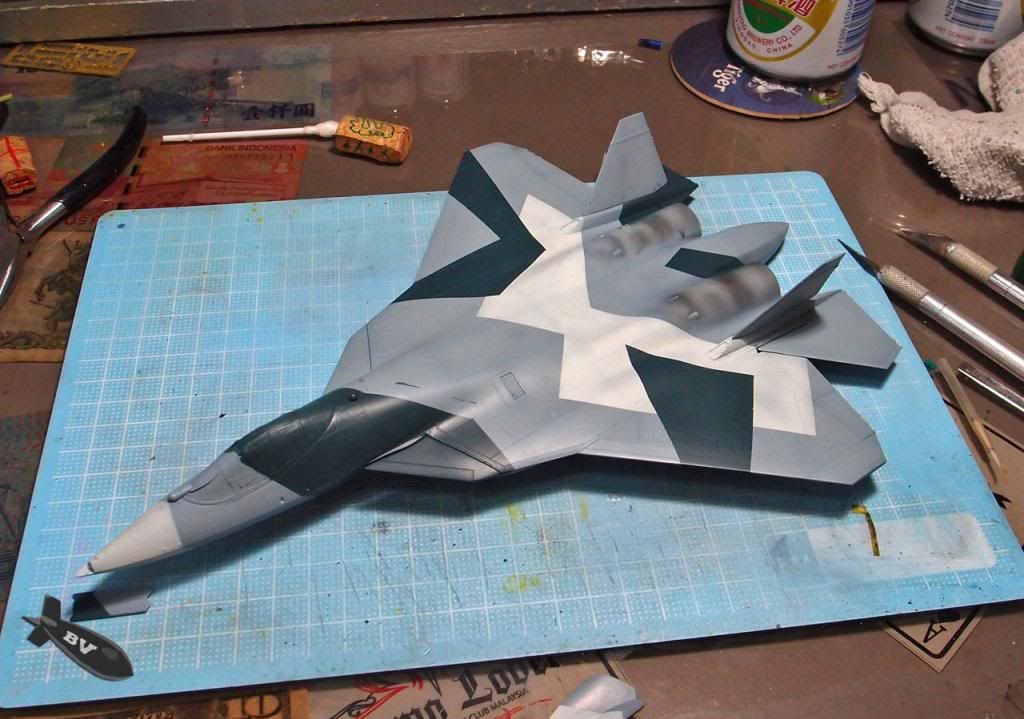 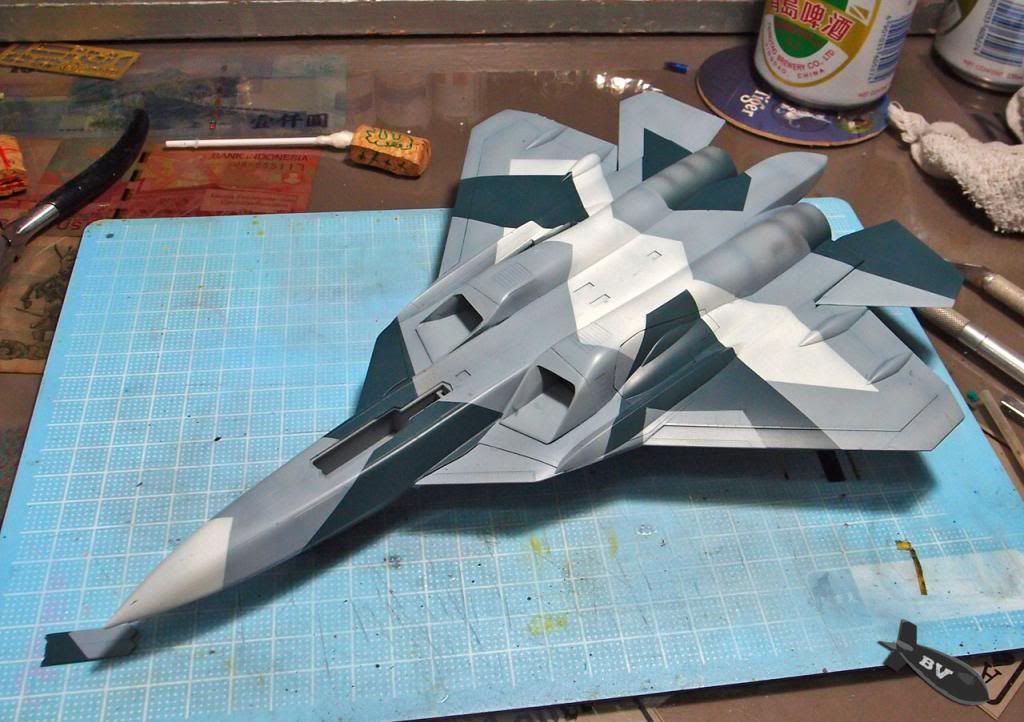 basic camouflage color done 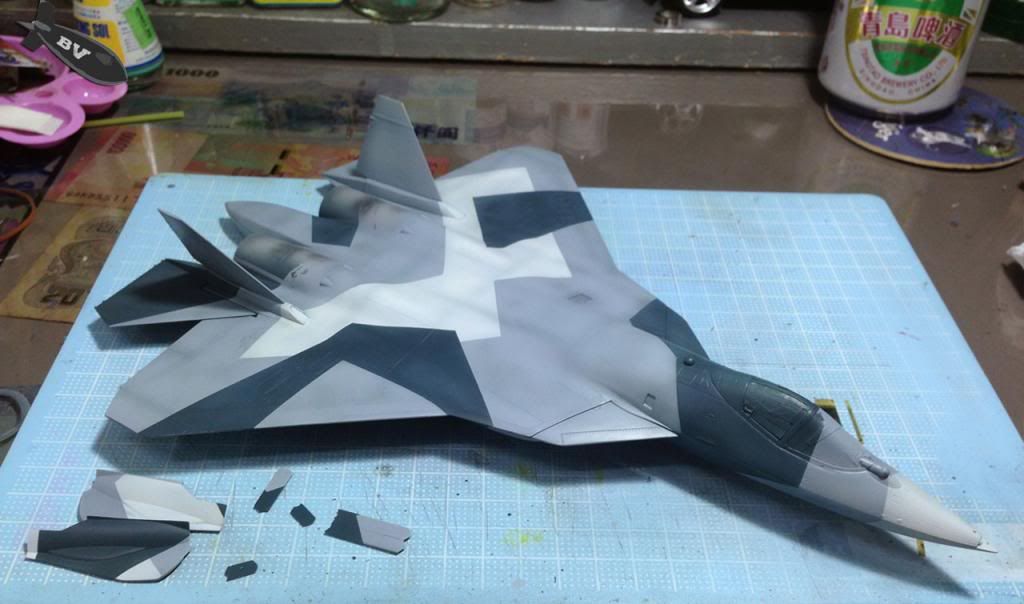 added some post-shading and filtering 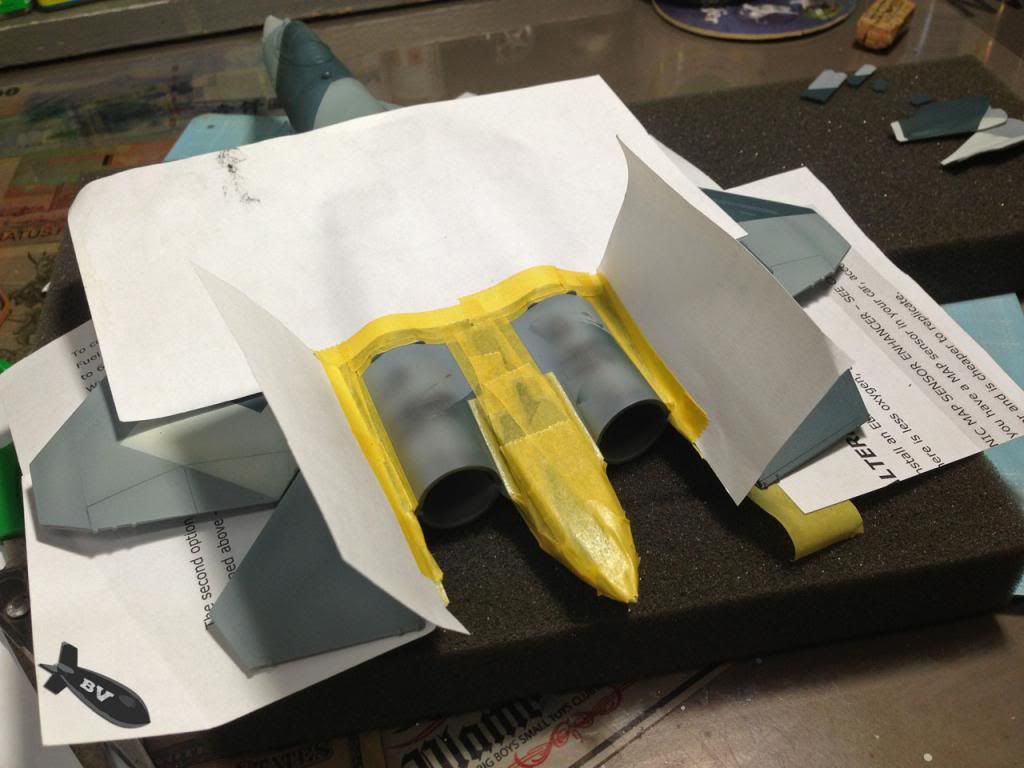 mask like hell just to paint the exhaust  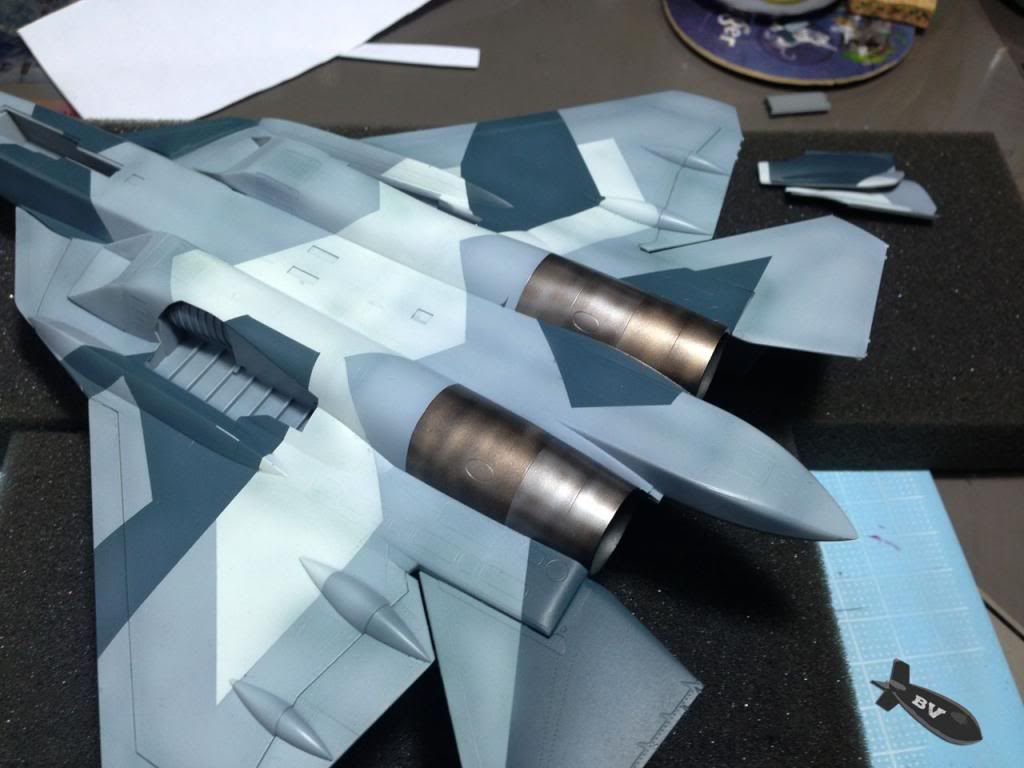 The exhaust of this kit is basically lack of details and panel lines, but I will do something to compromise this. 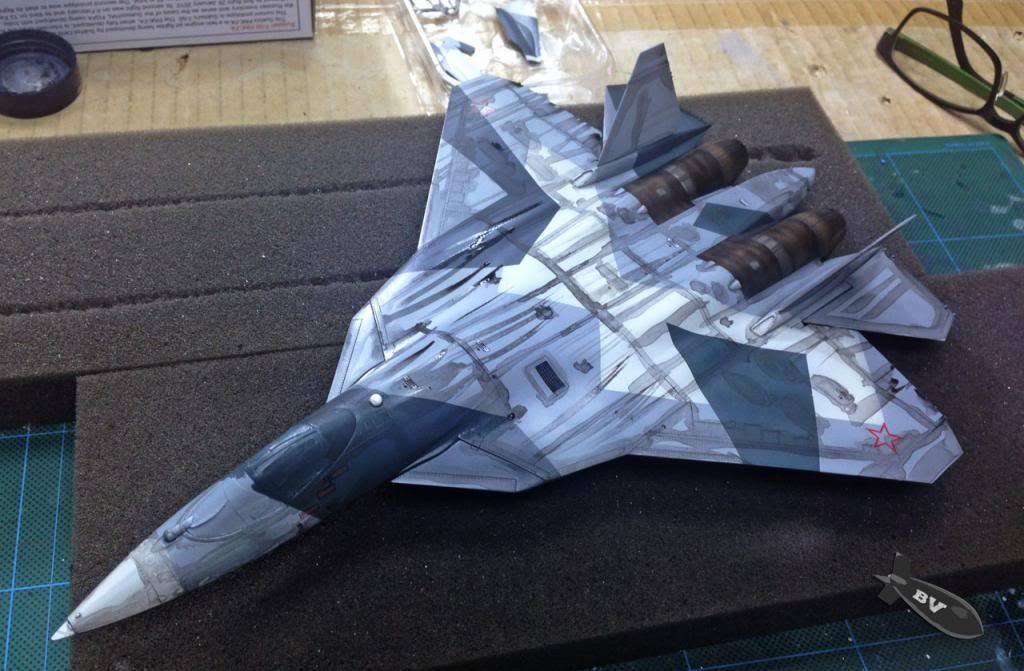 pic shows below progress: 1. Clear Coat 2. Apply Decals 3. Clear Coat 4. Poster color panel line wash  Panel lines cleaned up, basically this is the final weathering process of this build. thanks for viewing, C&C are always welcome |
|
|
|
Post by bombervince on Jun 22, 2013 17:39:37 GMT 8
|
|
|
|
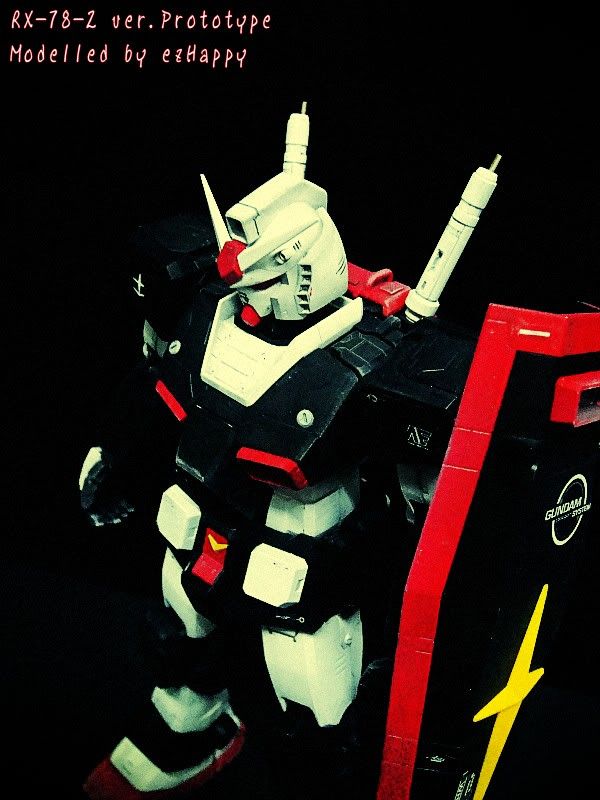
Post by ezhappy on Jun 26, 2013 11:10:23 GMT 8
Nice and Simple! love it!
|
|
|
|
Post by bombervince on Jul 1, 2013 0:43:38 GMT 8
TQ
|
|