|
|
Post by xamel1975 on Oct 20, 2013 21:44:32 GMT 8
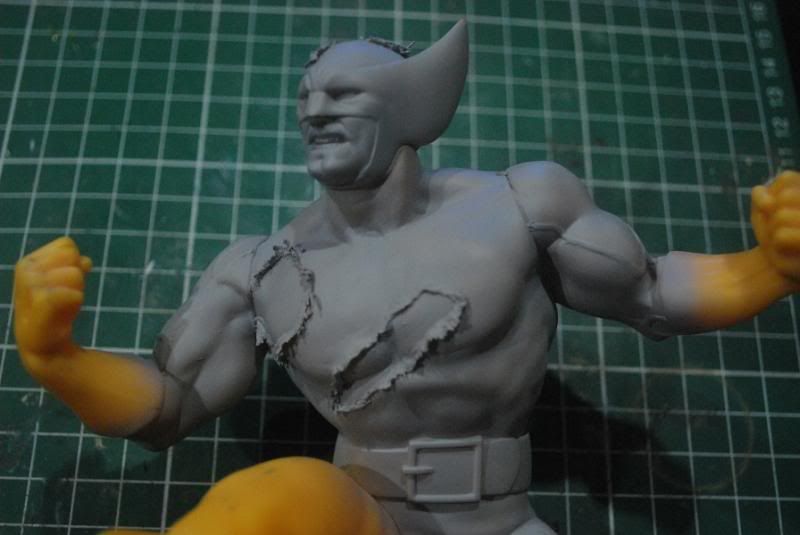
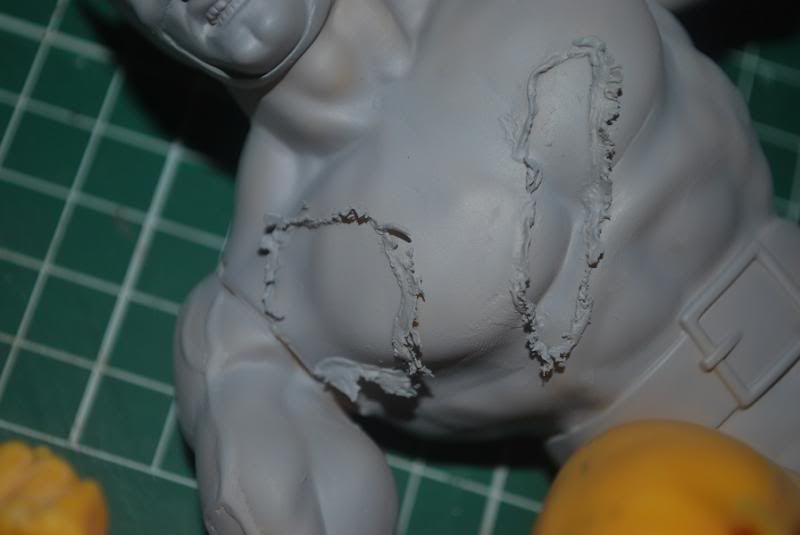
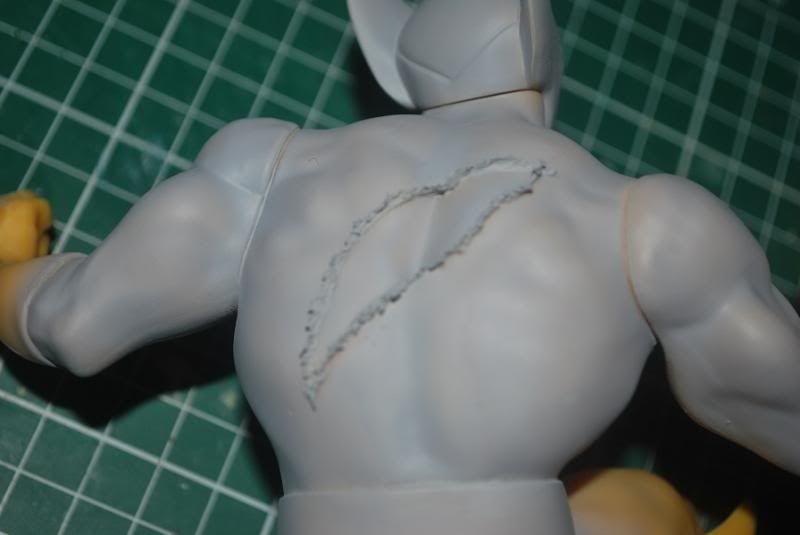
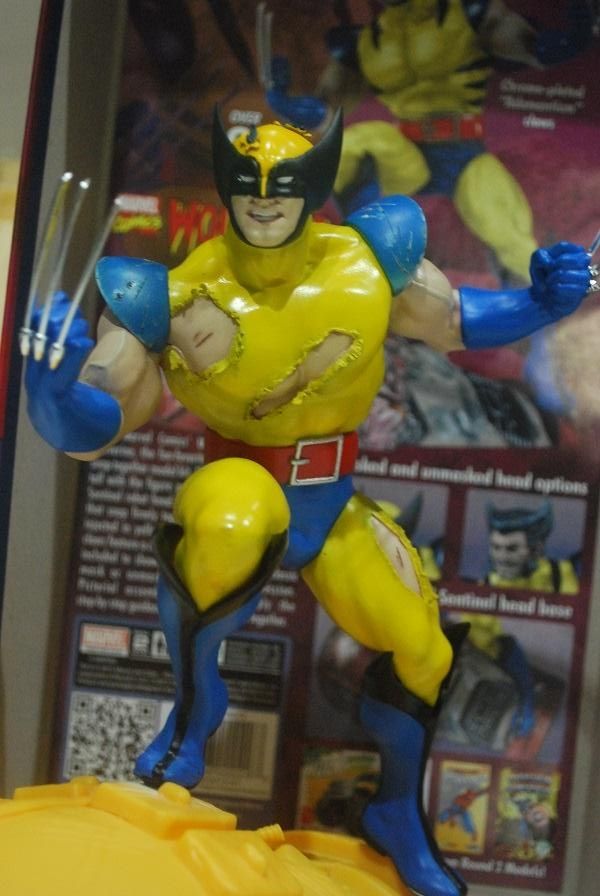
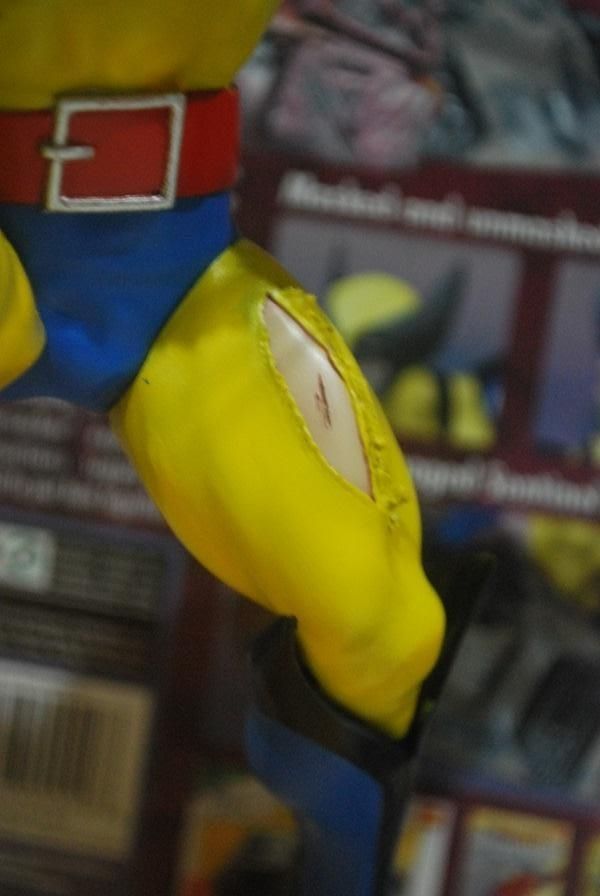
Subject: Wolverine Scale: 1/8 Manufacturer: Polar Lights Other note(s): a snap-together kit, 2 head option (masked / unmasked) The kit has very few parts. 39 plus a defeated Sentinel head as the base. I 'remove' the snap-together feature by removing the male pegs. The kit went together very easily and minimal putty is required. I plan to have one of the Sentinel eye installed with flickering LED to give that damaged effect. Also, I'm contemplating on having a sound chip installed. 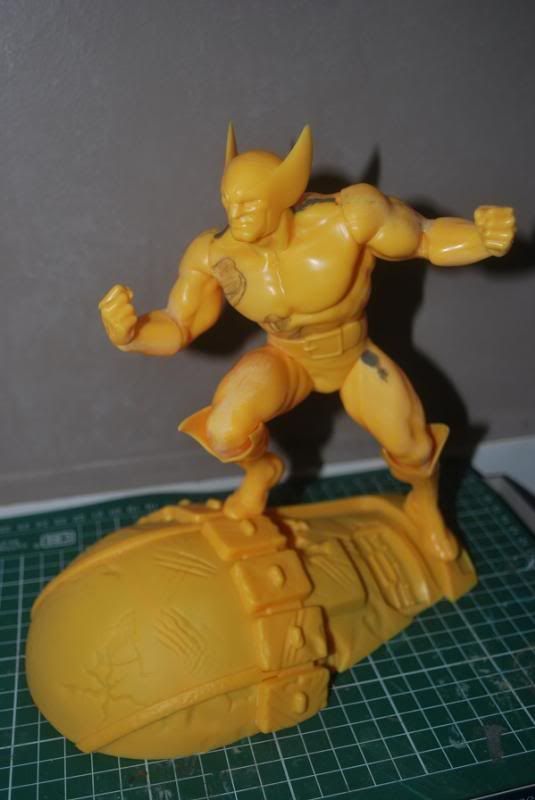 Mock-up build. 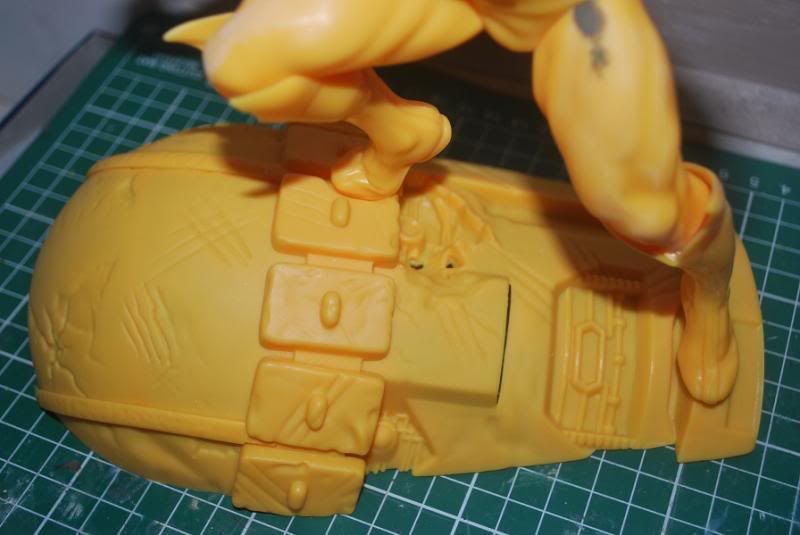 Defeated Sentinel head as base. 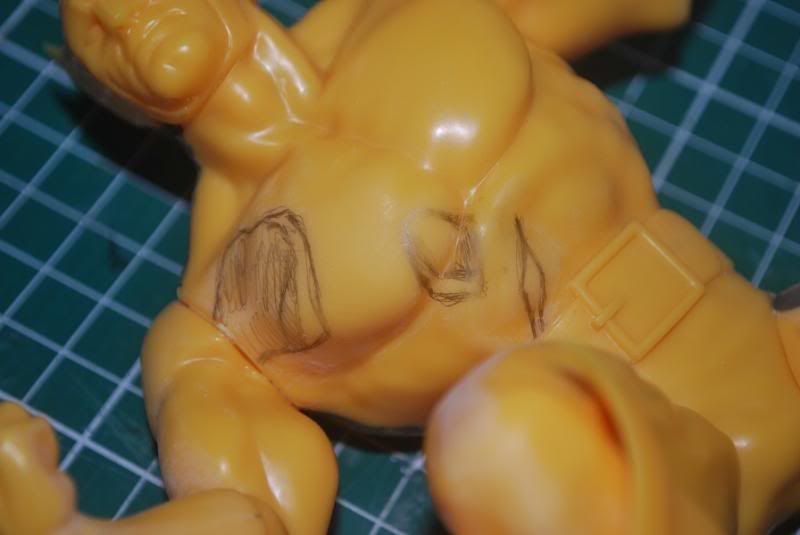 While Logan may heal quickly, his costume doesn't. So I plan to have some areas torn - as seen on torso here marked with pencil. 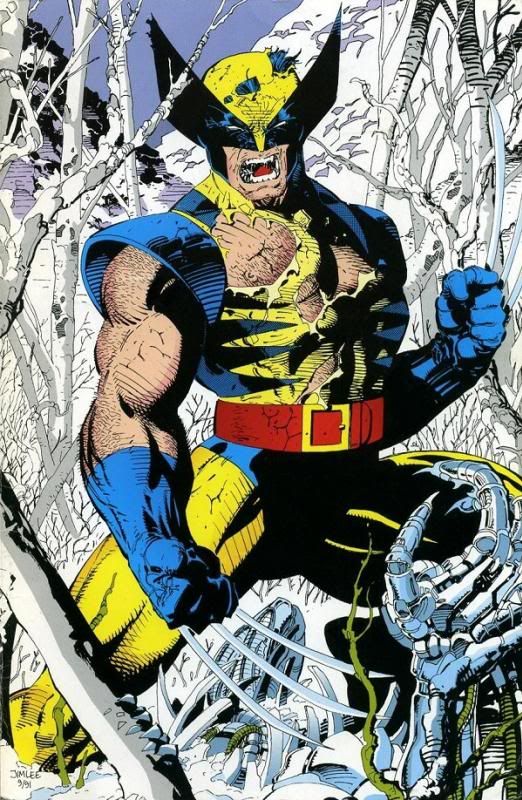 I use this Jim Lee's artwork as reference for the tear. Maybe, if I feel like going the extra mile, I may change the masked face to look like Jim Lee's art ^_^ . |
|
|
|
Post by xamel1975 on Oct 20, 2013 21:45:19 GMT 8
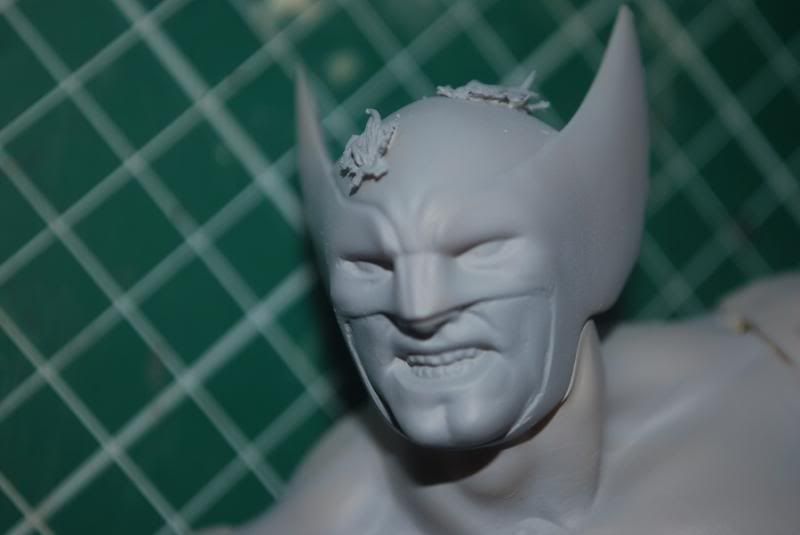
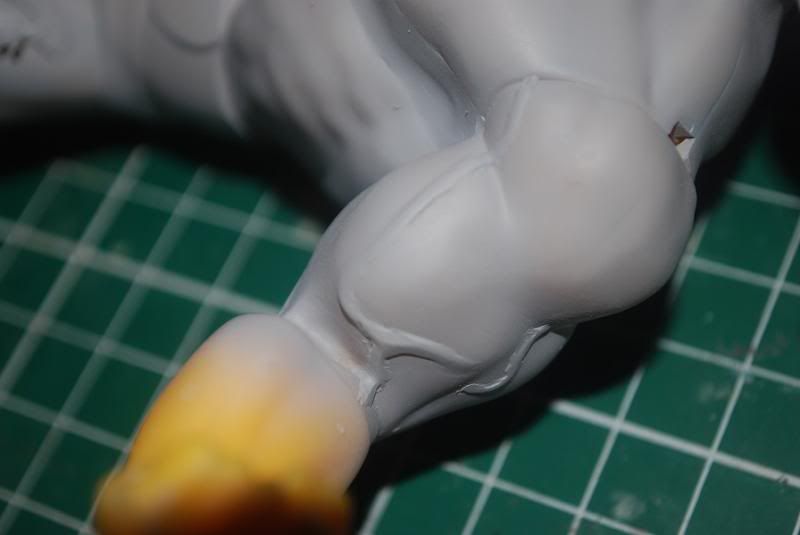
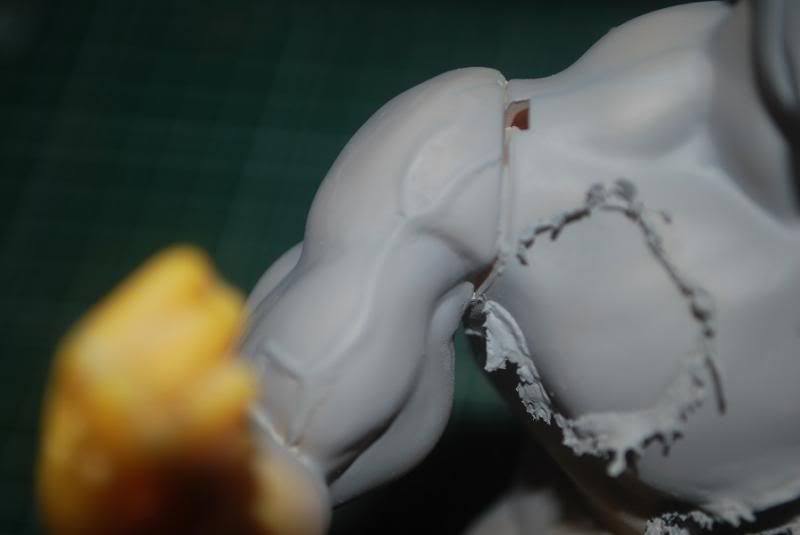
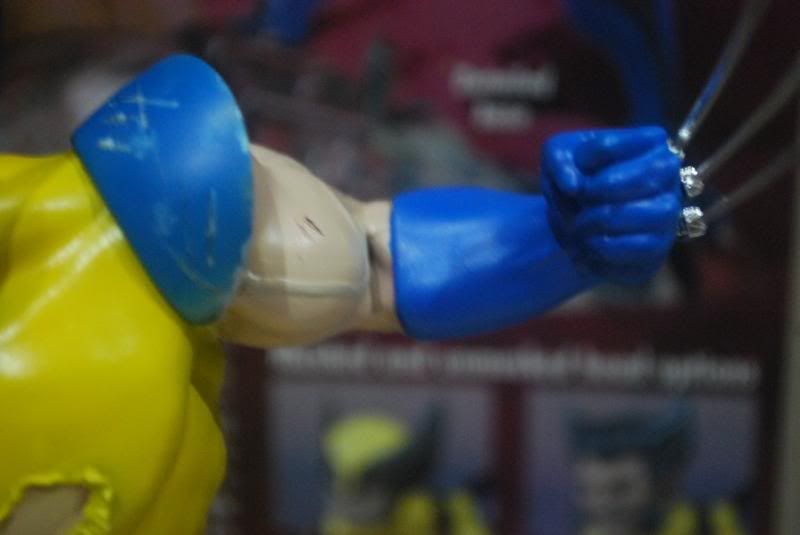
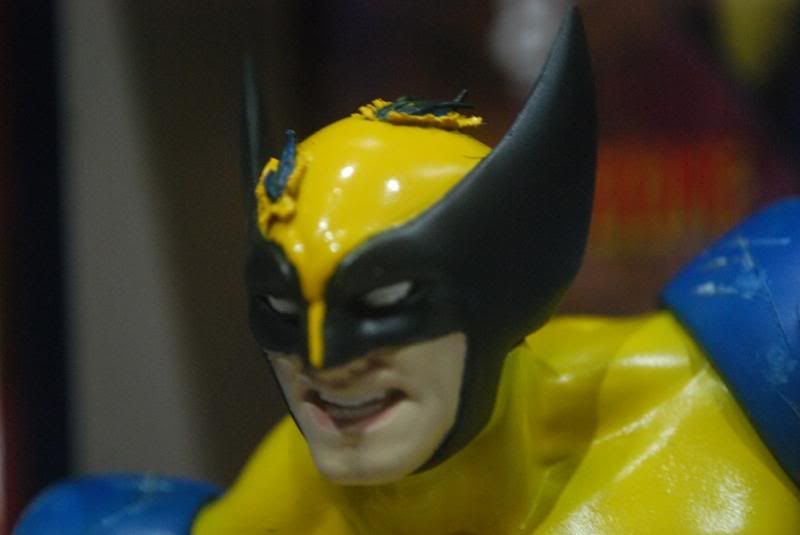
Add some realism - the costume, while it's body-hugging; should not really conform to every bulge and contours of a body - especially bulky muscular one like Logan's. 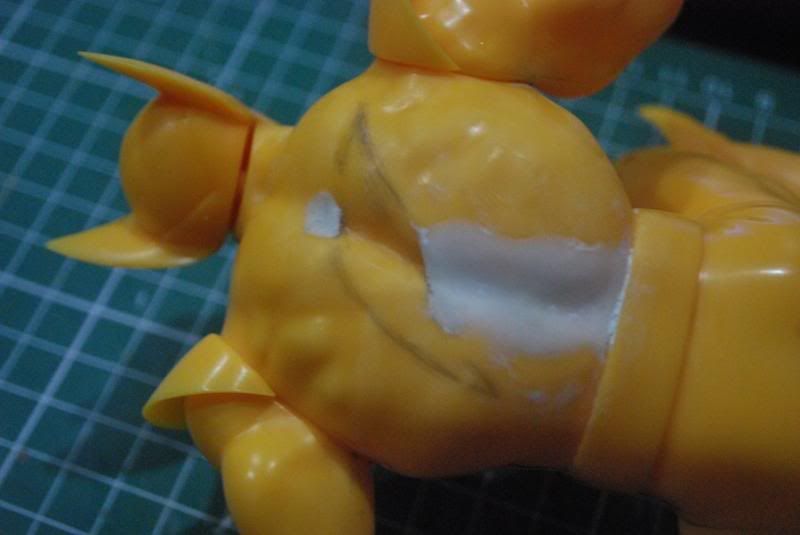 So I filled in some of the crevices with 2-part epoxy putty and blend it into the buff body. 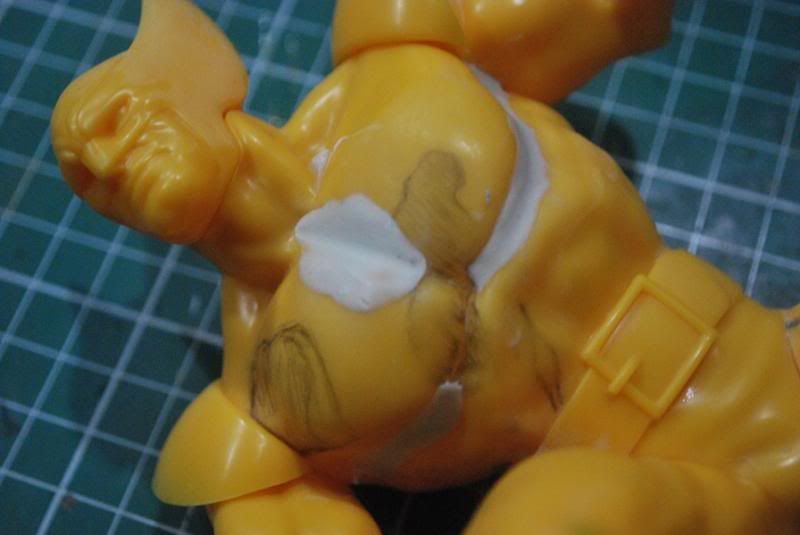 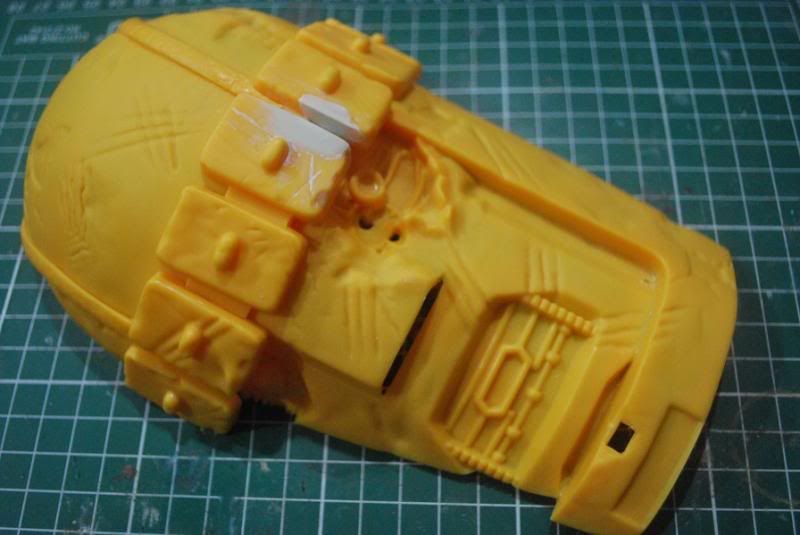 The Sentinel's 'crown' originally provide an 'indent' where the right feet should be but I decided to fill it in and remove the locating peg from the right leg so that I can reposition Logan. 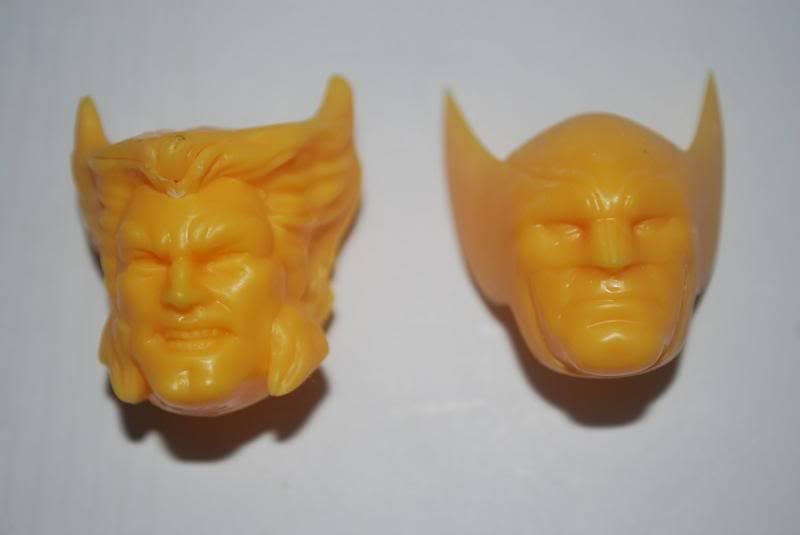 Two heads are better than one I'm going with the masked version, but the facial expression is 'meh'. Right now I'm considering the Face/Off option. Cut out the lower half the face from the unmasked version and replace the emotionless masked face. |
|
|
|
Post by xamel1975 on Oct 20, 2013 21:45:58 GMT 8
Face/Off  Chopped out Logan's lower part of the unmasked face. 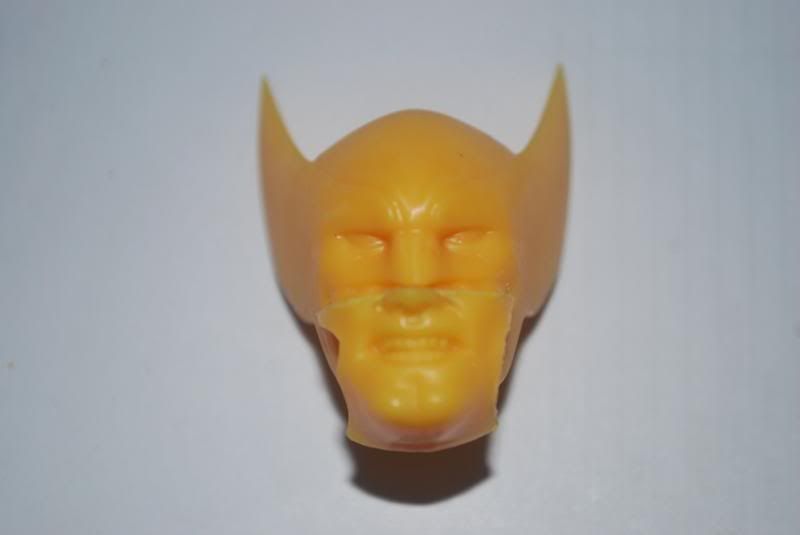 Test it in the masked face. As expected, some trimming is needed.  Remove the masked face. 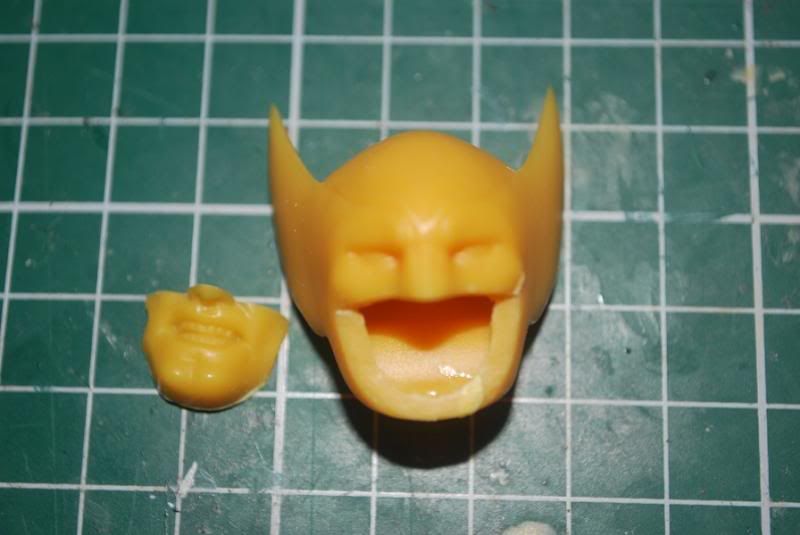 After trimming and clean up.  Test fit - got some gaps here and there. No biggie... 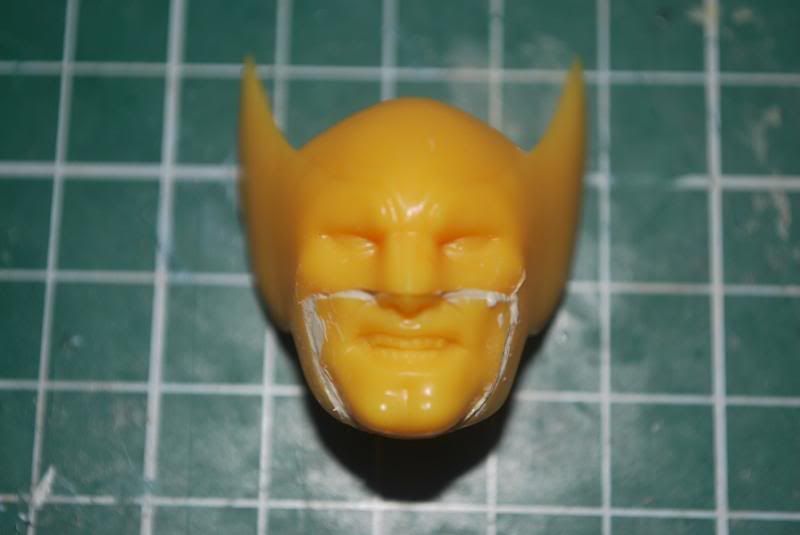 A little Bondite epoxy putty shall do the trick. Wait for it to fully cured then some sanding is in order. |
|
|
|
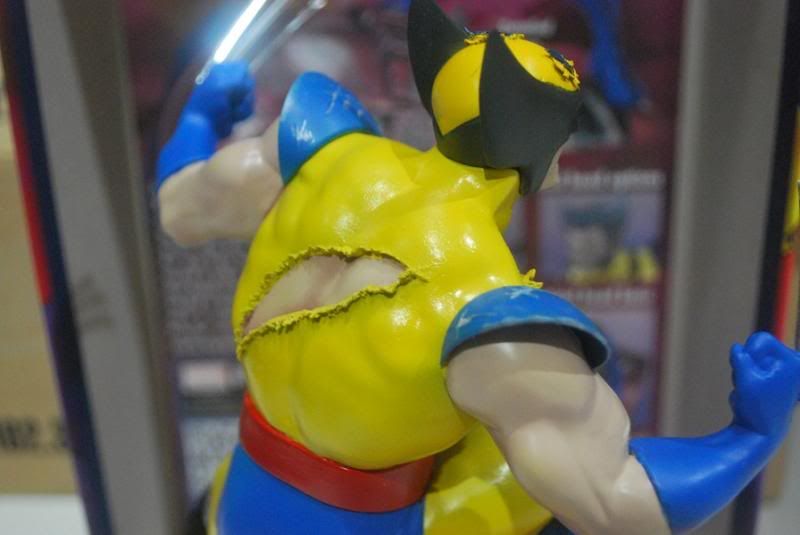
Post by xamel1975 on Oct 20, 2013 21:46:40 GMT 8
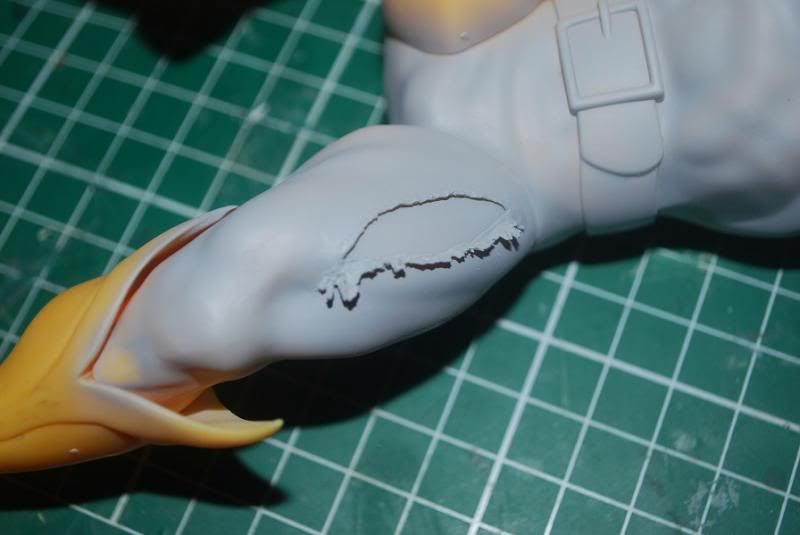
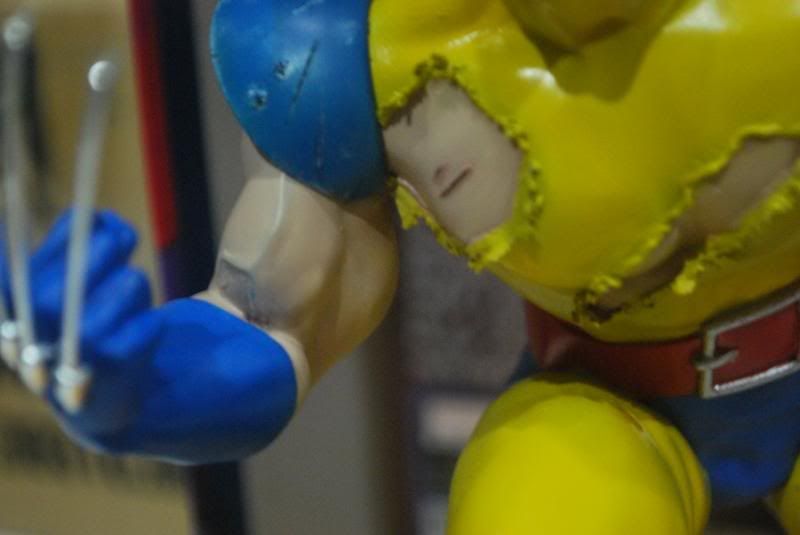
Torn mask - create some exposed hair. 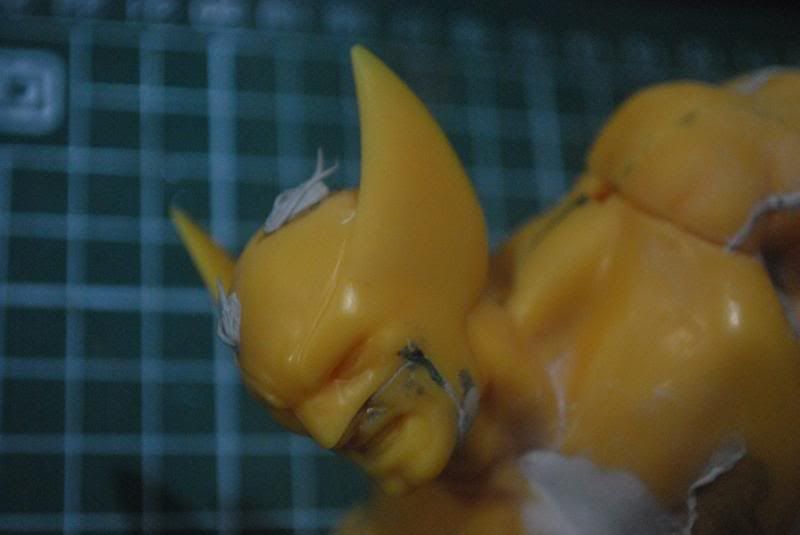 Then I create the torn effect using 2-part epoxy putty. 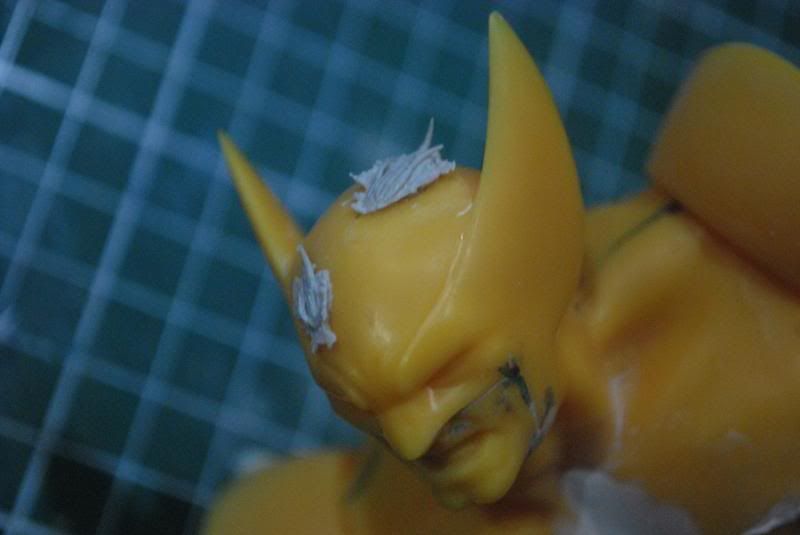 Torn costume - again, 2-part epoxy putty used here. To simulate the shredded effect, I 'pinch' the putty as it partially dried using pointed tweezer. 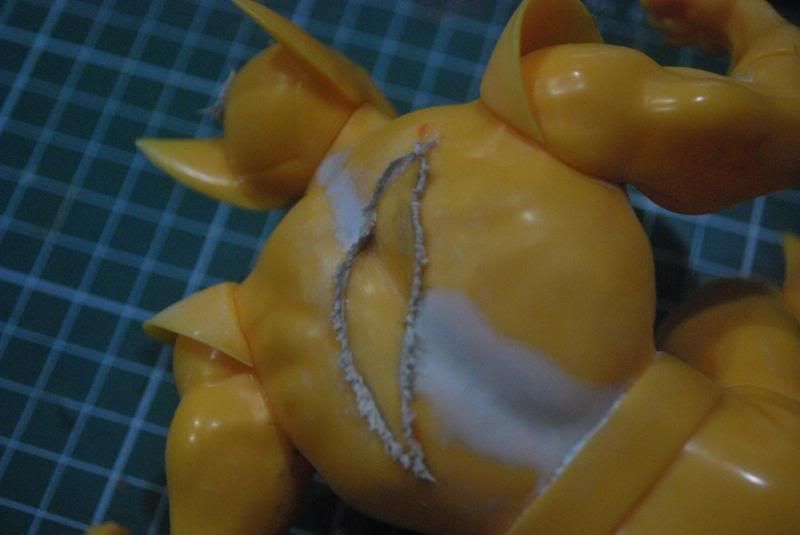 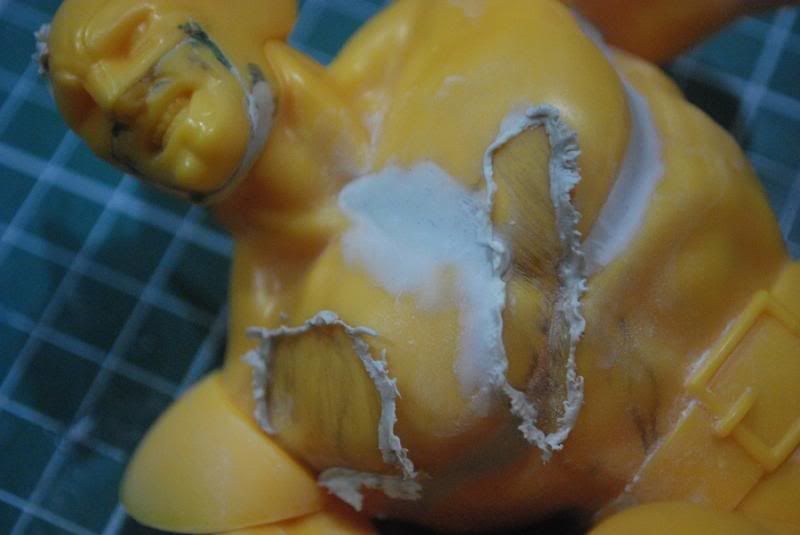 Veins - for a muscular body, it is common to see the bulging veins. I use 2-part epoxy putty, rolled into strands and place it on the biceps. I then blend it using sharp toothpick, leave ot to cure and then blend it further by sanding it. 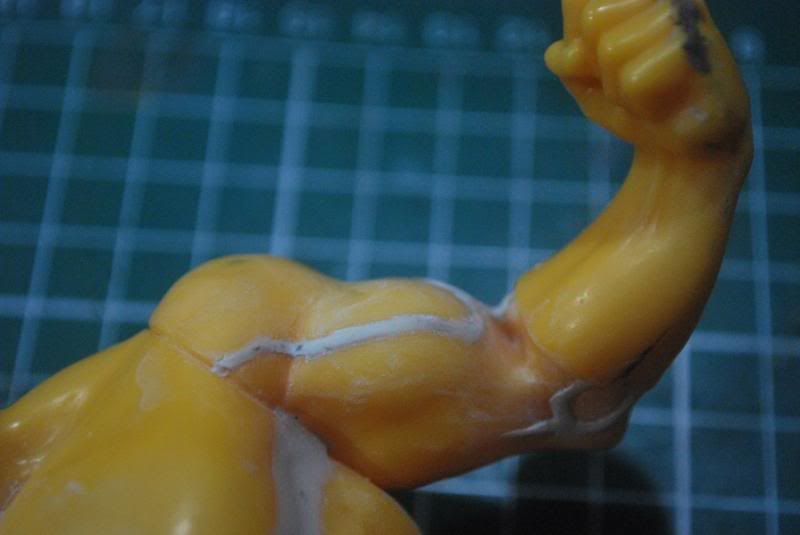  We'll see how it turns out once I give it a coat of primer. |
|
|
|
Post by Phoon on Oct 21, 2013 7:50:16 GMT 8
Very interesting mod. Lovely bro...keep us posted! All those minor add-on are well placed!  |
|
|
|
Post by xamel1975 on Oct 22, 2013 0:22:48 GMT 8
|
|
|
|
Post by OzanBG on Oct 28, 2013 16:14:07 GMT 8
where did you get this kit from.. really want to have one of this in my showcase.. the one you did is very nice.. love that face-off |
|
|
|
Post by darkworkx on Oct 30, 2013 13:17:02 GMT 8
Looks like the kit is very old!~
I like the idea of adding more details because of its simple look.
|
|
|
|
Post by xamel1975 on Oct 31, 2013 6:02:42 GMT 8
OzanBG,
Thanks! I got this kit from CultTVmanshop.com
darkworkx,
This is a new kit. Just came out last two months. The manufacturer made this kit as a snap-fit kit.
|
|
|
|
Post by xamel1975 on Nov 6, 2013 0:10:46 GMT 8
A long holiday and I was hoping to get some paint job done. But alas, I was under the weather, so not much is done. 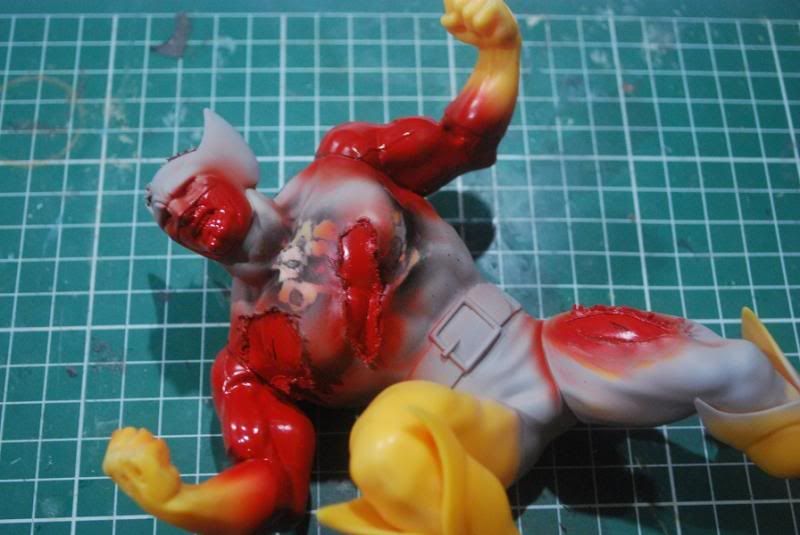 Applied carmine red base coat  Highlight with some 'sail color'. ...and that's about it <_< . |
|
|
|
Post by Phoon on Nov 6, 2013 9:08:54 GMT 8
Looks promising! Nice skin tone too! |
|
|
|
Post by xamel1975 on Nov 9, 2013 15:03:02 GMT 8
Thanks, Phoon Continue Logan's painting session. Another tone applied. Add a tinge of yellow into the flesh tone. 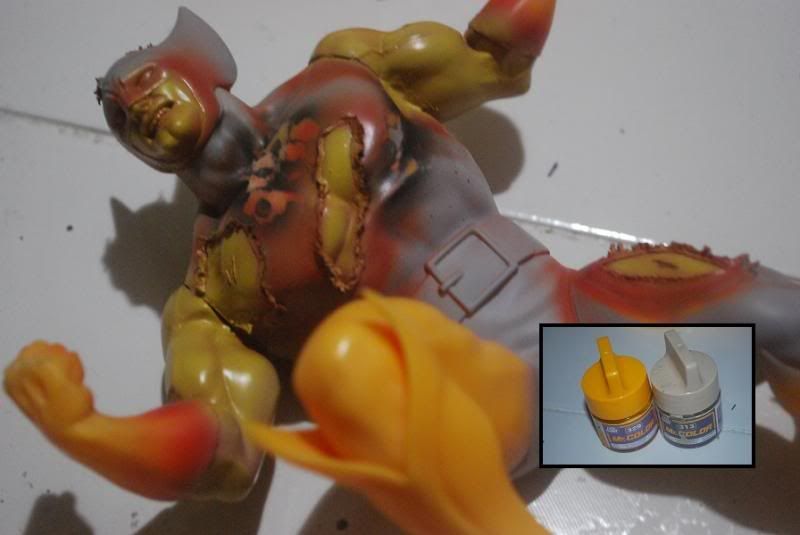 Y'Arrrr.... scurvy! Then I use a bit of blue and apply onto the bulging veins using brush. The idea is to achieve the effect of bluish color of vein under the skin. 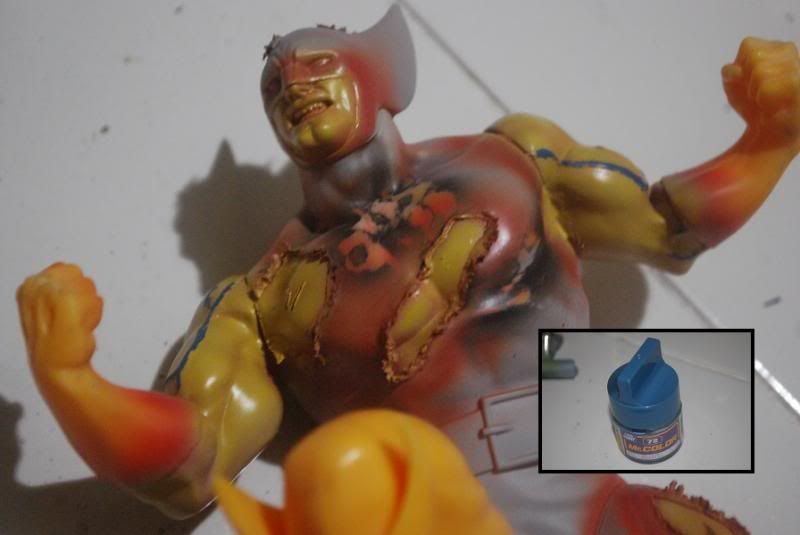 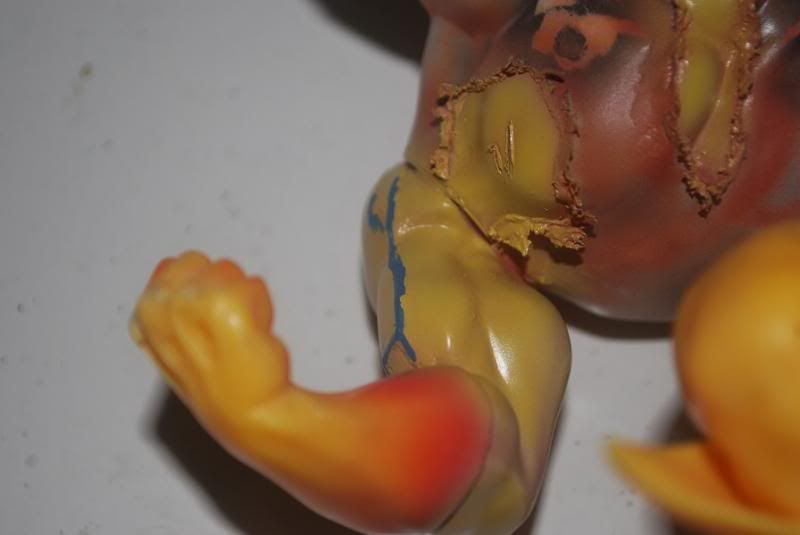 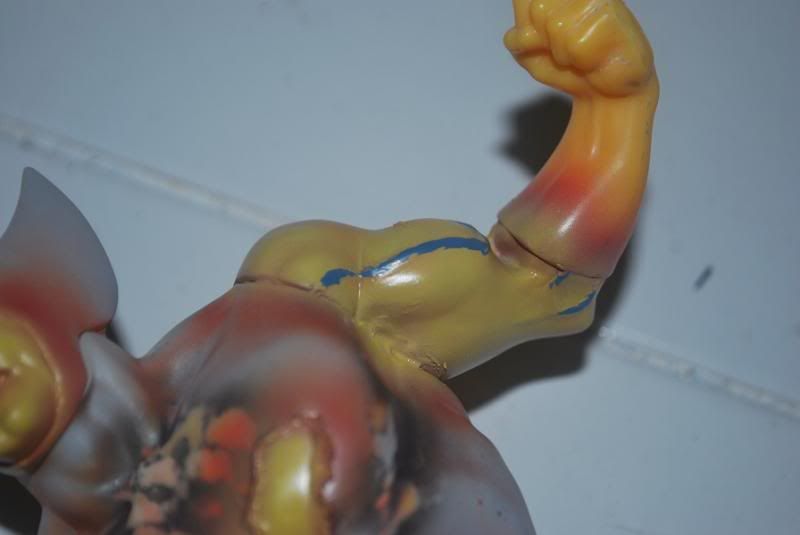 Then, I apply a lighter skin tone with a tinge of red. I made a few passes of light mist until all skin are covered. 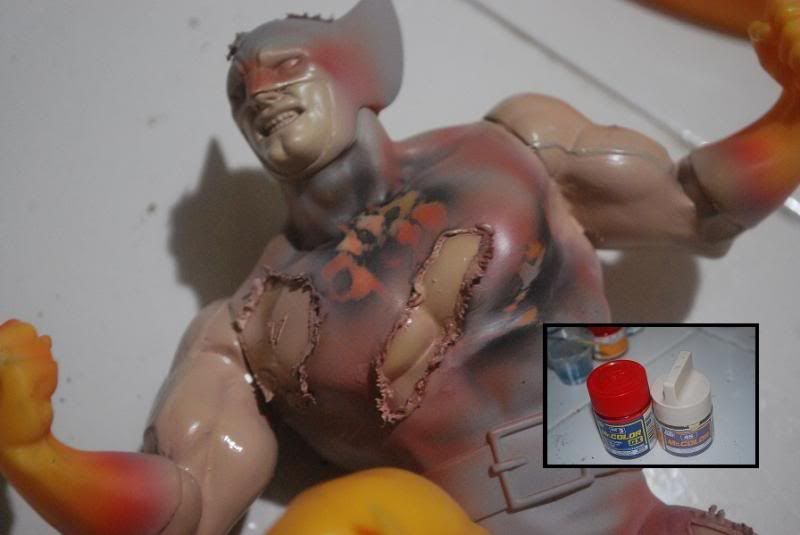 A hint of veins are showing under the skin. 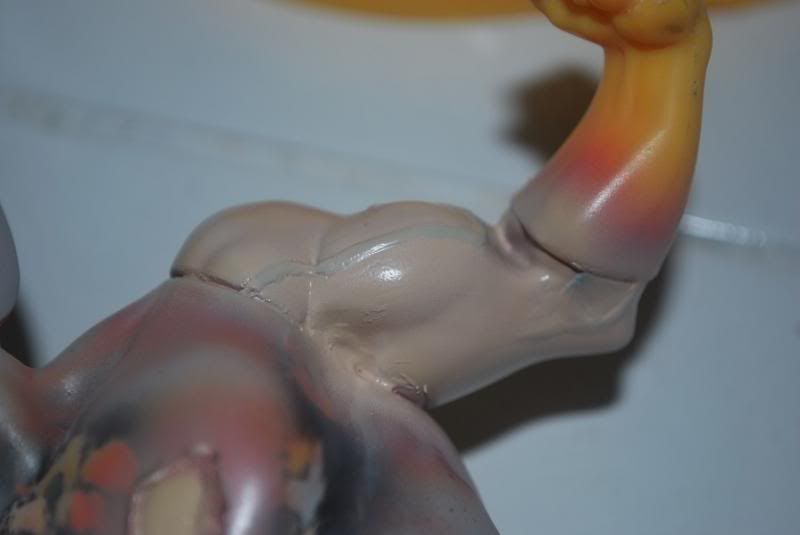  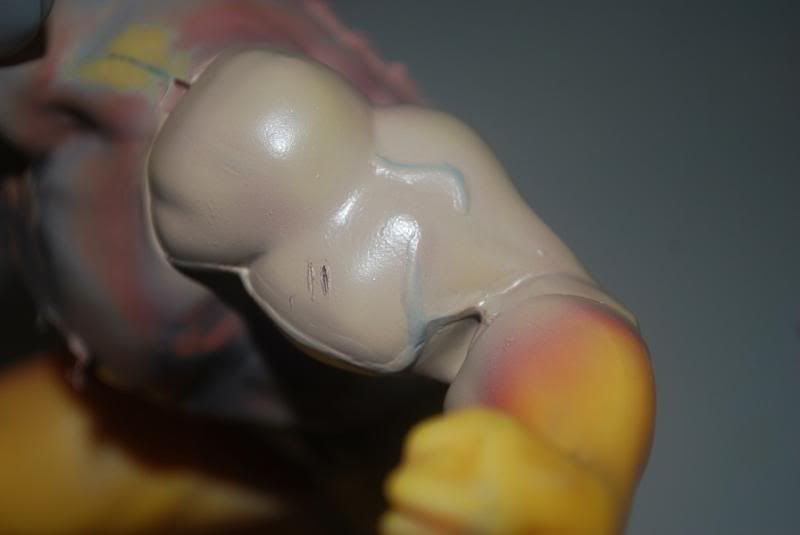 |
|
|
|
Post by Phoon on Nov 11, 2013 9:21:36 GMT 8
Nice tut on veins effect!
|
|
|
|
Post by banzai on Nov 12, 2013 2:03:18 GMT 8
Woo those veins look great!
|
|
|
|
Post by xamel1975 on Nov 18, 2013 23:15:37 GMT 8
|
|
|
|
Post by Phoon on Nov 19, 2013 8:17:25 GMT 8
Keep us posted bro!
|
|
|
|
Post by xamel1975 on Feb 24, 2014 12:25:30 GMT 8
Finally! Completely painted and decaled those black stripes. Need some weathering and a bit of wash though . 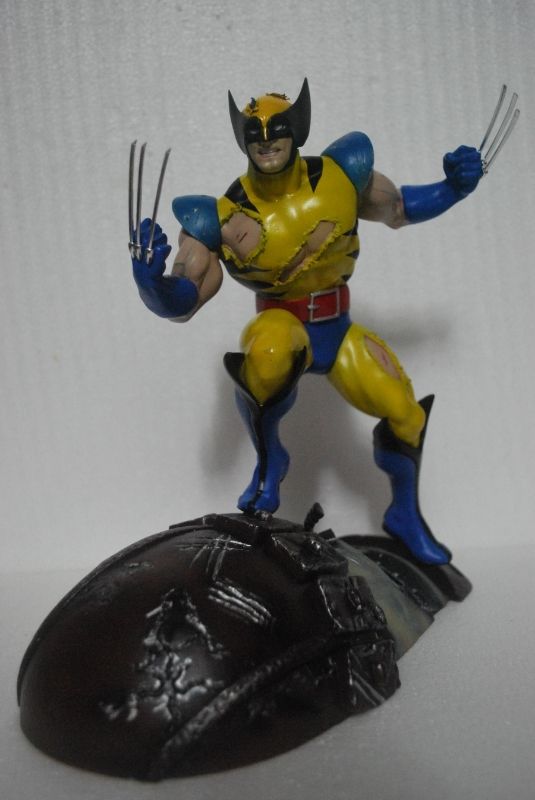 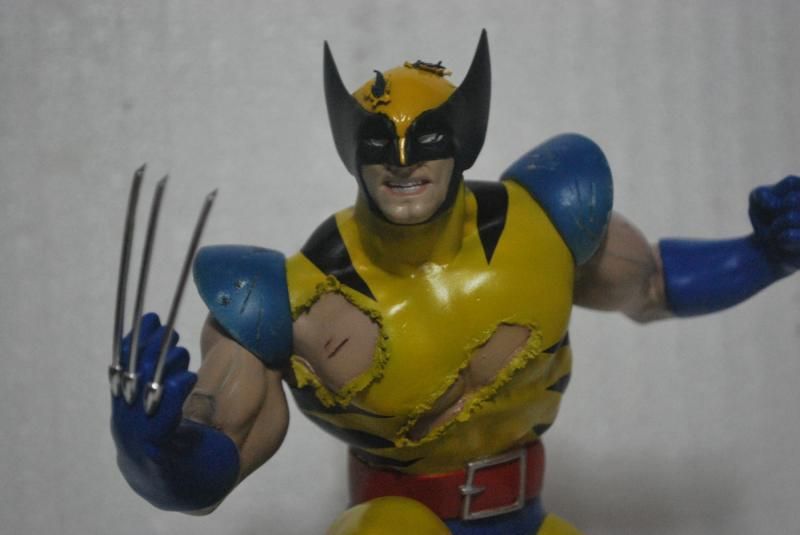 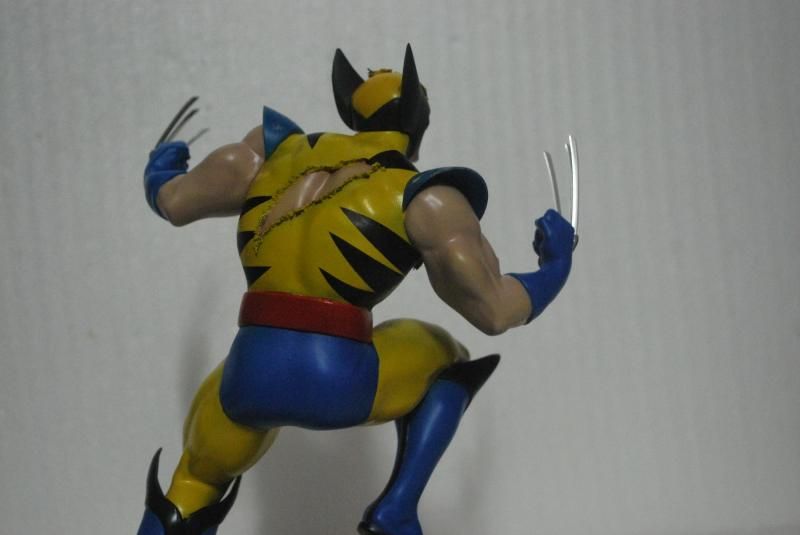 I consider this build as complete for now - but will move onto next upgrade - light and sound . |
|
|
|
Post by neosigma on Feb 24, 2014 15:19:00 GMT 8
Everything is awesome!!! Glad you exchange the face ...it looks more meaner now!!
|
|
shah
Newcomer

Posts: 81 
|
Post by shah on Feb 26, 2014 6:22:47 GMT 8
Amazing how the basic kit looks so much better with the improvements you made. Keep it up!
|
|