

Post by yuen on Nov 27, 2013 20:55:20 GMT 8
hi everyone. this was my 1st ma.k build, back in few years ago.
anything that i did wrong please do correct me.
any C&C is welcomed!
finally i done my raptor.
here is some of my WIP...
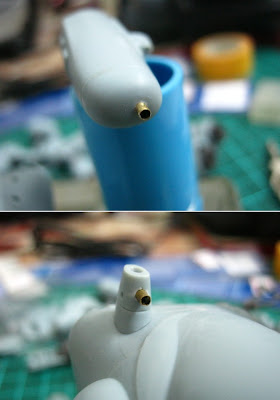
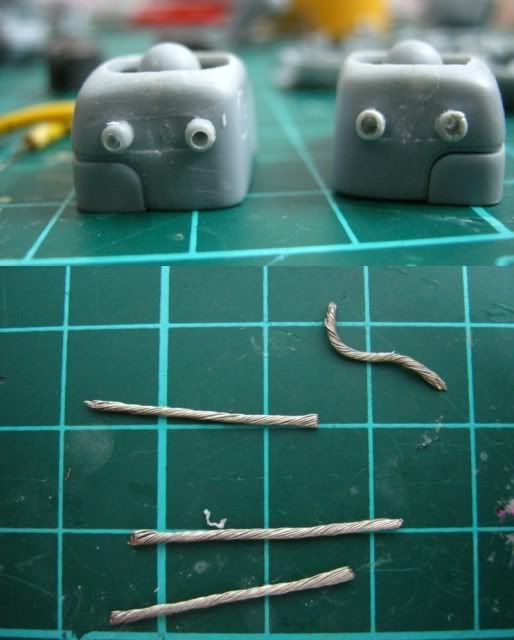
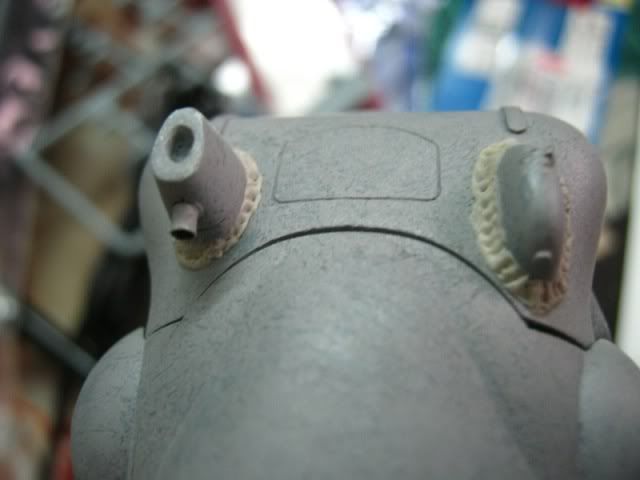
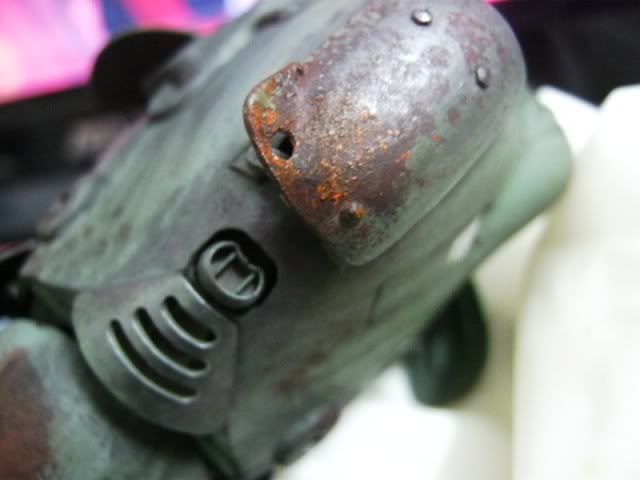
Seamline removal and sanding i will skip it, i detailed up the laser gun tip and camera by using 1.5mm copper rod.
for the antenna, i tried a new skill to me, heat the sprue and pull it to make a thin line.
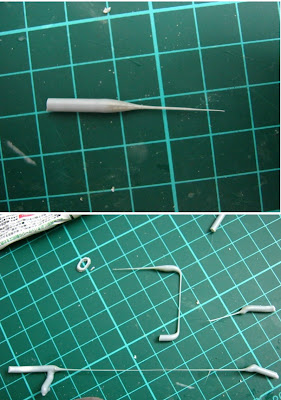
after trying few times to get myself used to it, i cut a suitable length and cement it on the body.
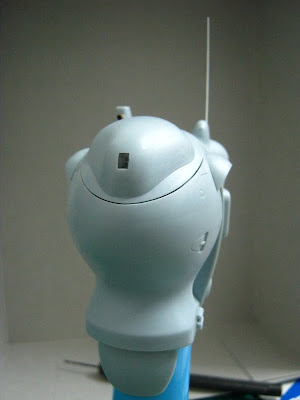
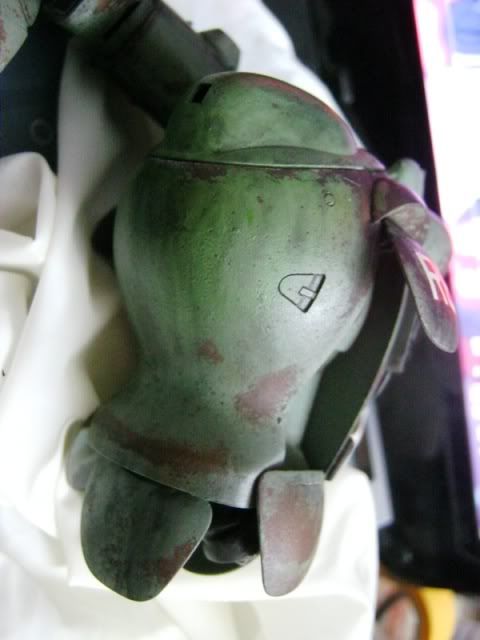
now is how my raptor body looks like now.
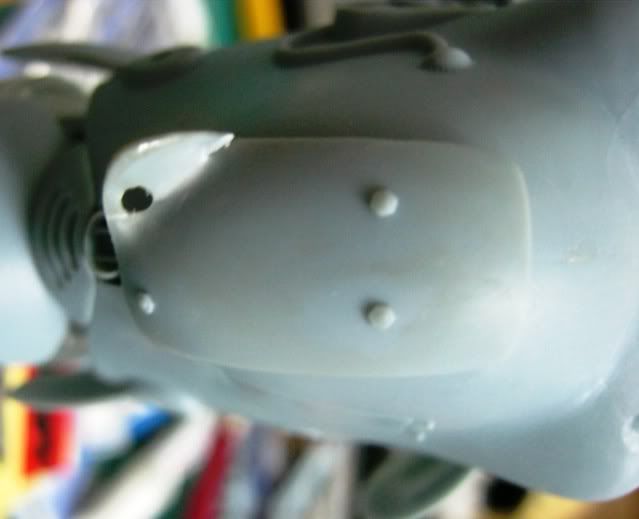
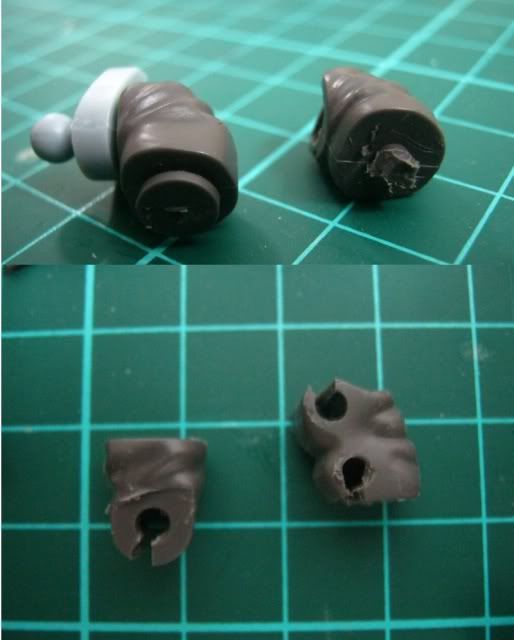
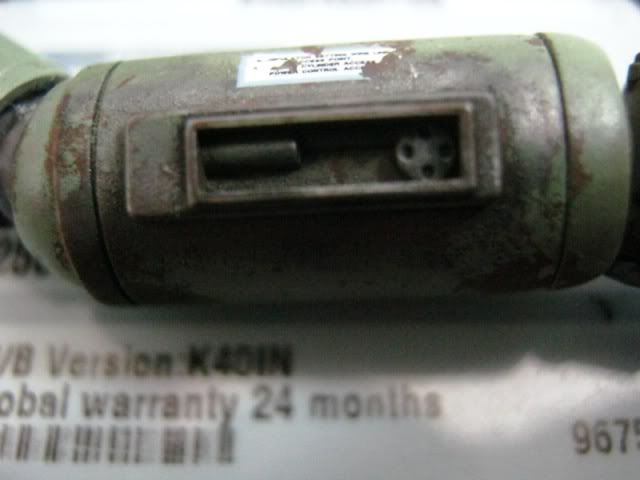
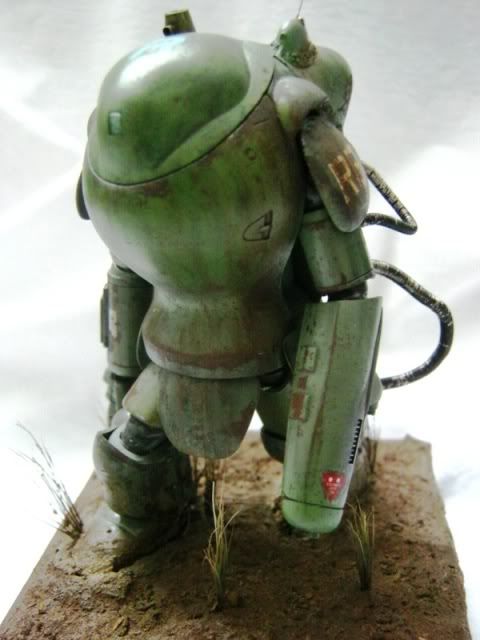
the back cover i tried to make it bent and seriously rusted, drill away one of the 'nut'
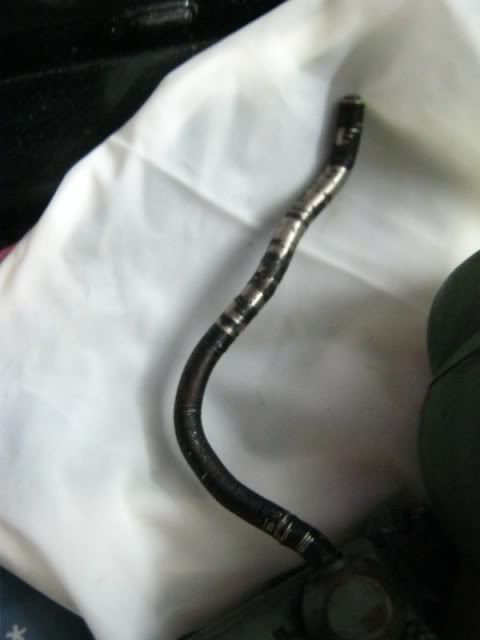
two cables behind the foot are made of twisted wire, drilled 2 holes behind the foot to plug in the cable.
all the pvc cable parts are substituted by real springs.
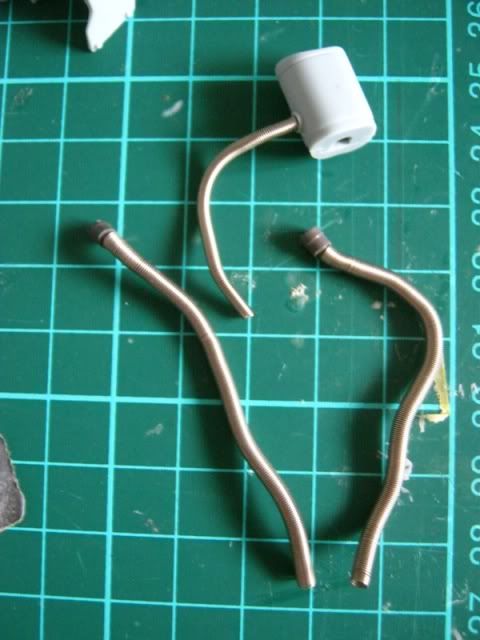
to make the pvc joints can be connected later on, some modifications are done on it.
but soon i regretted as it is not that strong to hold the kit itself...should make it out of epoxy putty.
the tamiya basic putty was mixed with some mr color thinner and applied on the kit to make it has rough surface.
but in the end the result was not that remarkable. may be i should try apply thicker layer of putty next time.
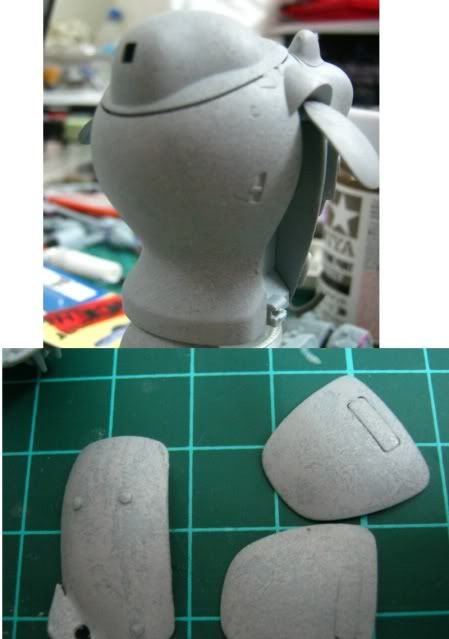
try to make the wielding lines by epoxy putty...
it was not that easy as i thought... it looked quite thick and fake
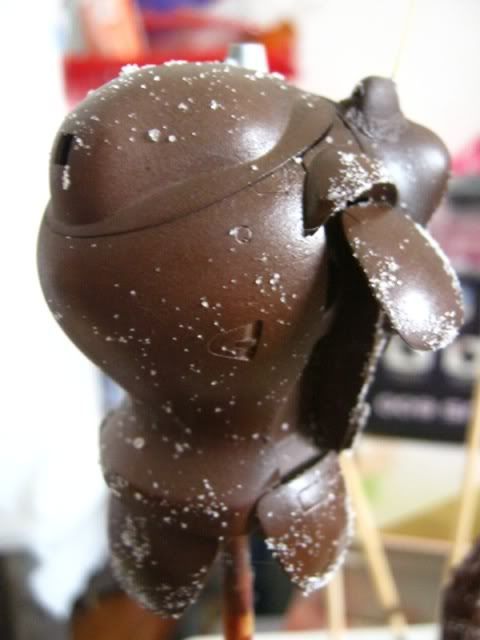
the base color is acrylic red brown mix with little black.
then spray a thick layer of hairspray on it and sprinkled some salts.
looks yummy~
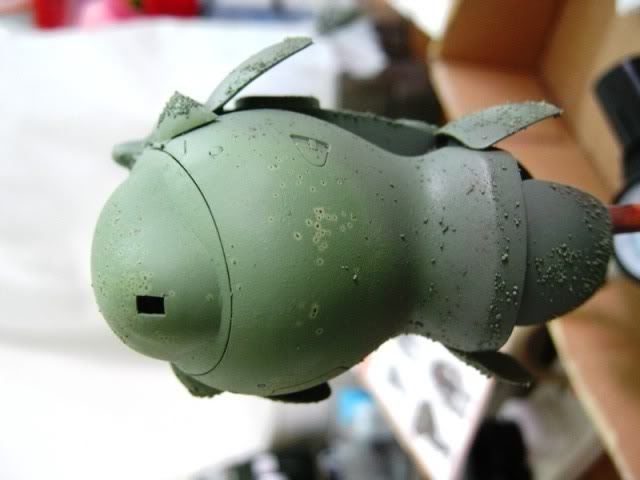
after spray the color. try to free hand to draw camo, but failed..
noticed the white bubbles.. maybe the salt reacted with the acrylic paints..
the salt is washed away
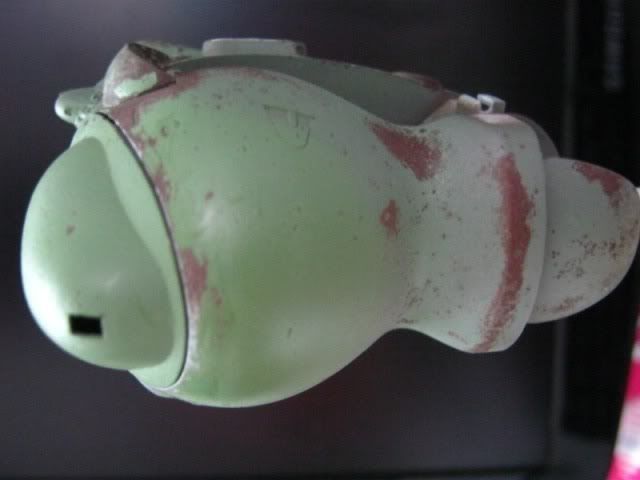
after washed with enamel paint.. duno why the color started to change... -h???-
brushed with lead powder ( get it from pencil tips)
add some orange color to make it looks more rusty
chip away some paints to make it looks worn out
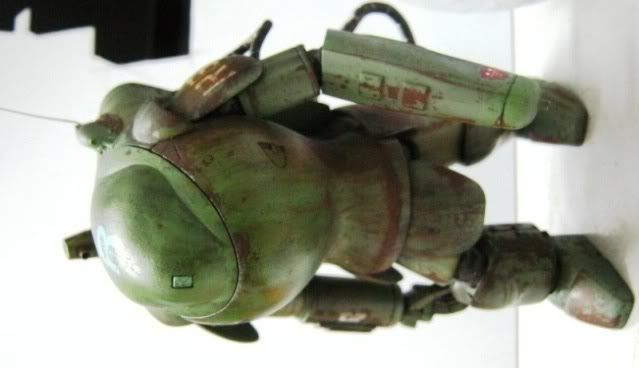
the finished kit... now left the stage only
put on the cement on it
my mistake here without mixing the white glue on it. later on it started to crack -help-

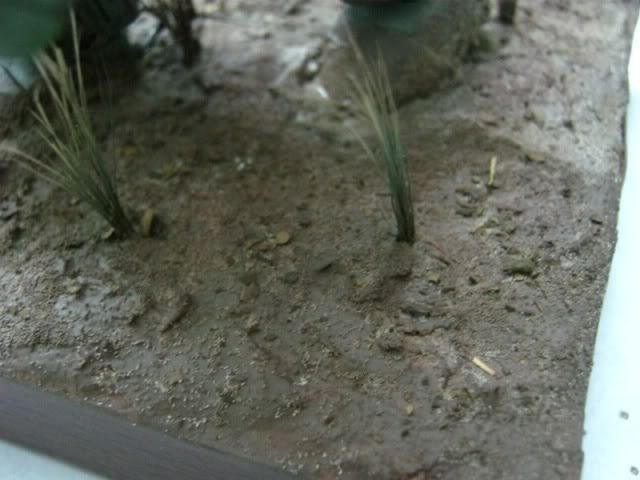
when it is half dry, print the footprint on it and drill some holes for grass planting
plant the "brush" grass
spray brown color to the base and coat a layer of tamiya weathering effect
sprinkle some green tea from the tea bag on it, and spray the grass green color
the raptor was super-glued on it due to the joint cant hold it well and always fall down.. sigh..
so here end the WIP...
will post up the completed work next time.
anything that i did wrong please do correct me.
any C&C is welcomed!
finally i done my raptor.
here is some of my WIP...
Seamline removal and sanding i will skip it, i detailed up the laser gun tip and camera by using 1.5mm copper rod.
for the antenna, i tried a new skill to me, heat the sprue and pull it to make a thin line.
after trying few times to get myself used to it, i cut a suitable length and cement it on the body.
now is how my raptor body looks like now.
the back cover i tried to make it bent and seriously rusted, drill away one of the 'nut'
two cables behind the foot are made of twisted wire, drilled 2 holes behind the foot to plug in the cable.
all the pvc cable parts are substituted by real springs.
to make the pvc joints can be connected later on, some modifications are done on it.
but soon i regretted as it is not that strong to hold the kit itself...should make it out of epoxy putty.
the tamiya basic putty was mixed with some mr color thinner and applied on the kit to make it has rough surface.
but in the end the result was not that remarkable. may be i should try apply thicker layer of putty next time.
try to make the wielding lines by epoxy putty...
it was not that easy as i thought... it looked quite thick and fake
the base color is acrylic red brown mix with little black.
then spray a thick layer of hairspray on it and sprinkled some salts.
looks yummy~
after spray the color. try to free hand to draw camo, but failed..
noticed the white bubbles.. maybe the salt reacted with the acrylic paints..
the salt is washed away
after washed with enamel paint.. duno why the color started to change... -h???-
brushed with lead powder ( get it from pencil tips)
add some orange color to make it looks more rusty
chip away some paints to make it looks worn out
the finished kit... now left the stage only
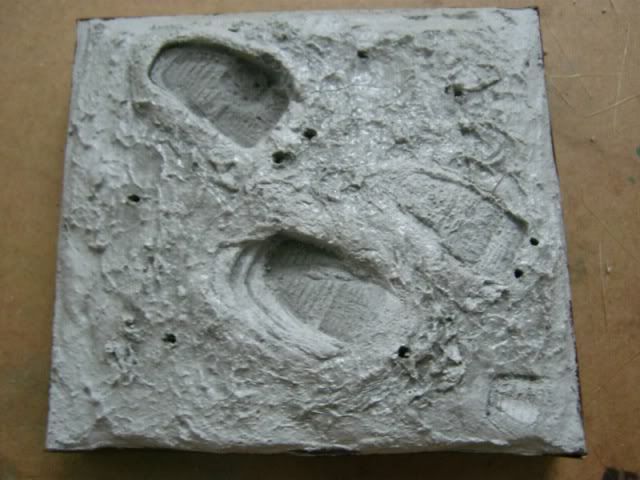
put on the cement on it
my mistake here without mixing the white glue on it. later on it started to crack -help-
when it is half dry, print the footprint on it and drill some holes for grass planting
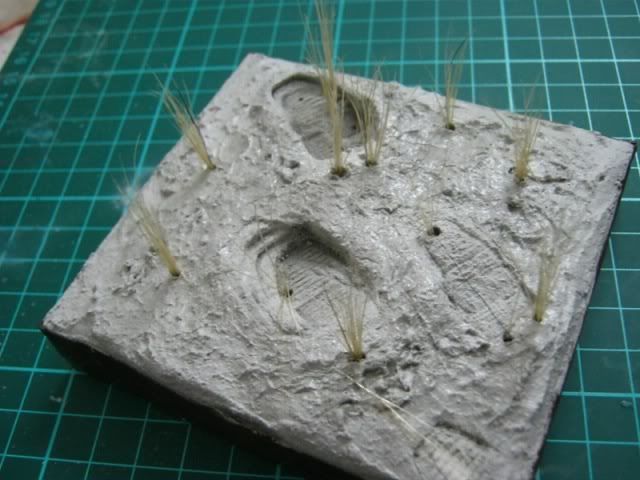
plant the "brush" grass
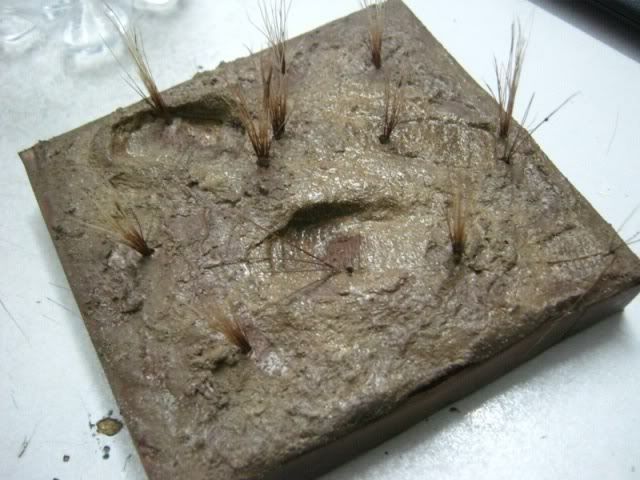
spray brown color to the base and coat a layer of tamiya weathering effect
sprinkle some green tea from the tea bag on it, and spray the grass green color
the raptor was super-glued on it due to the joint cant hold it well and always fall down.. sigh..
so here end the WIP...
will post up the completed work next time.