

Post by jondorifuto on Jan 27, 2014 2:48:17 GMT 8

Tamiya Subaru BRZ With Rocket Bunny Kit
This will be my most detailed build to date. Hoping to achieve a higher level instead of the usual ones which are minor detailing. Now there will be a little bit of scratch bulding with alot of detailing and as well as customization. Alot of things are a 1st timer for me so I have been experiencing a bit of wastage due to being unfarmiliar with the characteristics of certain materials. Materials mentioned for example are resin parts, plarods and Etc.
Here goes enjoy

Initial planning for the direction and my own criteria for this build

As usual for a start checking and cleaning of moldlines. Sinkholes not detected


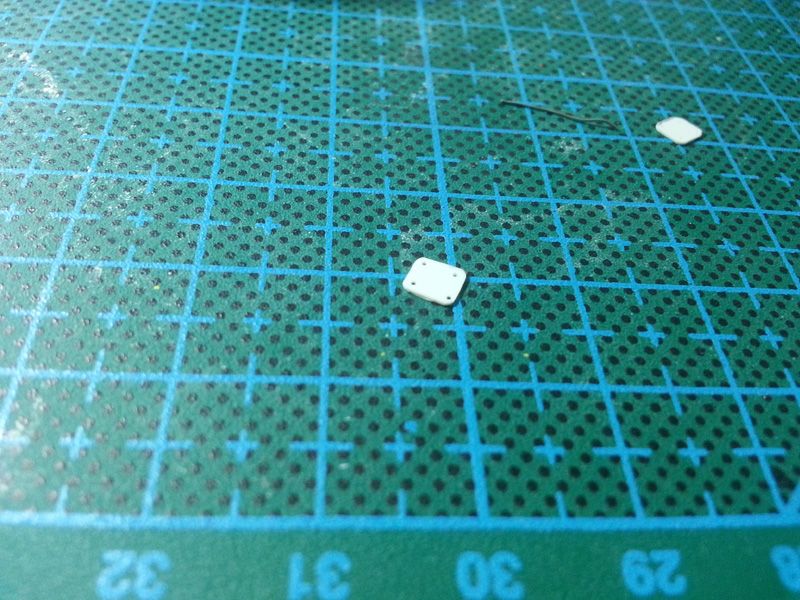
Seats in the kit provided are hollow back


1st time using Tamiya Epoxy Putty to fill the hollow back of the seats

Seats filled, filed and sanded smooth. Little bubble holes as well as scratches were visible so Tamiya Polyester Putty and Surface primer are used to cover them and then sanded smooth with 400,600, 800 and then 1000 grit


Wide body fenders planning stage as it requires some "Chopping" of the original fenders


Kasi potong part of the wide fenders with razor saw as in real life they are separate parts


Cut the nip till got big hole so Polyester putty is used to fill the hole. The hole is backed by a 0.1mm PlaPaper. When it is fully cured it is sanded till smooth

Cutting of the fenders begins. Thx Damian Wong for lending me the Rotary tool. It made cutting the fenders so much faster and easier


Results followed by test fitting using masking tape


Fitment is correct. Super glued them to the body. As you can see the casting of the resin parts aren't 100% accurate and nice hence a small gap between door and fender. Epoxy putty is used to fill that gap.
This car is Naturally Aspirated in stock form but I will be turbocharging this car.

1st things 1st, the stock airbox is removed

Test fit engine bay

Silicone hose joints made from plarod
T4 Flange made from Pla Plate 0.3mm

T4 Flange attached to Turbine

Open pod air filter piece borrowed from Tamiya Mini Cooper

Turbine and Air Filter

Turbo Downpipe made with bending a plarod. Plarod is heated up using a lighter and bent.

Intake piping done

All custom pipings completed

Hasegawa Trytool Carbon Adhesive Decals. 1st time trying non water slide Carbon decals


Wasted a whole bunch of it due to unsure of the method and chracteristics of it. It is very very elastic and stretchable unlike waterslide decals that tears easily. I found out its better put some water on the object ur gonna stick it to so that it still can be adjusted if you stick it wrongly and also air bubbles can be eliminated just like decals in real life. I tried soapy water but it was too slippery till its hard to control.

The end result. Although the printing is kinda godlike but it is kinda difficult to handle especially for first timers and it doesn't overlap very well. Overlapping the decal will show hideous lines and wrinkles
Thats all for today thank you.
