|
|
Post by rennyd on Oct 16, 2013 7:06:50 GMT 8
|
|
|
|
Post by Phoon on Oct 16, 2013 8:26:21 GMT 8
@.@''''' luckily i didn't take this!
|
|
|
|
Post by beckylaw on Oct 16, 2013 11:54:13 GMT 8
freaking big..... lucky i pass on this
|
|
|
|
Post by banzai on Oct 16, 2013 14:46:49 GMT 8
Its enormous. Good luck man, it looks like a monster to paint.
|
|
|
|
Post by rennyd on Nov 6, 2013 15:02:45 GMT 8
Update - 2013-11-06So in between the last update till this one, managed to get it up to about 90% (I think). Alright, so the painting steps... 1. Using airbrush, painted everything with Gaia Notes Flat Black 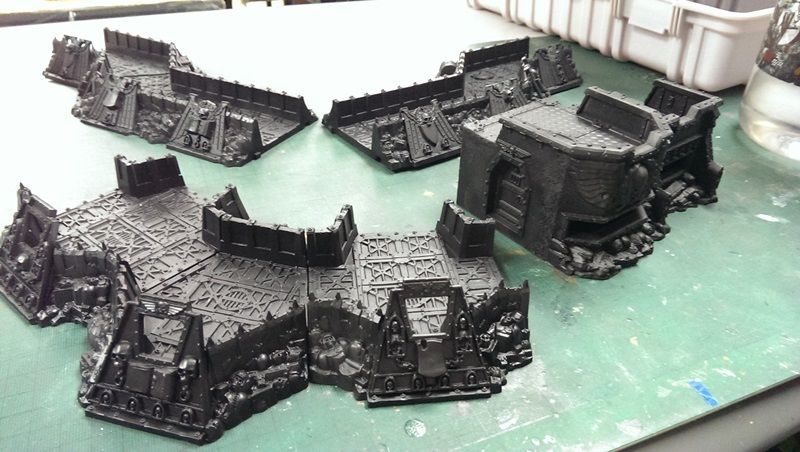 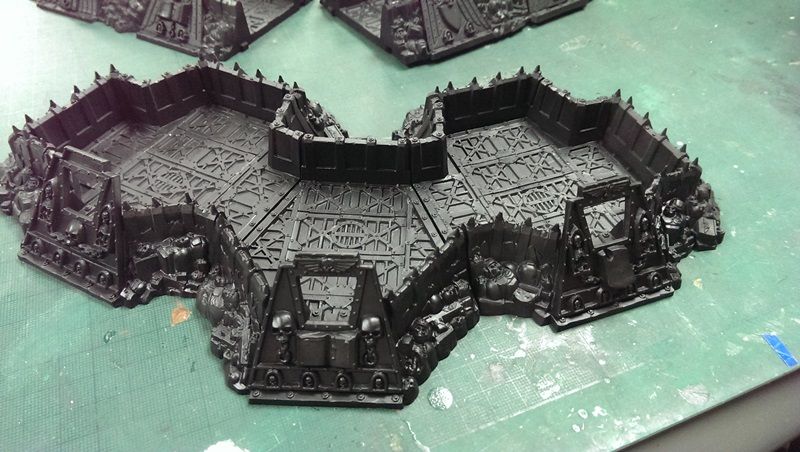 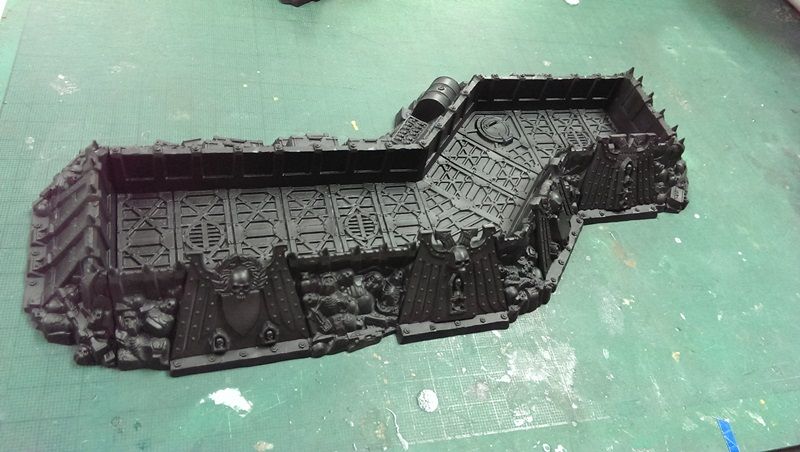 2. Using airbrush, again, painted the grey with Mr Hobby Neutral Grey + little bit of Mr Hobby Midnight Blue, and the red section with Mr Hobby Red Madder + little bit of Mr Hobby Neutral Grey. 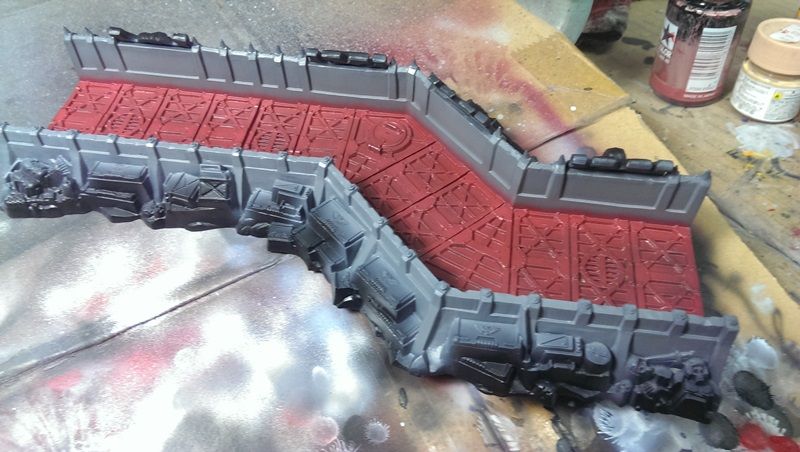 3. For the red color section, again, using airbrush, shaded it with the mixed red color as mentioned above in point 2 + Mr Hobby White. What I mean by this is to have the whiter red color to be painted in the middle of the surface, giving it an effect where the middle surface will be brighter and the edge will be darker. The picture below shows the one with the shaded is on the left, the one without the shade is on the right. Sorry, bad photography, may effect may not apparent through the picture. 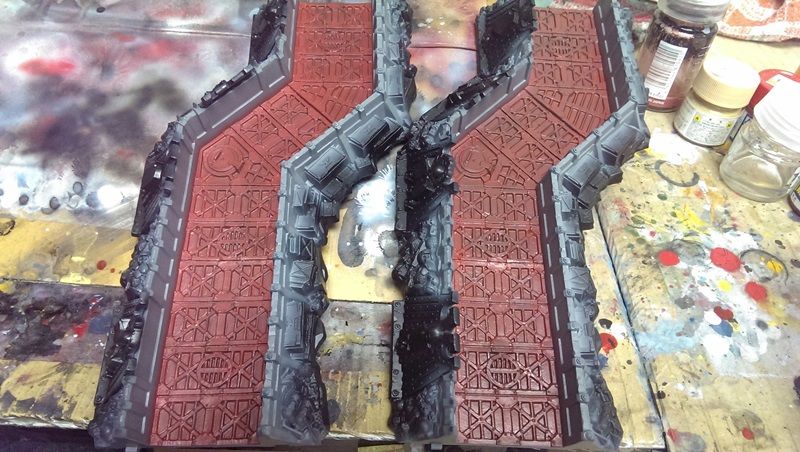 4. Dry brushed the skull with Vallejo Flesh + Vallejo Yellow, and the green color with Vallejo Green. 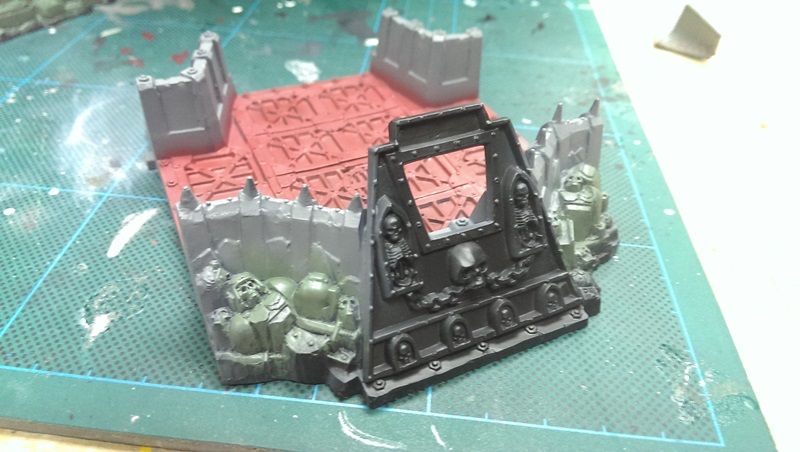 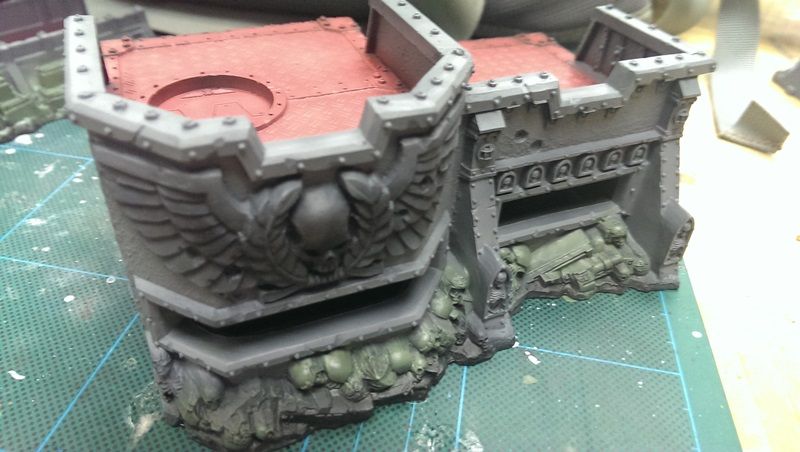 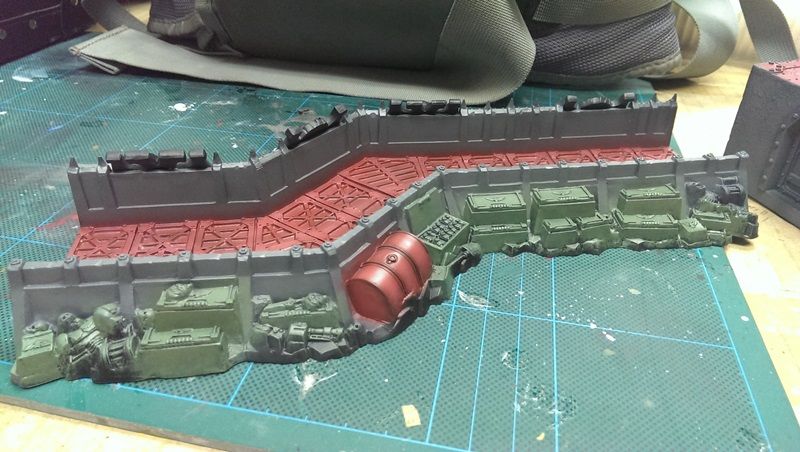 BUT!!!! AM NOT HAPPY WITH THE DRY BRUSHED OUT COME!!!! BECAUSE I CAN'T GET THE RIGHT COLOR ACCORDING TO WHAT I'D IMAGINED!!!! BUT!!!! AM NOT HAPPY WITH THE DRY BRUSHED OUT COME!!!! BECAUSE I CAN'T GET THE RIGHT COLOR ACCORDING TO WHAT I'D IMAGINED!!!!So ended up I decided to redo that part again... So!!!!5. Now this is a long step that I did within one day (5th November 2013, starting from 930am until 1030pm, without breakfast without lunch, with only 4 - 5 cups of water, stopped just in time before the Yum Cha... Ouch...) - Using airbrush, painted the bottom section with Mr Hobby Mahogany + Mr Hobby Midnight Blue, then pre-shade a little bit with this color + Mr Hobby White
- Using airbrush, painted the skull with Mr Hobby Flesh + Mr Hobby Character Yellow
- Using airbrush, painted the green with Mr Hobby Bright Green + Mr Hobby Midnight Blue (little bit) + Mr Hobby Neutral Grey (little bit), then pre-shade again with this color + Mr Hobby White
- Hand painted the big skull and the skull decoration plate with Mr Metal Color Dark Iron, then rubbed it to bring out the metallic finishing feel
- Hand painted some small details with Vallejo acrylic color
- Using airbrush, pre-shaded the grey with Mr Hobby Neutral Grey + Mr Hobby White
- Washed everything with a very very very thin mixture of Tamiya Enamel Dark Yellow + Tamiya Enamel Yellow + Tamiya Enamel Red, and all these are flat enamel paint
- Dry brushed the grey parts with Tamiya Enamel Neutral grey + Tamiya Enamel White, and again these are flat enamel paint
So the end result is as in the pictures below. 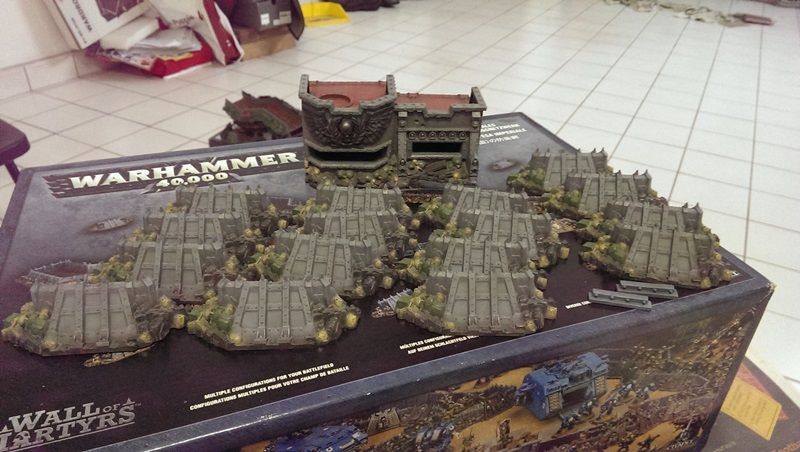 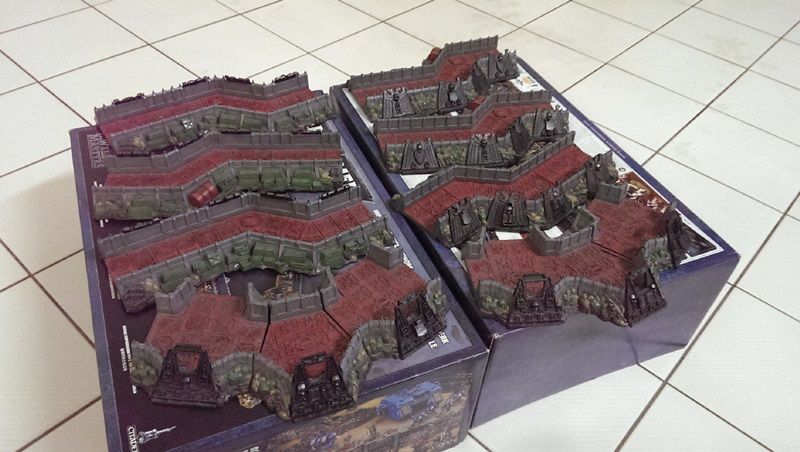 That's all for now. Estimate to have this done within 1 - 2 days. NOTES: There is no masking during the entire painting process.
|
|
|
|
Post by Phoon on Nov 6, 2013 15:19:21 GMT 8
Redo?!?! well norm term for ams-er ===============>run!!!! Btw, looks great though....
|
|
|
|
Post by rennyd on Nov 6, 2013 16:39:52 GMT 8
Don't run phoon, don't leave me alone!!!! Ha ha jk jk. Thanks, hopefully able to get it done without (painful)redo ...
|
|
|
|
Post by rennyd on Nov 7, 2013 11:36:05 GMT 8
Final Update - 2013-11-07Phew, yes it's final because after this is the final top coat. Now I don't dare to say that I've done it well enough, but at least learned something new again with this build - airbrush without masking, and also weathering. So these are the things that I've done for finishing up on the painting: - Heavly dry brushed the bottom area with Tamiya Enamel Dark Yellow
- Dry brushed the red area again with a mixture of Tamiya Enamel Red + Tamiya Enamel Yellow, a more orange feel kind of tone
- Washed the red area again with the mixture of the color above, but added a lot more yellow
The final results are as in the picture below. Sorry for the bad quality picture... 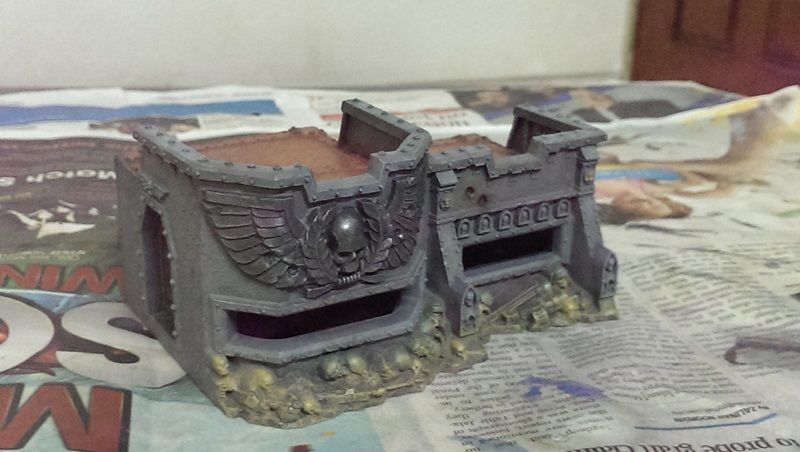 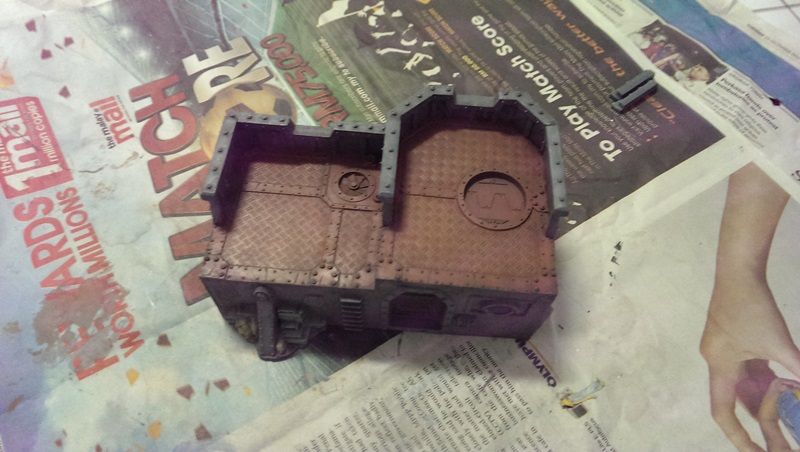 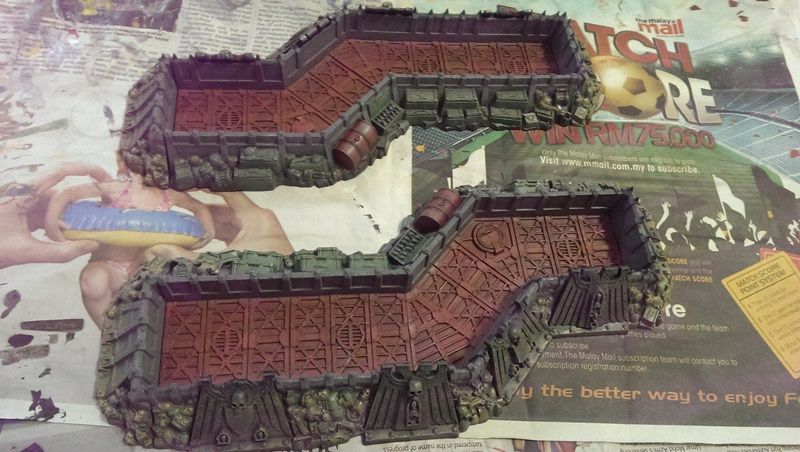 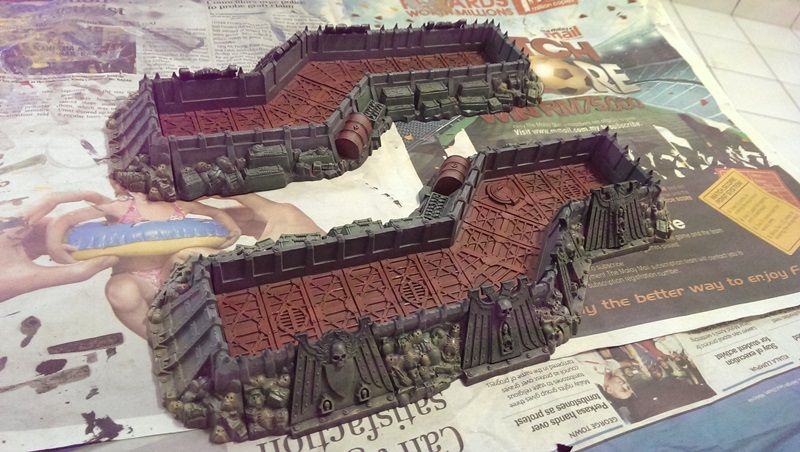 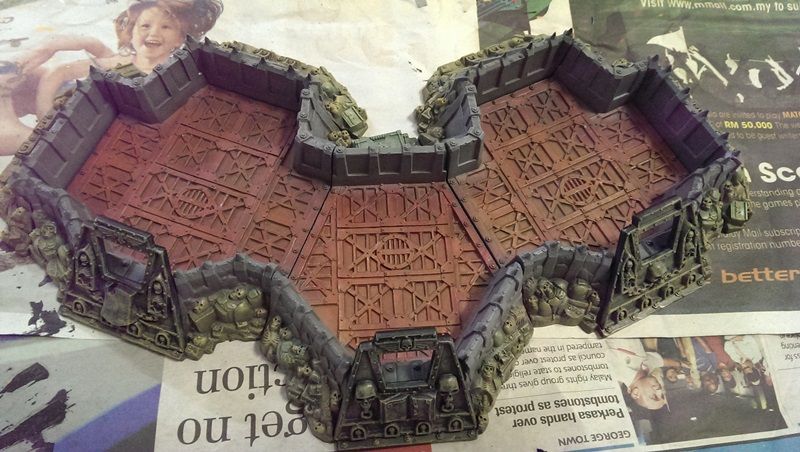 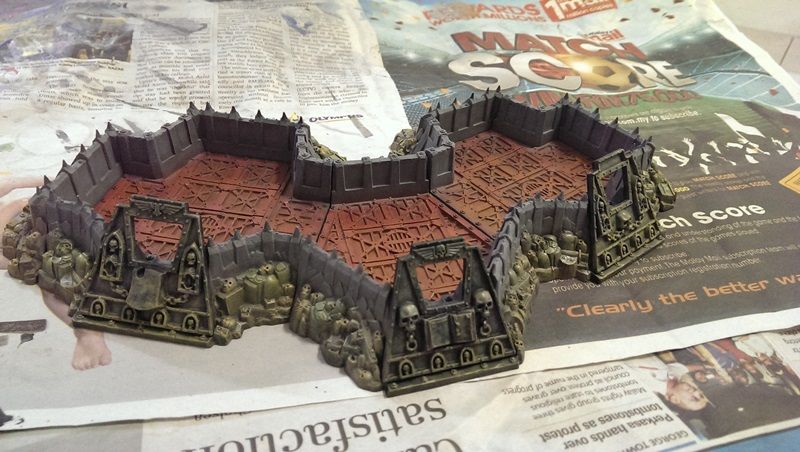 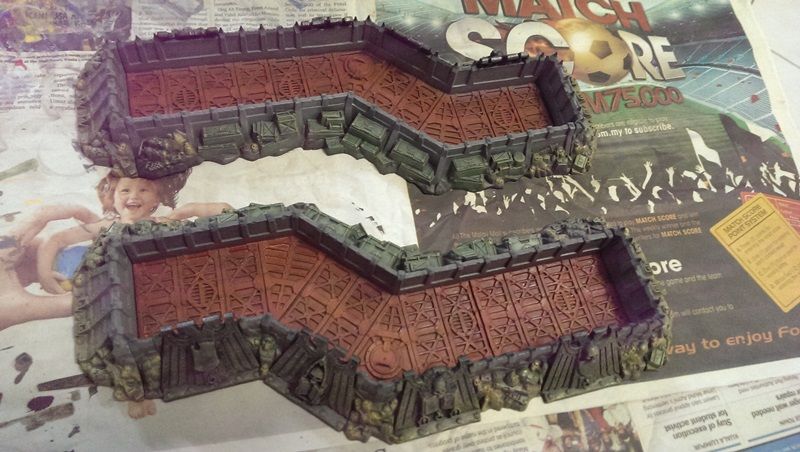 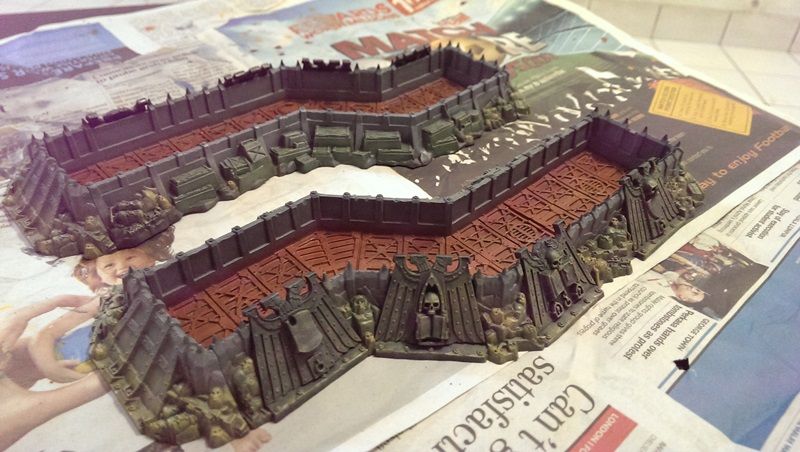 It is indeed another great experience for me to paint something like this. Firstly, a lot of identical parts so have to plan the painting process. Secondly, there are so much details on each one of it so have to learn to paint them with patient. Finally, trying to learn and improve on the weathering. Total hour spent (Rough Estimation): about 45 to 50 hours Final thought: Need to cool down from doing big stuff... T_T __ __| |O
|
|
|
|
Post by banzai on Nov 7, 2013 17:16:15 GMT 8
Whoa its enormous! Wait I already said that. Its HUGE! Man... Nice job.
|
|