Thanks guys for your support!

Feel really bad for some half @*censored* cooked wip....
Update: 10th September 2012

First of all, there r always frens n modelers come to search my treasures for any option parts of leftover from previous porjects. Some even wonder how I can end up with so much extra parts. 2 reasons:
1. work. be hardworking, work on models, especially older models where they have quite an amount of optional parts.
2. Cannot see, dont do. Of course some will find it self satisfactory to build stuff that cannot be seen. But no, for me, cannot see means no need build n can salvage for future use. This project because i m in quite a rush, which i dont have much time to plan n figure out which parts i can salvage. But still, i can get a few pretty nice parts that i believe would be pretty useful in the future.
These r just the 6 pairs of piston/hydraulics from zaku 2.0, not even including all the cockpits n thigh inner frame parts.....

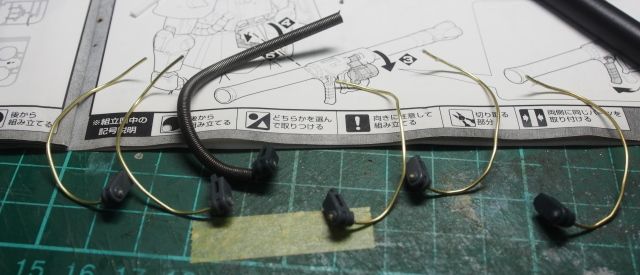
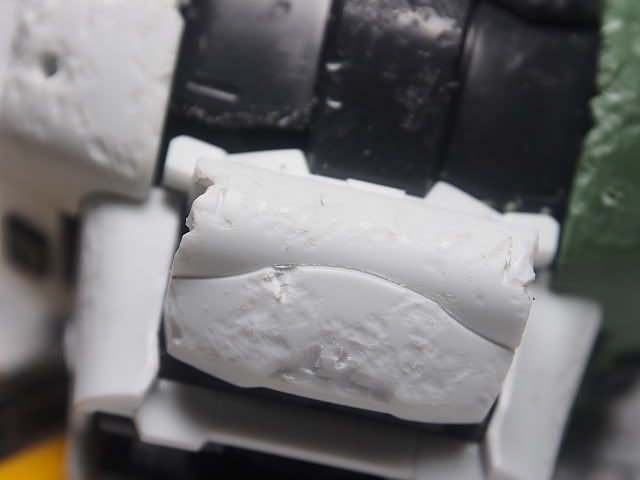
Time for some metal spring for the power cord...... Since i will be using the original plastics parts, hence i need to recreate the shape of how the power cable would be bended.
I m using Koto's spring as it's darker in color and the rust looks prettier that the chrome spring as in Wave's


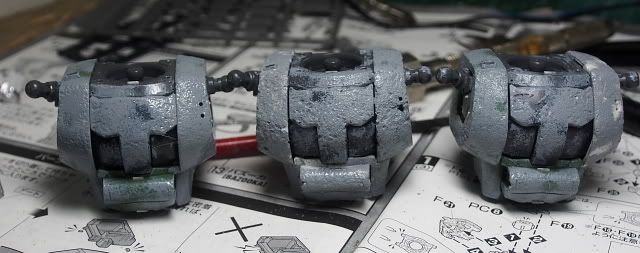
First, use sand paper to sand off the protective layer. then use salt water (Acid also can, in fact, acid will even react faster. Acid, u can use viniger or even orange juice

) to partially attack a few places where u want the rust to be the strongest. This is the first round of erosive action (oxidization).
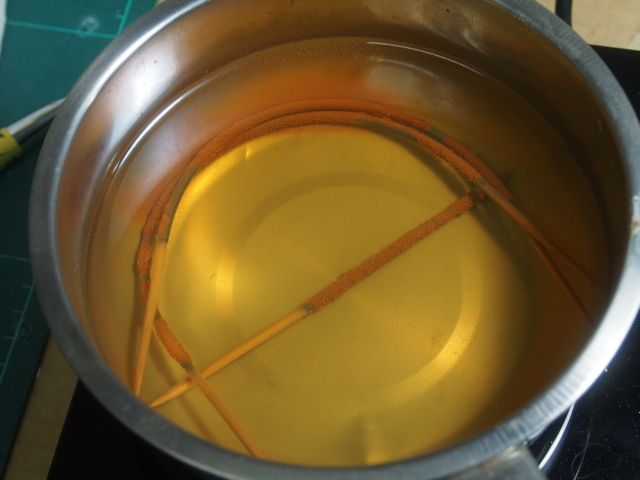

Second phase, salt water, n soak the whole thing in, add a little heat (not boiling water, u still need the oxygen in the water).
Left it for a weekend n the result is so much worse than i expected. but no worries, the rust is mainly on the surface, lightly sand will get rid of most of them.


Continue with the EFSF base... really no inspiration.... also i dont want the base to overshine the action down hill (excuse)

Zero1st.
Er... well, just say that when a fella modeler work together with u side by side, if u guys r not fooling around talking crap, it really boost your speed n concentration.
*************************************************************************************************************************************************
Coloring stage:
(Seriously, i can feel a lil' burned out ady.....)

Randomly put some contrasting colors, so that when i spray the main color on top, the randomness of the colors at the bottom will give the main coat of color a more realistic finish.... Ok, this is pretty much ALL the parts i did with it. Got so bored n lost patience, i decided to call it off (Muahahahaha)


This is how i did the short cut way. Honestly i think the effect is really no fight to the the non-short-cut way (The one with random color at the bottom). I just use ab to create some "random" dots n line. Later use the main color to cover n create, hopefully, some randomness in color......
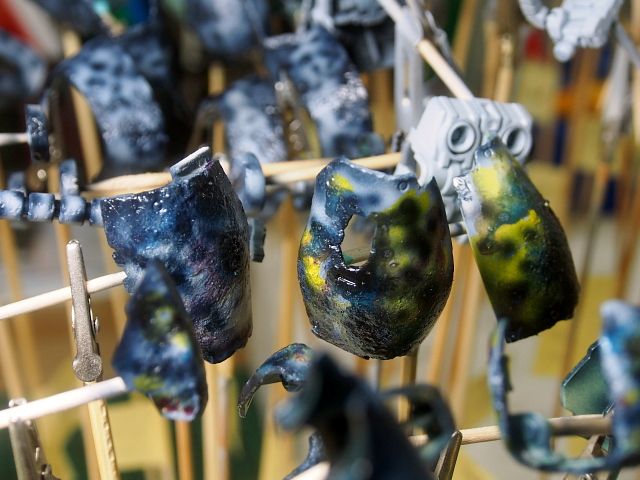
Oh the dark blue, besides being used to do some random patterns, i used it for preshade too. This is the part where i did apply random color, with preshade.
Take note that since almost all of my Mr Hobby is dried (No time to melt them to use this round), i m using mainly Gaia color for paint application. since Gaia's famous/infamous reputation in being opaque, the shading are done pretty strongly.
(Note: After i sprayed the main color, i realise the few parts where i wasn't that lazy, with random colors at the bottom, looks so much more natural n nice. Well, how much effort u put in, n how much the result u will get....)
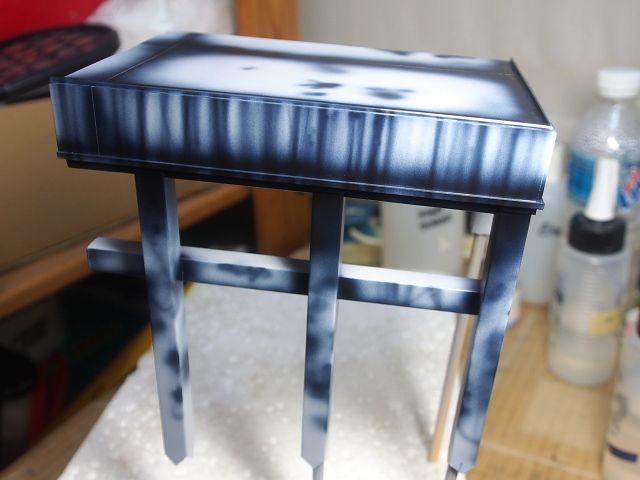

Shading done on the fence n the the base. The lines is done such way is for water streak stains later.....
That's it for this round. Nothing much. As i realise shooting pictures during air brushing time is really a pain in the @ss.....
C&C welcome!


 ......